You want fake nails that last through work, workouts, and weekend plans. You can get that by cleaning and lightly buffing your natural nails, using a strong glue or quality adhesive tabs, and avoiding activities that press on the nail edges. Prep, good glue, careful application, and simple daily care will keep fake nails on much longer.
Follow a few easy steps during application and while you wear them to cut down lifting, cracking, and early loss. Small habits — like pushing back cuticles, drying glue properly, and wearing gloves for chores — make a big difference in how long your manicure stays flawless.
Key Takeaways
- Prep your nails and use the right adhesive before applying false nails.
- Care for nails daily and avoid stress on nail edges to prevent lifting.
- Replace or fix nails quickly when you spot lifting to protect natural nails.
Proper Nail Preparation
Clean, roughen, and push back skin so glue or adhesive bonds directly to your nail plate. Small steps—cleaning, gentle buffing, and cuticle care—make the biggest difference in how long fake nails stay.
Cleaning Natural Nails
Remove polish and oils first. Use an acetone-based remover for long-wear polish or gel; wipe each nail until no color remains. Then wash your hands with warm water and soap to remove residue.
Use alcohol or nail cleanser on a cotton pad to degrease each nail for 10–15 seconds. Hold the pad flat and swipe from cuticle to tip. Let the alcohol fully evaporate before moving on.
Avoid lotion or oil after cleansing. If you touch your face or hair, cleanse the nail again. Clean nails give adhesive a dry, stable surface that reduces early lifting.
Buffing and Drying Techniques
Lightly buff the top layer of each nail with a 180–240 grit buffer. Create a slight matte texture—don’t over-file. Over-buffing thins your nail and weakens the bond.
Focus on the center and edges where the fake nail will sit. Remove all dust with a soft brush or dry cotton pad before applying glue. Dust left on the nail blocks adhesion.
Dry nails completely. Air-dry for 30–60 seconds after alcohol, or use a fan. If using primer or dehydrator, apply per product instructions and wait the recommended time before setting the fake nail.
Cuticle Care
Gently push cuticles back with a wooden stick or rubber pusher; never cut deeply. Tight cuticles under the fake nail cause lifting and gaps.
Trim hangnails and remove loose skin near the nail edge. These can create small gaps that let water under the fake nail and reduce wear time.
If cuticles are overgrown, soak your hands for 5 minutes in warm soapy water first. Dry thoroughly and avoid applying oils before glue or adhesive.
Choosing the Right Materials
Pick materials that match your routine and skill level. Pay attention to nail type, adhesive strength, and whether the product is meant for daily wear or special occasions.
Types of Fake Nails
Press-ons: easy to apply, reusable, and best for short-term wear. They come pre-shaped or with tabs; choose full-cover for durability or tips if you want sculpting. Look for sizes that fit your nail beds—too large lifts, too small peels.
Acrylics: salon-applied and very durable. They bond to a primed nail and hold up to heavy use, but need fills every 2–3 weeks. Acrylics require professional removal or careful soaking to avoid damage.
Gels and dip powder: last about as long as acrylics but feel lighter. Gel extensions often require curing under a UV/LED lamp. Dip powder is strong and chip-resistant but needs proper prep to avoid lifting.
Choose the type based on how long you need them to last and how much maintenance you’ll do.
Best Adhesives and Glues
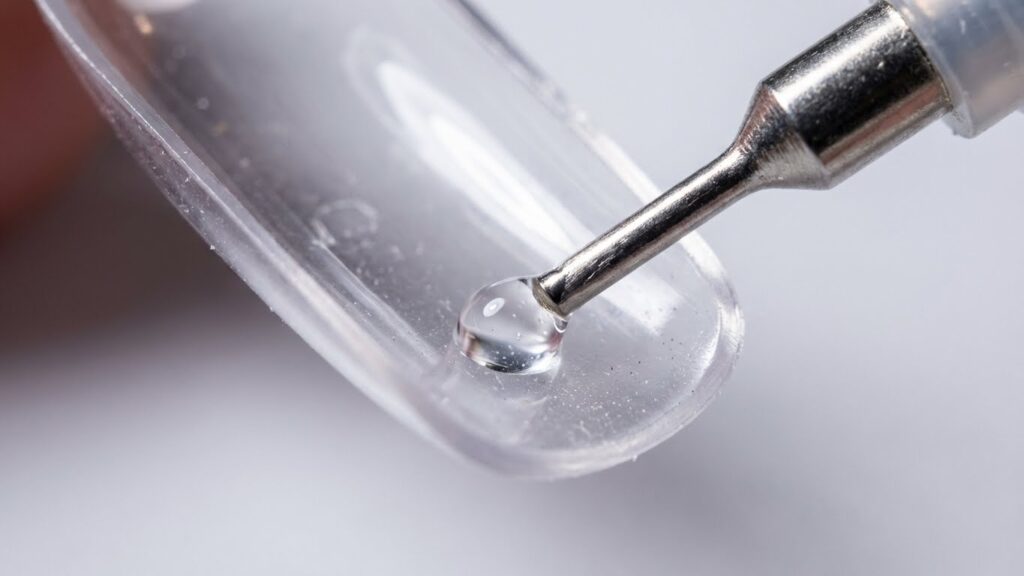
Nail glue (cyanoacrylate) gives the strongest hold for press-ons and repairs. Apply a thin layer on both the fake nail and your natural nail, then press and hold for 10–15 seconds. Use a gel-friendly formula if you later plan to cure under a lamp.
Double-sided adhesive tabs are gentler and easy to remove. They work well for short events and when you want less damage to your natural nail. Tabs can fail with water or heavy hand use.
Bonding primers and dehydrators improve lift resistance. Use a nail dehydrator to remove oils, then a primer to promote adhesion. Avoid overusing primer; one light layer is enough.
Keep a small tube of glue for quick touch-ups and a pack of tabs for low-stress days.
Quality Versus Budget Products
Higher-quality nails and glues often use better plastics, stronger adhesives, and consistent sizing. They resist bending and lifting, and the glue tends to dry evenly. Investing in a mid-range brand reduces the chance of frequent reapplication.
Budget options can work if you prep well and pick the right adhesive. Inspect cheap nails for thinness, uneven edges, or poor fit. Cut, file, and buff budget nails to improve fit before gluing.
For glue, avoid very cheap generic tubes that separate or clog. Look for trusted labels or salon-grade glues with clear user reviews. Balance cost with how often you’ll wear nails: frequent wear justifies spending more on durable supplies.
Application Techniques
You need precise sizing, even glue, and tight edge seals to make fake nails last. Small mistakes at each step cause lifting, gaps, and early loss.
Correct Sizing for Fake Nails
Pick a fake nail that matches your natural nail’s width from sidewall to sidewall. If a tip sits too wide it will press on the skin; too narrow and it lifts at the edges. Try sizes on before glue — align the fake nail so it covers the whole nail bed without touching the cuticle.
If none fit perfectly, file the sides of the fake nail gently. Remove small amounts and re-test until it sits flush. Keep a set of sizes sorted and labeled to speed future applications.
How to Apply Glue Evenly

Use a small bead of nail glue near the cuticle area and a thinner line down the center. Spread the glue evenly by pressing the fake nail from cuticle to tip in one steady motion. Avoid big blobs; excess glue squeezes out and creates gaps.
If you use brush-on adhesive or glue tabs, apply a thin, uniform layer both to your natural nail and the fake. Press and hold for 10–30 seconds to set. Keep a tissue handy to wipe stray glue before it hardens.
Sealing Edges
After applying, press firmly along the sidewalls and free edge to remove air pockets. Run a clean orangewood stick or a rubber-tipped tool around the perimeter to seat the edges. Any tiny gap lets water and dirt in, which causes lifting.
Finish by applying a thin layer of gel topcoat or clear polish over the free edge and sides. Cure the topcoat if it’s gel, or let polish dry fully. This creates a barrier that reduces edge catching and extends wear.
Daily Nail Care Routines
Keep your nails clean, hydrated, and protected every day to cut down on lifting and breakage. Small, consistent habits like daily oiling and avoiding solvents make the biggest difference.
Moisturizing and Hydration
Apply cuticle oil twice daily—morning and night—to the skin around each nail. Use a dropper or pen and massage the oil into the cuticle and the base of the nail for 20–30 seconds. This keeps the natural nail plate flexible and helps glue and salon systems bond better.
Use a hand cream after washing hands and before bed. Choose a cream with glycerin or shea butter; these ingredients lock in moisture. If you work in a dry environment, run a humidifier at night to reduce cracking and lifting caused by brittle nails.
Avoid soaking nails in water for long periods. When washing dishes or cleaning, wear gloves to stop water from getting under the fake nails and weakening adhesive.
Avoiding Harsh Chemicals
Remove nail polish remover with acetone only when necessary, and avoid frequent use. Acetone dissolves adhesives and thins acrylic or gel overlays, which speeds up lifting. Use non-acetone remover for small touch-ups.
Wear nitrile or latex gloves for cleaning, gardening, or handling solvents. Tile cleaner, paint thinner, and bleach break down both glue and the fake-nail surface. If you must use chemicals, protect nails and rinse hands immediately afterward.
Choose mild hand soaps and alcohol-free sanitizers. Alcohol strips oils and dries the nail bed, so pick products labeled “moisturizing” and reapply cuticle oil after using sanitizer.
Preventing Common Problems
Keep nails clean, dry, and well-cared-for to stop lifting and fix small damage fast. Use proper glue or gel, avoid heavy hand work, and check nails daily so issues stay small.
Minimizing Lifting
Clean your natural nail with alcohol or acetone before you glue or set a nail. Lightly buff the nail plate to remove shine, but don’t over-buff or thin your nail. Apply adhesive to both the fake nail and your natural nail (for press-ons), or follow salon curing steps for gels and acrylics.
Press the nail down from cuticle to tip for 10–30 seconds to remove air pockets. Avoid water for at least an hour after application. Wear gloves for chores, and don’t use your nails as tools. If you feel lifting start at one edge, lift the opposite edge and press down toward the lift to reduce stress while you rebond.
Keep a small tube of nail glue or a few adhesive tabs with you for quick fixes. Replace badly lifted nails rather than leaving them loose—loose edges catch and make lifting worse.
Dealing With Chips and Cracks
For small chips, file the edge smooth and use a thin layer of clear top coat or builder gel to seal the area. For acrylic or gel cracks, apply a small drop of adhesive under the crack, press gently, then cure or let glue set. Avoid sanding cracked areas aggressively; that can make cracks bigger.
If a crack runs into the natural nail, remove the fake nail and treat the natural nail before reapplying. Keep nail files (180–240 grit), a small buffer, clear top coat, and a tiny brush for gel handy in your kit. For repeated cracking, switch to a stronger nail shape or shorter length to lower leverage and breakage risk.
Lifestyle Modifications for Longevity
Small daily changes protect your nails from lifting, breaking, and premature wear. Use simple habits and tools to reduce force, moisture, and chemical exposure.
Protecting Nails During Household Tasks
Wear gloves for washing dishes, cleaning, or yard work. Use nitrile or rubber gloves to keep water and cleaners off the nail glue or acrylic base. Replace gloves if they tear; damp gloves trap moisture and can lift press-ons or weaken acrylics.
Avoid using your nails as tools. Open cans with the pad of your finger or a tool instead of the nail edge. When typing, tap with fingertips rather than pressing with the nail tips.
Lower direct pressure during manual tasks. Sanding, heavy lifting, and gripping jars can pop nails off. Use two hands or a jar opener to reduce strain. For hobbies like gardening, trim natural nails slightly under the fake edge to prevent snagging.
Keep nails dry between tasks. After wet work, dry nails thoroughly and reapply a tiny drop of nail glue or clear topcoat at the base if you notice lifting.
Safe Removal Practices
Remove fake nails properly to avoid damage and regrowth problems. For press-ons, soak a cotton ball in acetone, place it at the base, and wrap with foil for 10–15 minutes before gently lifting. Do not force or pry; stop and soak again if nails resist.
For acrylic or gel, visit a salon for professional removal when possible. If you remove at home, file down the top layer, then soak in pure acetone in a shallow dish until the product softens. Use a wooden stick to gently push residue off; never scrape hard with metal tools.
After removal, moisturize and rest your natural nails. Apply cuticle oil twice daily and use a strengthening treatment for a week to rebuild flexibility and reduce peeling.
When to Replace or Reapply Fake Nails
Check nails daily for lifting, cracks, or gaps at the cuticle. If glue peeks through or edges lift, bacteria and water can get in and cause problems.
Replace any nail that breaks, chips deeply, or bends. A small chip can be filed, but structural damage weakens the whole set and can catch on things.
If you feel pain, pressure, or a burning sensation under a nail, remove or reapply immediately. Those signs can mean infection, allergic reaction, or trapped moisture.
Plan a reapplication every 1–3 weeks depending on type and wear. Press-ons often need reapplying weekly, while professionally done acrylics or gels usually last up to two to three weeks with fills.
Keep an eye on natural nail growth and gaps at the cuticle. When the gap becomes large or the nail no longer looks smooth, it’s time for a fill, replacement, or to start fresh.
Use proper removal whenever replacing nails. Peel-off or forced removal can damage your natural nail; soaking and gentle lifting preserves nail health.
Professional Tips for Extended Wear
Start with a clean, dry nail. Remove oils and old polish, then gently buff the surface so adhesive or gel bonds better. This small step reduces lifting.
Use the right glue or adhesive tabs for your nail type. For acrylics and gels, a thin layer of quality nail glue works best. For press-ons, consider double-sided adhesive tabs for less mess and easier removal.
Control the shape and length to match your activities. Shorter, well-shaped nails are less likely to catch or break. File the edges smooth to prevent snags.
Seal the base and tip after application. Run a thin bead of clear top coat over the cuticle line and the free edge. Reapply a top coat every 3–4 days to maintain the seal and shine.
Protect your hands during chores. Wear gloves for washing dishes, cleaning, or gardening. Heat, water, and strong detergents weaken the bond and shorten wear time.
Schedule small maintenance checks. Peel back any lifting and re-glue immediately to stop water from getting underneath. Keep a tiny tube of glue or a few spare tabs in your bag.
Trust professional tools and techniques when possible. A proper primer, dehydrator, and a salon UV/LED cure for gel systems improve adhesion and durability. Ask a technician for product recommendations tailored to your nails.
FAQs
What prep matters most? Clean, dry nails make the biggest difference. Remove oils with rubbing alcohol or nail cleanser and gently buff the nail plate so glue or adhesive tabs bond better.
How long should different types last? Press-ons with glue often last 7–10 days; salon acrylics, gels, and dip systems can last 2–3 weeks with care. Your wear time depends on prep, adhesive quality, and daily activities.
Can you shower or swim with fake nails? Yes, but avoid long hot showers and prolonged swimming right after application. Water and heat can lift adhesives; wait a few hours after applying before soaking your hands.
What if a nail lifts or pops off? Reattach small lifts with a tiny drop of nail glue and press firmly for 30 seconds. For a fully popped-off nail, clean both surfaces and reapply glue or replace the press-on.
How do you prevent damage to your natural nails? Keep nails trimmed and hydrated. Use cuticle oil and avoid prying or using nails as tools to lower breakage risk.
Which adhesives are best? High-quality nail glue or a trusted adhesive tab system helps. For more detailed product guidance, check reputable sources like the American Academy of Dermatology for nail care tips and professional salon sites for adhesive recommendations.
Conclusion
You can make fake nails last much longer by focusing on three simple areas: prep, application, and care. Good prep gives you a clean base, correct glue or adhesive helps bonds hold, and regular care prevents lifting.
Choose products that match your lifestyle. If you type a lot or do hands-on work, pick thicker nails and stronger glue. Press-ons need different steps than acrylics or gels, so follow the method for the type you use.
Keep a small kit with glue, nail file, and cuticle oil. Fix small lifts right away and file rough edges to stop snags. Moisturize your cuticles to reduce gaps and wear gloves for chores that involve water or harsh cleaners.
Trust simple, consistent habits more than one-off tricks. Replace nails when natural growth or damage makes them fit poorly. With steady maintenance, you’ll see better wear and fewer surprises.
