A Nail Polish Guide for Beginners: Simple Steps for a Neat At-Home Manicure

If you are new to painting your nails, the process can look fussier than it really is. In practice, a clean manicure comes down to a few basics: prep the nail, use thin coats, follow the right order, and give each layer enough time to dry.
I’m Ella Hart, and when I teach beginners, I always simplify the routine first. You do not need a huge kit or advanced skills to get a polished result at home. You just need the right essentials and a steady, repeatable method.
What Nail Polish Beginners Need to Know First
A first manicure is not about perfection. It is about learning the flow so your nails look neat and last a little longer each time you do them.
The basic order is simple: prep the nails, apply base coat, add color, then finish with top coat. That structure matters because each layer has a job. Base coat helps the color go on more smoothly and gives the polish something to grip. Top coat helps seal the color and adds shine.
That “thin layers” idea is one of the most useful habits a beginner can learn.
Essential Nail Polish Supplies for Beginners
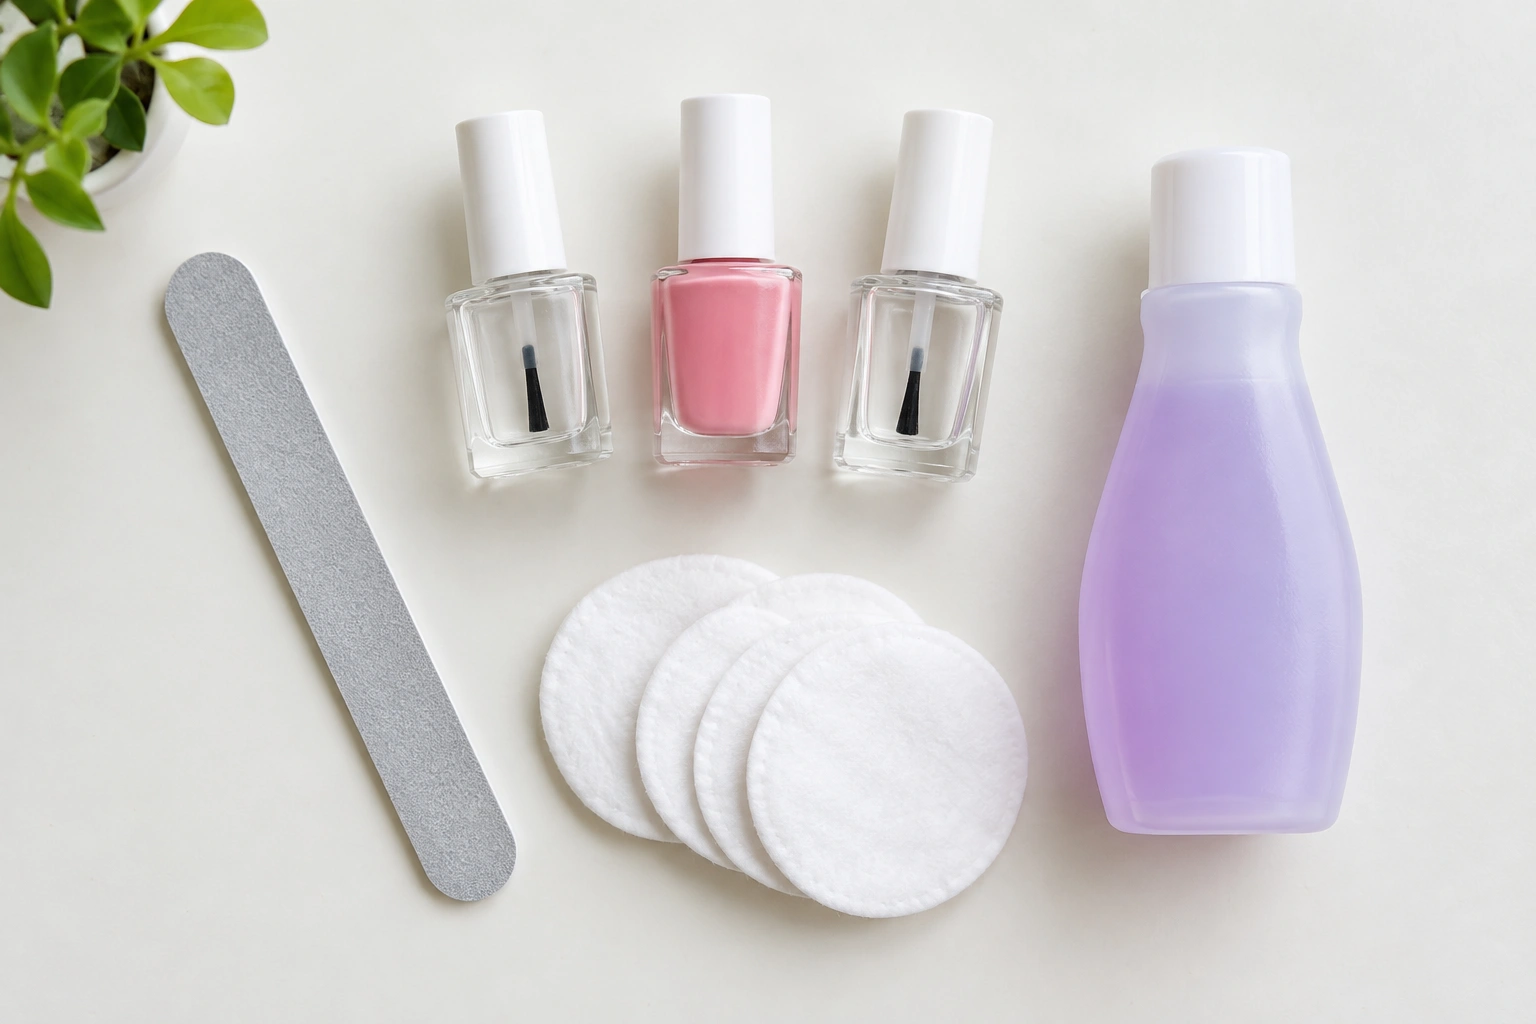
You do not need every nail tool on the market. A small, practical kit is enough.
Must-have basics
- Nail polish remover
- Cotton pads or swabs
- Nail file
- Base coat
- Nail polish color
- Top coat
Helpful but optional
- Buffer for lightly smoothing the nail surface
- Cuticle pusher for gently nudging back skin around the nail
- Quick-dry top coat if you want less waiting time
- Nail polish thinner if a polish becomes thick over time
A remover and cotton pads are especially useful for cleanup. A cotton swab dipped in remover can tidy polish that gets onto the skin without disturbing the whole nail.
How to Choose the Easiest Polish to Start With
For most beginners, regular polish is the simplest place to begin. It is more forgiving, does not require a lamp, and is easier to remove when you are still learning.
Gel polish lasts longer, but it adds steps: you need a curing lamp, a more exact routine, and a removal process that is less beginner-friendly. If your main goal is learning neat application at home, regular polish is the easier choice.
Beginner-friendly finishes
Here is a simple way to choose your first color:
| Finish | Beginner-friendliness | Why it helps |
|---|---|---|
| Cream | Very easy | Usually applies evenly and looks clean on short nails |
| Sheer | Easy | Small mistakes are less obvious |
| Neutral nude | Easy | Makes minor streaks less noticeable |
| Shimmer | Moderate | Can hide some unevenness, but formula varies |
| Dark, highly pigmented shades | Harder | Streaks and edge mistakes show more clearly |
If you want the easiest first manicure, choose a cream or sheer neutral. Those shades are less demanding while you are learning brush control.
A quick comparison can help:
- Regular polish vs. gel polish: regular is simpler; gel lasts longer but needs more equipment and technique.
- Cream finish vs. shimmer finish vs. sheer polish: cream and sheer are usually easier to apply evenly; shimmer can be forgiving, but not every formula behaves the same.
- Quick-dry top coat vs. standard top coat: quick-dry saves time; standard top coat works fine if you can wait longer.
Prep Your Nails Before Painting
Good prep makes the polish behave better. Clean nails give the color a smoother surface to cling to, which helps the manicure look neater.
Simple prep steps
- Remove old polish completely.
- Wash and dry your hands.
- Shape the nails with a file. Keep the shape simple at first, like rounded or soft square.
- Gently push back the cuticles if needed. Do not force them.
- Lightly buff only if the nail surface is very uneven. You are not trying to thin the nail.
- Wipe the nail surface so it is clean and dry.
That last step matters more than many beginners realize. Any lotion, oil, or leftover polish can interfere with how the new layers sit on the nail.
The Correct Order: Base Coat, Color, Then Top Coat
The sequence is not optional if you want the best beginner result.
1. Base coat
Apply a thin coat of base coat first. Let it air dry until it is no longer tacky to the touch.
2. Color
Apply the first color coat in a thin layer. A beginner-friendly method is the three-stroke technique: one stroke down the center of the nail, then one on each side. Move from the base toward the free edge and keep the brush away from the surrounding skin.
3. Top coat
Finish with top coat after the color has had time to set. This layer helps seal the manicure and gives it a more finished look.
How to Apply Nail Polish Neatly Step by Step

This is the part most beginners worry about, but the technique is simpler than it looks.
Use less polish than you think
Wipe one side of the brush against the bottle neck so the brush is lightly loaded, not dripping. If the brush is overloaded, it can fan out, flood the cuticle, and leave streaks.
Keep the brush pressure light
Set the brush a little above the cuticle line, not right on it. Use a gentle touch so the bristles stay together instead of spreading out. Pressing too hard near the cuticle can drag polish into the skin and create a messy edge.
Use three strokes
One center stroke, then one on each side. That gives you control and keeps the coat even.
Leave a tiny gap at the skin
Do not try to push polish all the way into the cuticle. A tiny gap looks cleaner and lowers the chance of messy edges or early lifting.
Paint the free edge last if needed
If the tip looks thin, lightly brush across the edge to help the color wrap over the tip. That extra step can improve wear because the tip is often where chips start.
If your first coat looks streaky, that is normal. Do not fix it by piling on polish. A second thin coat usually solves it better than one thick coat.
Drying Time, Layering, and When to Add the Next Coat
Beginners often rush this part, then end up with dents and smudges.
A useful rule of thumb is to wait a few minutes between thin coats, then give the finished manicure longer before regular hand use. Drying time depends on the formula and humidity, but thin coats usually dry more reliably than thick ones.
Base coat should dry until it is not tacky. Color coats should set before the next coat goes on. After the top coat, try to avoid heavy hand use, water exposure, or anything that presses on the nails for several hours if you can.
If waiting is your biggest frustration, a quick-dry top coat can help. It does not replace careful application, but it can make the final step easier to manage.
Common Beginner Mistakes and Easy Fixes
Most beginner mistakes are fixable without starting over.
Streaks
Usually caused by a coat that is too thin or too dry. Add a second thin coat instead of trying to cover everything at once.
Bubbles
Often happen when polish is applied too thickly or shaken hard before use. Roll the bottle gently between your hands instead of shaking it aggressively.
Smudges
Usually mean the polish was touched too soon. If the surface is only slightly marked, a top coat may smooth out minor flaws. If the dent is deep, it is better to let the nail dry fully and touch up the area.
Polish on the skin
Use a small brush, cotton swab, or cleanup tool dipped in remover to tidy the edges. Clean the skin before the polish fully hardens.
Uneven edges
Check the sidewalls and tips after each coat. Small corrections are easier before the polish builds up.
If a bottle has become thick and hard to apply, some formulas can be improved with nail polish thinner. Follow the product instructions on the thinner itself and use it sparingly. Do not guess.
How to Make Nail Polish Last Longer
A longer-lasting manicure usually comes from small habits, not one miracle product.
- Prep the nail well before painting. Clean, dry nails help polish adhere better.
- Keep coats thin. Thick layers chip and dent more easily.
- Use base coat and top coat. Both matter.
- Seal the tip if your polish allows it. Lightly brushing the free edge can help reduce tip wear.
- Avoid water and heavy hand use right after painting. Even if the surface feels dry, polish can still be vulnerable for several hours.
- Touch up chips early. A small chip can spread if you ignore it.
If you want a practical example, think of a manicure that chips at the tips after two days. The fix is usually not “more color.” It is better prep, thinner coats, sealing the tip, and a proper top coat.
How to Remove Nail Polish Safely
Removal should be gentle. Scraping or peeling polish can rough up the nail surface.
Acetone vs. non-acetone remover
| Remover type | Best for | Trade-off |
|---|---|---|
| Acetone | Faster removal, especially glitter or stubborn formulas | Can feel more drying |
| Non-acetone | Regular polish and a gentler beginner option | Usually slower and may need more patience |
For a beginner, non-acetone remover is often enough for regular polish. Acetone is preferable when you need faster removal or are dealing with glitter, darker shades, or other stubborn formulas that resist gentler remover.
Simple removal method
- Saturate a cotton pad or swab with remover.
- Press it against the nail for a moment.
- Wipe from the base toward the tip.
- Repeat until the polish is gone.
- Wash and moisturize afterward.
Use remover in a well-ventilated area and avoid forcing polish off with your nails.
Aftercare for Healthy Nails Between Manicures
After polish removal, nails and surrounding skin can feel dry. That is normal, especially if you used acetone.
A simple aftercare routine helps:
– Wash off remover residue.
– Apply hand cream.
– Use cuticle oil or a plain moisturizer around the nail area.
– Give your nails a short break if they feel rough or overworked.
You do not need a complicated recovery routine. A little moisture goes a long way after repeated polish removal.
Quick Beginner Checklist Before You Start
Before you paint, check these basics:
- Nails are clean and dry
- Old polish is fully removed
- Nails are filed to a simple shape
- Base coat is ready
- Color polish is not thick or clumpy
- Top coat is nearby
- Cotton swabs or pads and remover are within reach
- You have a few minutes to let each layer dry
That setup makes the whole process calmer. You will make fewer rushed mistakes when everything is already on the table.
When to See a Nail Technician or Dermatologist
If your nails are repeatedly peeling, lifting, or reacting badly to products, it is worth getting professional advice. A nail technician can help with technique and product choice. A dermatologist should evaluate ongoing nail changes, pain, or signs of irritation that do not improve.
Frequently Asked Questions About Nail Polish for Beginners
How many coats of polish should a beginner use?
Usually one base coat, one or two thin color coats, and one top coat. If the first color coat looks streaky, a second thin coat is often enough.
How long should I wait between coats?
Wait a few minutes between thin coats, then give the finished manicure longer before regular hand use. Base coat should dry until it is not tacky.
Should I start with regular polish or gel polish?
Regular polish is easier for most beginners. Gel lasts longer, but it needs more tools and a more exact routine.
What color is easiest for a first manicure?
A cream, sheer, or neutral shade is usually the easiest. These finishes hide small application mistakes better than very dark colors.
Why does polish get all over my skin?
The brush may be carrying too much product, or you may be starting too close to the cuticle. Use less polish and leave a tiny gap near the skin.
Can I skip base coat or top coat?
You can, but the manicure usually looks and wears better when you use both. Base coat helps with adhesion and top coat helps seal the color.
What should I do if I smudge a nail?
If the smudge is small, a careful top coat may smooth it. If the polish is deeply dented, let it dry fully and touch up the area instead of brushing over it too soon.
Is acetone bad for my nails?
Acetone can be drying, especially with frequent use, but it is a normal remover for many polish routines. Moisturize afterward and avoid overusing it.
A beginner manicure gets easier very quickly once you know the order and keep the layers thin. That is the real foundation of good polish application.