
How to Remove Salon Nail Polish Safely at Home

If you have ever left a salon with beautiful nails and then wondered how to get the polish off without wrecking them, you are not alone. The safest method depends on what was applied: regular polish, gel polish, shellac, or dip powder all behave differently. The good news is that once you identify the product, removal becomes much simpler and much less stressful.
Before you start, take a quick pre-check: look at the salon receipt if you still have it, ask the technician what was applied, or compare the finish and thickness before removing anything. If you are unsure what is on your nails, take a minute to confirm it first. The main rule is simple: do not peel. Peeling off salon coatings is one of the fastest ways to thin the nail plate and leave the surface rough.
How to Tell What Type of Salon Nail Product You Have
Before you remove anything, look closely at the finish and feel of the nails.
Regular nail polish
Regular polish usually has a thinner look, may chip at the tips, and often starts to wear down after a few days. If it is regular polish, standard remover usually takes it off without much drama.
Gel polish or shellac
Gel and shellac usually look smooth, glossy, and evenly sealed over the nail. They tend to feel firm rather than soft when you tap them lightly, and they usually resist ordinary remover. Shellac is often thinner than some other gel systems, but it still behaves like a cured coating rather than a standard lacquer.
Dip powder
Dip powder often looks a bit thicker at the free edge and can have a more layered appearance near the cuticle. Some dip systems also include a gel top coat or a gel overlay, which can change how they need to be removed. If the surface seems hard but the finish looks built up in layers, you may be dealing with dip plus another product rather than plain dip powder alone.
Builder gel, BIAB, or hard gel
These are thicker gel systems. Builder or BIAB gel often looks more structured across the whole nail, while hard gel usually feels very rigid and can appear more like a sculpted layer than a polish. According to essie’s gel removal guidance, builder or BIAB gel should be filed before removal because it is thicker, and hard gel should be filed off by a professional. That distinction matters because trying to treat every salon coating the same way can lead to over-filing or frustration.
Here is a simple decision rule: if a cotton pad with remover barely changes the surface after a short test on one nail, stop and reassess. That usually means you are not dealing with regular polish.
Quick Comparison: Which Removal Method Fits Which Product?
| Product type | Best remover | Soak or wrap? | At-home removal? | When salon help is safer |
|---|---|---|---|---|
| Regular nail polish | Non-acetone remover or acetone | Usually no soak needed | Yes | If the nail is irritated or the polish is layered over a treatment |
| Gel polish | 100% acetone | Foil wrap or wrap-style soak | Often yes | If the product is thick, stubborn, or the nail feels thin |
| Shellac | Usually acetone, handled like gel | Foil wrap or wrap-style soak | Often yes | If you are unsure whether it is shellac or hard gel |
| Dip powder | Usually acetone | Soak-off method | Sometimes | If the powder is very thick or has a gel top coat/overlay |
| Builder gel / BIAB | Acetone plus filing of the top layer | Usually yes | Sometimes | If the layer is thick or difficult to soften |
| Hard gel | Not a simple soak-off | No | Usually no | Professional filing is the safer choice |
What You Need to Remove Salon Nail Polish Safely
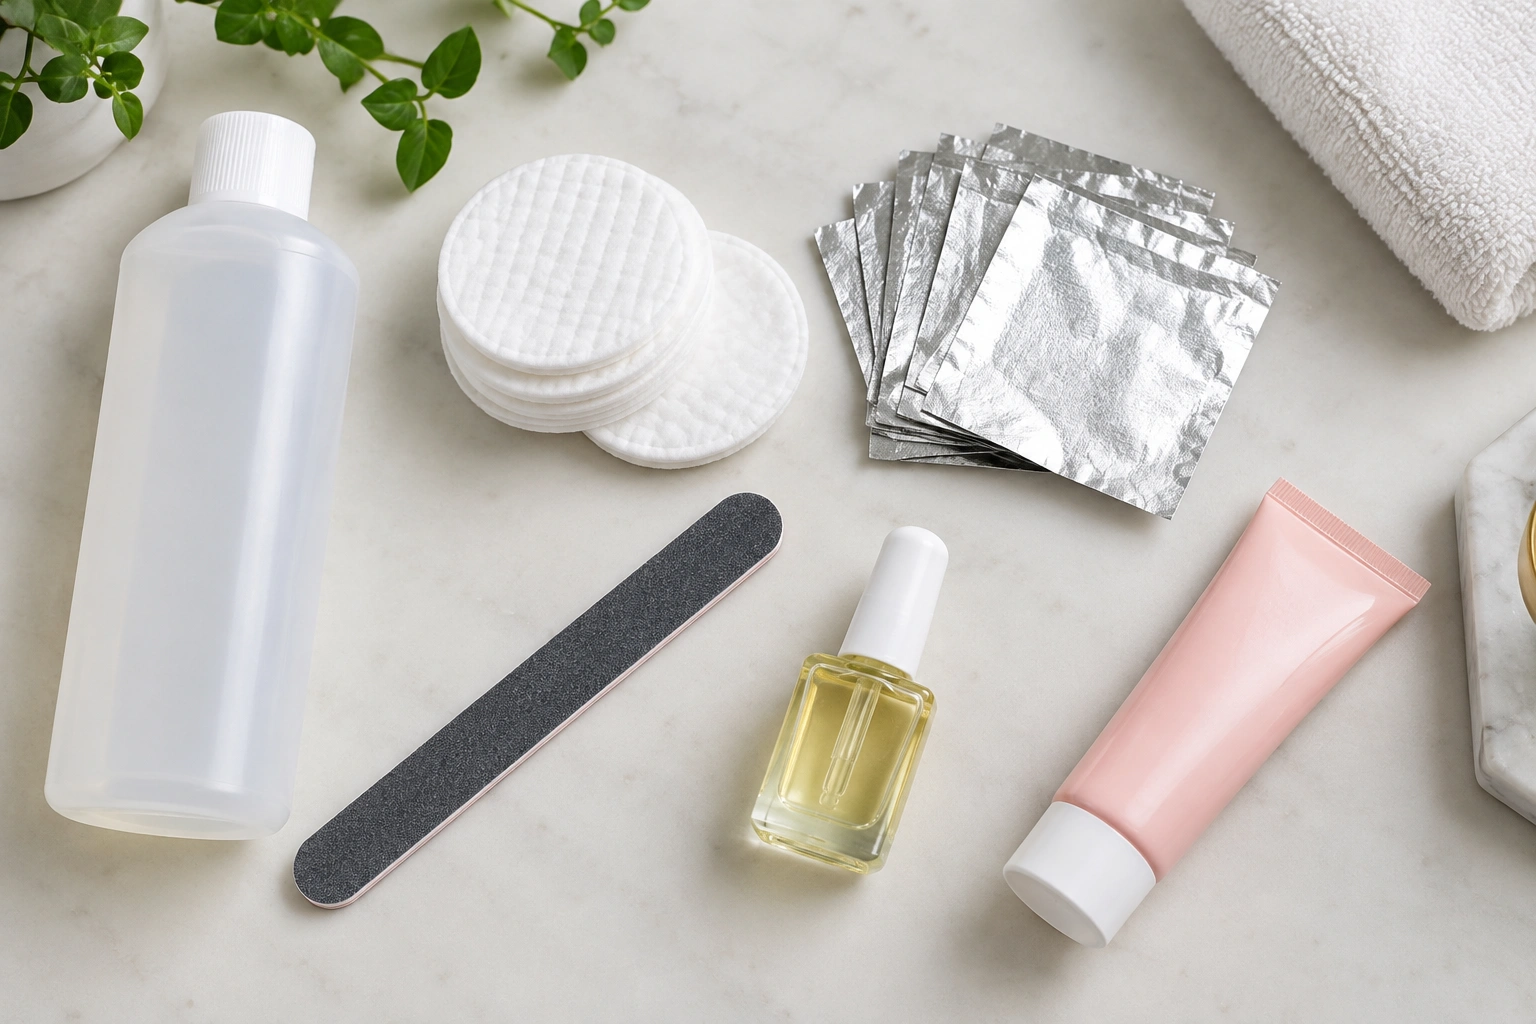
Gather everything before you begin so you do not end up scraping around looking for supplies mid-process.
You will usually need:
- Nail polish remover
- Cotton pads or cotton balls
- Foil strips or another wrap method for gel removal
- A nail file
- A buffer
- Orangewood stick or cuticle pusher
- Cuticle oil
- Hand cream or a rich moisturizer
For regular polish, non-acetone remover is often enough. For gel, shellac, and many dip systems, acetone is usually the product that does the real work. The American Academy of Dermatology recommends petroleum jelly on the cuticles and surrounding skin before gel removal, which is a smart way to reduce dryness where acetone might linger.
If you have very dry skin already, acetone is still workable, but the skin protection step becomes more important. And if you are removing polish from natural nails versus extensions, keep in mind that tips, overlays, and other enhancements may need a different approach than a plain manicure.
How to Remove Regular Nail Polish at Home
Regular salon polish is the easiest category to remove, and the goal is to do it with the least friction possible.
- Saturate a cotton pad with remover.
- Press it onto the nail for a few seconds so the polish begins to loosen.
- Wipe from cuticle to tip in one direction.
- Repeat with a fresh pad if color remains.
- Wash and moisturize your hands afterward.
If the polish is dark or layered, you may need a second pass. Resist the urge to scrub hard. More pressure usually just spreads pigment around the cuticle area and dries the skin.
For pedicures, the same method works, but toenails often need a little more patience because the polish can be thicker and the nails are larger. A second cotton pad is usually better than aggressive rubbing.
How to Remove Gel Polish or Shellac Without Peeling
This is the area where most damage happens, usually because people try to rush it.
According to essie’s removal guidance, nail salons use 100% acetone to soak off gel nails, and a salon-style method uses acetone-saturated cotton balls wrapped with foil for 10 to 15 minutes. The AAD also recommends a similar at-home approach and says to leave plastic wrap on for 10 minutes; after that, most or all of the gel should be gone.
Here is the practical sequence:
- Lightly file the shiny top layer. You are only breaking the seal, not filing down into the natural nail.
- Apply a thin layer of petroleum jelly to the cuticles and surrounding skin.
- Saturate cotton with acetone.
- Place the cotton on the nail and wrap with foil, or use another snug wrap method.
- Wait the recommended time.
- Remove one wrap and check the nail.
- If the gel has softened, gently lift residue with an orangewood stick or a warm, wet washcloth.
- Rewrap any nail that still has stubborn product.
Foil wraps are the main method here. Plastic wrap can work as an alternative if it keeps the acetone in contact with the nail, and a warm, wet washcloth is best used as a follow-up step to help wipe away loosened residue after soaking.
The AAD specifically recommends using a warm, wet washcloth to gently rub off remaining gel and avoiding the surrounding skin. That matters because the skin is easier to irritate than the nail surface itself.
A useful rule: if the gel is not softening after the soak, do not dig at it. Rewrap and wait a little longer instead. The removal process should feel like loosening, not chiseling.
How to Remove Dip Powder Safely
Dip powder usually needs acetone soak-off, but it can behave differently from gel because the layers are often thicker and more rigid. Some dip manicures also include a gel top coat or a gel overlay, and that extra layer can make the product act more like gel than plain dip powder during removal.
If you are removing dip powder at home:
- File the top coat to remove shine.
- Thin the surface lightly if the product is thick.
- Soak cotton in acetone and wrap the nail.
- Check after the first round of soaking.
- Gently push away softened product only when it lifts easily.
If the dip remains hard after a reasonable soak, that is a sign to stop forcing it. Thick or uneven product can leave you scraping at the natural nail, which is exactly what you want to avoid.
Dip removal is one of the situations where salon help can be worth it, especially if the application was done thickly or if the edge has already started lifting.
How to Protect Your Nails and Skin During Removal
The best removal method can still be rough if the technique is careless.
A few habits make a big difference:
- File only the top layer you need to break the seal
- Keep acetone off your skin as much as possible
- Use petroleum jelly on cuticles before gel removal
- Avoid metal tools that force product off
- Stop if the nail feels sore, thin, or tender
Acetone is effective, but it is drying. That is not a sign that something is wrong; it is a sign to follow with moisture and avoid repeated soaking. If you are removing salon nail polish at home more than once in a short period, focus on moisture and gentler technique rather than trying to speed the process up.
What to Do If the Polish Will Not Come Off
When polish resists, the temptation is to scrape harder. That is the wrong move.
Use this troubleshooting order instead:
- Confirm the product type again
- Re-file the top coat very lightly if it is gel, shellac, or dip
- Re-soak with fresh acetone
- Rewrap snugly so the remover stays in contact
- Wait a little longer before checking again
If the product is still not softening, it may be thicker than expected or not a true soak-off formula. That is common with hard gel and some builder gels. Essie notes that hard gel should be filed off by a professional, which is exactly the kind of situation where home removal becomes the riskier choice.
A good self-check is this: if you have already soaked twice and the product still feels hard, stop before you start damaging the nail plate.
Aftercare for Nails After Salon Polish Removal
Once the color is off, the nails often look dry for a short time. That is normal after acetone exposure.
Aftercare should be simple and immediate:
- Wash off residue.
- Dry your hands well.
- Apply cuticle oil.
- Follow with hand cream.
- Give your nails a little time before another harsh service.
Cuticle oil helps restore flexibility to the skin around the nail, and hand cream helps reduce the tight, chalky feel that often follows removal. If the nails look dull or rough, that does not always mean they are damaged; sometimes they just need moisture and a day or two to settle down.
If you want to keep the nails bare for a while, this is a good moment to let them rest before the next manicure.
When to See a Nail Technician or Dermatologist
Some removals are better left to a professional.
Go back to the salon if:
- You do not know whether the product is gel, shellac, dip, builder gel, or hard gel
- The nails are already thin, painful, or highly sensitive
- The coating is lifting unevenly and catching on hair or fabric
- The product is thick and not softening after proper soaking
- You suspect hard gel or another non-soak-off system
- You soaked twice and the product is still hard
If the skin around the nails is irritated, cracked, or looks infected, a dermatologist is the safer call than more at-home removal. I would also avoid removal on broken skin, because acetone can make irritation feel worse.
If you are trying to preserve the manicure for a repair or refill, a salon is often the better place to decide what can be saved and what needs full removal. For more context on salon services and nail choices, you may also find it helpful to read how gel polish is priced at salons or whether you can bring your own polish to a salon.
Simple Takeaway
If it is regular polish, remover and cotton are usually enough. If it is gel, shellac, or dip, acetone and a careful soak-off method are usually the safer route. If it is hard gel or the product type is unclear, stop and let a professional handle it. The safest removal is rarely the fastest one, but it is the one that leaves your nails ready for the next service.

