
Cute Nail Art for Teens: 10 Easy, Age-Appropriate Ideas That Actually Work

Teen nail art should do three things well: look cute, feel like “you,” and stay practical enough for school, sports, and everyday life. As a licensed nail technician, I always steer teens toward designs that are simple to wear, easy to clean up, and realistic to recreate at home.
The best part is that cute doesn’t have to mean complicated. A tiny heart on a short nail, a soft pastel French tip, or a single glitter accent can read just as stylish as a more detailed set. If you want inspiration that works on short nails, natural nails, or press-ons, the ideas below are a solid place to begin.
Cute Nail Art for Teens at a Glance
Here’s a quick comparison to help you choose a style before you paint a single nail.
| Design idea | Skill level | Best nail length | School-friendly? | Time needed | Better for DIY or press-ons? |
|---|---|---|---|---|---|
| Tiny hearts and stars | Beginner | Short or natural | Yes | 15–25 min | DIY |
| Pastel French tips | Beginner to easy | Short to medium | Usually yes | 20–35 min | DIY |
| Minimalist smiley faces | Beginner | Short | Yes | 15–20 min | DIY |
| Floral accent nails | Easy | Short to medium | Usually yes | 25–40 min | DIY or press-ons |
| Glitter accent nail | Beginner | Any | Usually yes | 10–20 min | DIY |
| Cherry, bow, or butterfly stickers | Beginner | Any | Yes | 10–15 min | DIY |
| Soft color-block nails | Easy | Short to medium | Usually yes | 25–40 min | DIY |
| Clear or sheer base with tiny details | Beginner | Short or natural | Yes | 10–20 min | DIY |
| Press-on nails with cute art | Beginner | Any | Depends on design | 5–15 min | Press-ons |
If you want the fastest decision rule: choose stickers or press-ons when time is tight, pastel French tips when you want something polished, and tiny motifs when you want a design that stays cute on short nails.
1. Tiny Hearts and Stars on Short Nails
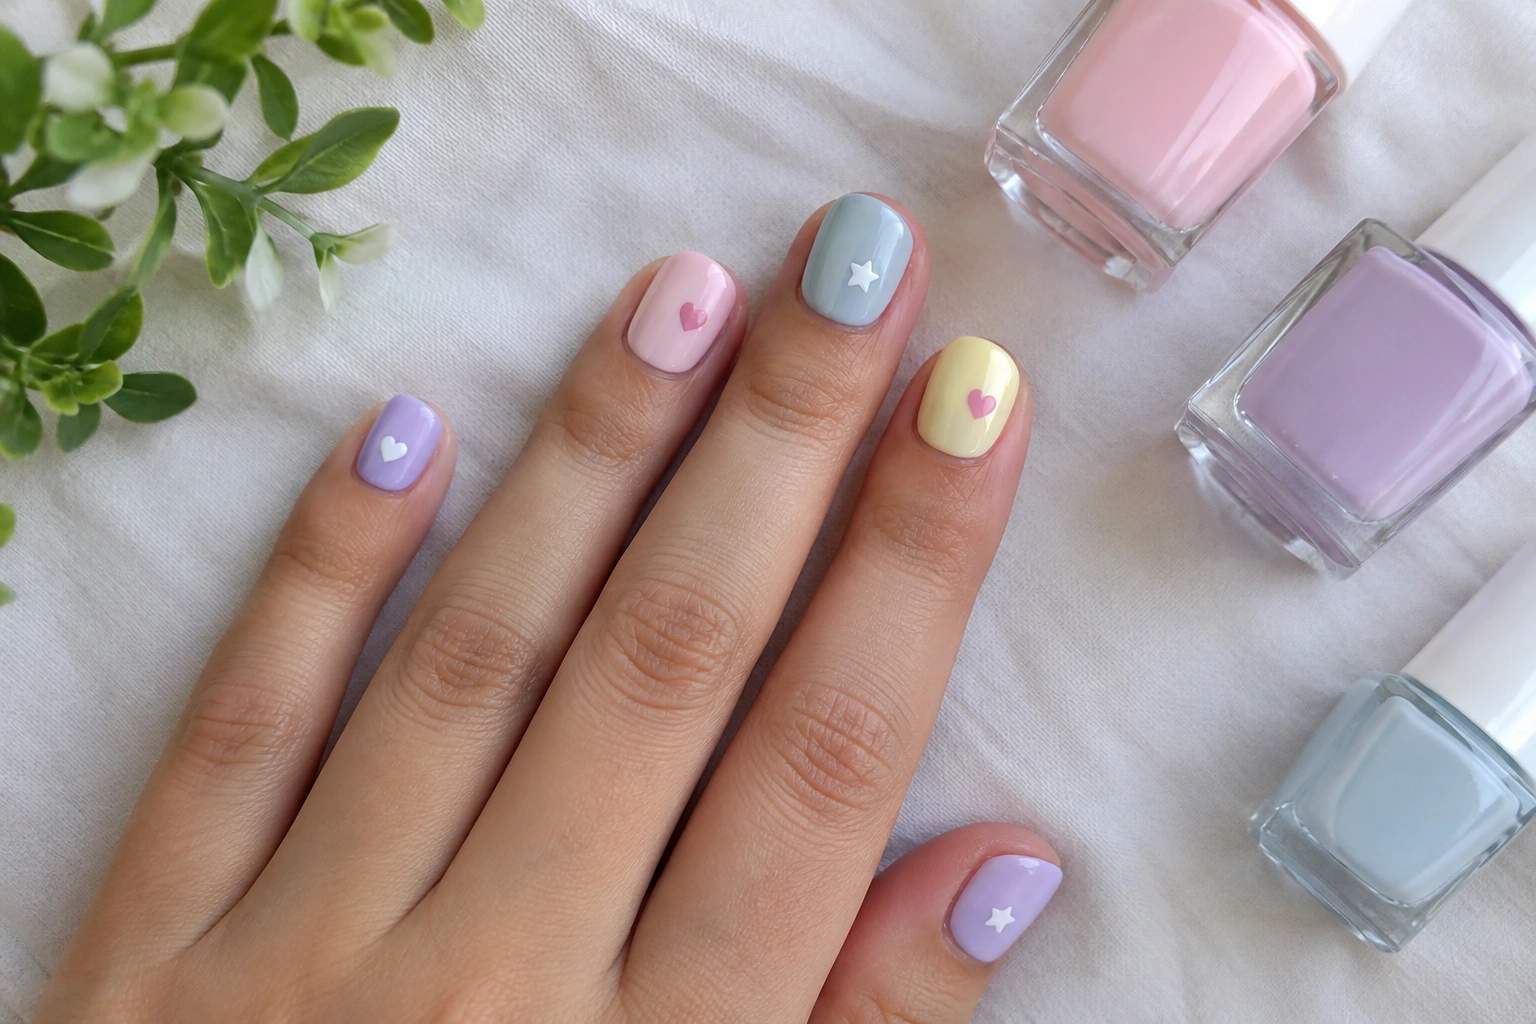
Tiny motifs are one of the easiest ways to make short nails look intentional instead of plain. A sheer pink, nude, or pale blue base with one or two tiny hearts or stars on each hand feels youthful without looking busy.
This works especially well if your nails are short and natural, because small shapes don’t get cut off by the nail edge. On very short nails, place the design near the center or closer to the cuticle rather than trying to fill the whole nail.
A simple version looks like this:
– Paint all nails one soft base color.
– Add one tiny heart on the ring finger and one star on the thumb.
– Seal with a glossy top coat.
If you’re new to nail art, use a dotting tool or the tip of a bobby pin to make small dots, then connect them into a heart. That keeps the design neat without needing steady freehand drawing.
2. Pastel French Tips
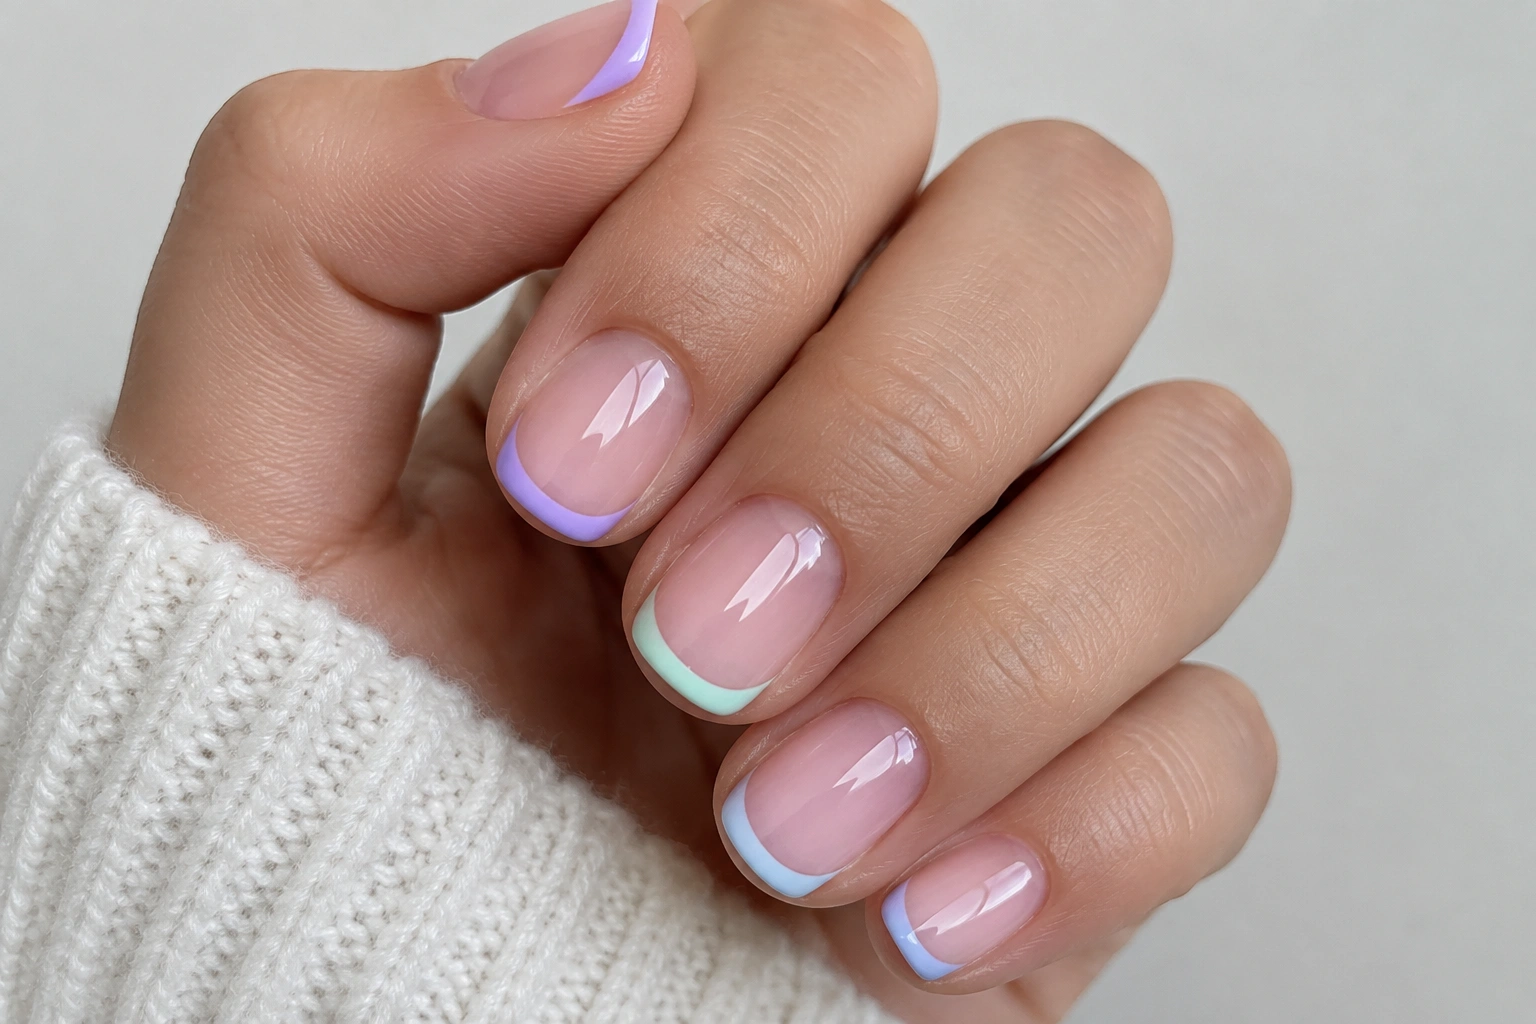
French tips feel much more teen-friendly when you swap the classic white for pastel shades like lavender, mint, baby blue, or soft peach. The look still reads clean and polished, but the color makes it feel lighter and more playful.
This is a smart choice for school because it stays subtle from a distance. It also pairs well with short nails, which gives the manicure a neat, modern shape instead of a dramatic one.
A few easy variations:
– One pastel shade on every tip
– Different pastel colors on each nail
– A very thin tip line for a softer finish
If you want a more grown-up look without going too mature, keep the base sheer and the tip narrow. A thicker tip usually looks bolder and can be harder to keep even on short nails.
3. Minimalist Smiley Face Nails
Smiley face nails are playful, simple, and easy to customize. On a clear, nude, or pale yellow base, a tiny smiley on one or two accent nails can give the whole manicure a fun personality.
This design is a strong beginner pick because it only requires dots and a short curved line. You can make the face black for contrast, or use soft brown if you want something gentler.
A good rule here is to keep the smiley small. Large faces can look cluttered on short nails, while tiny ones feel cleaner and more age-appropriate. If you’re wearing the design to school, one accent nail per hand is often enough.
4. Floral Accent Nails
Floral accent nails are a nice middle ground between plain polish and full nail art. Instead of drawing flowers on every nail, put one simple flower on the ring finger or thumb and keep the rest of the manicure solid.
This approach gives you a little detail without demanding precision across ten nails. It also helps if you’re still learning, because one accent nail is much easier to fix than an entire set.
For a teen-friendly version, try:
– Daisy petals on a pastel base
– Tiny cherry blossom dots on a sheer pink base
– One small flower paired with solid pastel nails
If you want the design to stay subtle, use just one flower per accent nail. Dense floral clusters can look more mature and are harder to keep balanced on short nails.
5. Glitter Accent Nail Manicure
A glitter accent nail is one of the easiest ways to make a manicure feel special. Keep most nails simple, then add glitter to one nail on each hand or just the ring finger for a birthday, weekend outing, or dance.
This works well because the glitter does the decorating for you. You don’t need advanced skills, and you can pair it with almost any base color: pink, lavender, black, nude, or soft blue.
There’s also a practical benefit. If you’re nervous about nail art looking too busy, a single glitter nail gives you sparkle without overwhelming the whole set. Glossy top coat usually makes the glitter look smoother and more finished.
6. Cherry, Bow, or Butterfly Nail Stickers
Nail stickers are one of the fastest ways to get cute results with very little skill. Cherry, bow, and butterfly decals are especially popular for teen-friendly manicures because they look sweet without feeling childish.
Stickers are a smart choice when you want:
– A clean design in less time
– More uniform results than hand-painting
– A style that’s easier to do on your non-dominant hand
They also work well for short nails, since the sticker can be placed in a small open space instead of requiring a full painted scene. If you’re choosing between stickers and hand-painted art, stickers win when speed and consistency matter most.
For best results, apply them over a fully dry base color, then seal with top coat so the edges don’t lift early.
7. Soft Color-Block Nails
Color-block nails use simple sections of color instead of tiny drawings, which makes them a nice option if you like a modern look but don’t want detailed art. Think peach and white, lavender and cream, or pale blue and nude.
This style gives you more visual interest than a plain manicure, but it still stays age-appropriate and easy to wear. It’s also forgiving if your lines aren’t perfectly straight, especially on short nails where the shapes can be kept small.
A practical way to do it:
– Paint the base color first.
– Add one contrasting block at the tip or side.
– Keep the design to one or two colors per nail.
Color-blocking looks best when the shades are close in brightness. A soft pastel paired with a harsh neon can feel less balanced, while two gentle tones usually look cleaner.
8. Clear or Sheer Base with Tiny Details
If you want something barely-there and school-friendly, a clear or sheer base with tiny details is hard to beat. Small dots, one mini heart, or a single star on an otherwise clean nail can look polished without drawing a lot of attention.
This is also a good beginner option because it’s easy to correct. A sheer base hides small mistakes better than a dark opaque polish, which makes the whole manicure less stressful.
A few easy combinations:
– Clear base with tiny white hearts
– Sheer pink with one gold star accent
– Nude sheer polish with micro dots near the cuticle
This style is especially useful if your school has stricter dress-code expectations. It keeps the nails neat and decorative without looking loud.
9. Press-On Nails for Cute Designs in a Hurry
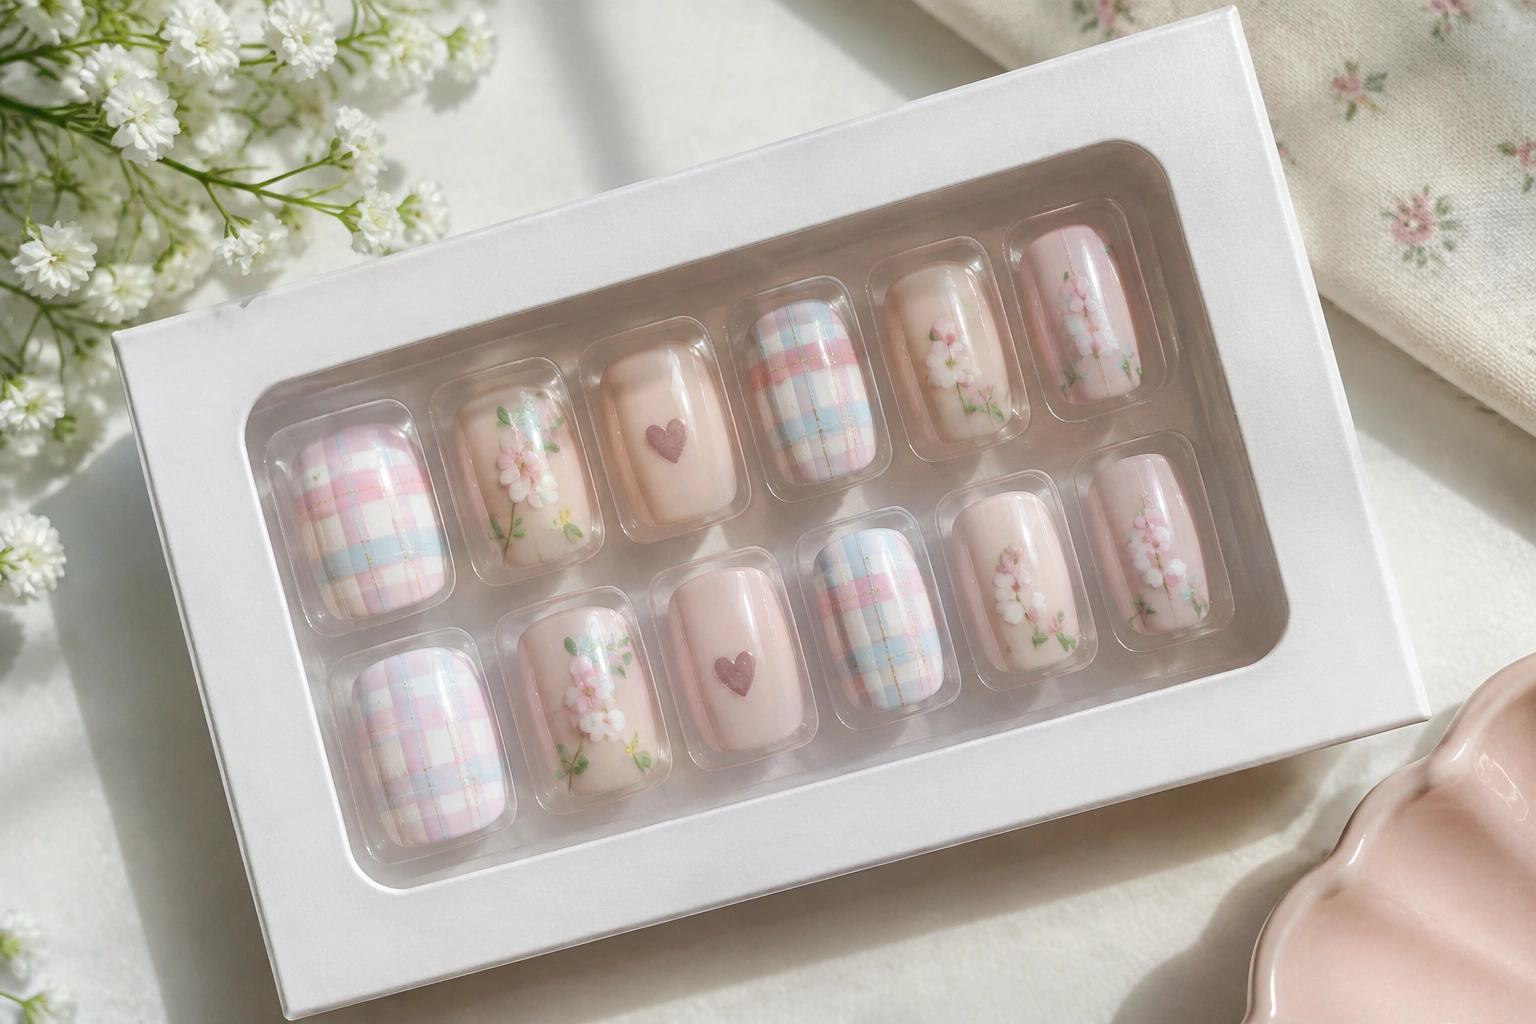
Press-ons are worth considering when you want a finished look fast or when you’d rather skip the painting process entirely. In general, manufacturers say the wear time depends on the adhesive method and how well the nails are prepped and applied. Adhesive tabs are usually better for short-term wear, while glue is typically used when you want a longer hold.
That makes press-ons a strong choice for:
– School dances
– Birthday parties
– Vacations
– Anyone who wants a uniform design without freehand art
The trade-off is simple: press-ons are quicker and more consistent, while DIY polish gives you more control over color and detail. If you like changing your nails often, adhesive tabs are convenient. If you want the look to stay on longer, glue is usually the more durable option.
A cute teen-friendly press-on set might include pastel plaid, tiny hearts, or small floral details. Keep the shape practical if you wear them daily; shorter square or squoval shapes usually feel easier to live with than very long tips.
10. Best Colors for Teen Nail Art
Color does a lot of the work in teen nail art. The easiest shades to wear tend to be:
– Pastels: lavender, mint, baby pink, soft blue
– Soft brights: coral, turquoise, peach
– Neutrals: nude, milky white, sheer pink
– Light glitter: silver shimmer, iridescent top coat
Pastels and neutrals usually feel the most school-friendly because they read softer and cleaner. Soft brights are a better pick when you want your nails to stand out a little more without looking overly bold.
If you’re unsure, choose one main color family and one accent. For example, lavender with white details feels calmer than mixing lavender, orange, and black in the same set.
Matte vs. Glossy: Which Finish Works Better for Teens?
Both finishes can look cute, but they give off different vibes. Glossy polish usually looks brighter and more polished, which makes it a safe choice for school-friendly nail art, French tips, and stickers. Matte polish looks softer and more modern, but it can show chips and scuffs a little more easily, especially on everyday short nails.
If you want the longest-lasting, most beginner-friendly finish, glossy top coat is usually the easier pick. If you want a trendy look for a special occasion, matte can work well on simple designs with clean lines. For teen nail art, glossy is often the more practical everyday choice, while matte is better when you want a muted, fashion-forward look.
Tools and Supplies for Easy DIY Nail Art
You do not need a huge kit to make cute nail art at home. For most teen-friendly designs, a small beginner set is enough:
- Base coat
- Top coat
- 2 to 4 nail polish colors
- Dotting tool or bobby pin
- Thin striping brush, if you want lines or French tips
- Nail stickers
- Cotton swabs
- Small cleanup brush
- Nail polish remover
If you’re only doing simple designs, stickers and a dotting tool will probably get used the most. A striping brush helps with French tips and color-block edges, but it’s not essential for every manicure.
One practical tip: keep your supplies focused. Buying too many specialty tools can make the process feel harder than it is. For beginners, the best kit is the one you’ll actually use.
How to Make Cute Nail Art Last Longer
A cute design looks better when it lasts more than a day or two. The basic routine is simple: apply base coat, let each layer dry, finish with top coat, and avoid using your nails as tools.
That last part matters more than people think. Opening cans, peeling stickers, and scraping labels can chip the tip quickly, even on a well-done manicure.
A few habits that help:
– Cap the free edge with top coat
– Let polish dry fully before touching anything
– Wait a few minutes between thin coats so the layers set properly
– Reapply top coat every few days if needed
– Keep cuticle oil or hand lotion away from fresh stickers until they’ve set
Thin coats are usually easier for beginners than one thick coat, because they dry more evenly and are less likely to smudge. If you’re using press-ons, follow the product instructions closely for prep and removal.
School-Friendly Nail Art Rules of Thumb
If your school has rules about nails, subtle designs are usually the safest route. A good test is whether the manicure still looks neat from arm’s length. If it does, it will probably feel appropriate for everyday wear.
These choices usually work well:
– Short or medium-short length
– Soft colors instead of very dark or neon shades
– One accent nail instead of full coverage art
– Small motifs instead of large characters or heavy embellishment
If you’re deciding between two looks, pick the one that would still make sense with a uniform, a hoodie, or a sports practice schedule. That test usually points you toward the more wearable option.
Parents and caregivers may also want to help teens keep designs age-appropriate and school-compliant, especially when choosing length, color, and removal products.
How to Choose the Right Design for Your Nails
The easiest way to narrow it down is to match the design to your nail length, your schedule, and how much effort you want to spend.
Use this quick guide:
– Very short natural nails: tiny hearts, stars, smileys, sheer bases, micro florals
– Slightly longer short nails: pastel French tips, soft color-blocking, simple stickers
– Need it fast: stickers or press-ons
– Want polished but simple: pastel French tips
– Want a little sparkle: one glitter accent nail
– Want the most subtle result: clear or sheer base with tiny details
If you like changing your nails often, DIY polish gives you more flexibility. If you want a finished look for an event, press-ons save time and remove the pressure of perfect hand-painting. Either way, the cutest teen nail art is the kind that fits your life, not just your mood for one afternoon.
When to See a Nail Technician or Dermatologist
A nail technician can help if you want a cleaner shape, a more even French tip, or press-ons fitted properly for a special event. A dermatologist is the right choice if you have persistent nail discoloration, pain, swelling, or signs of infection. Nail art should never be used to cover a problem that needs medical attention.
FAQ
What are the cutest nail art ideas for teens right now?
Tiny hearts, pastel French tips, smiley faces, floral accents, glitter accent nails, and sticker designs are all strong choices because they’re cute without looking overly mature.
What nail art looks best on short nails?
Small motifs, sheer bases, micro florals, and thin French tips usually look best on short nails because they keep the design balanced.
Are press-ons better than DIY nail art?
Press-ons are faster and more uniform. DIY polish gives you more control and usually costs less if you already own the basics. Press-ons make sense when you want a ready-made look for an event.
What colors are best for teen nail art?
Pastels, soft brights, neutrals, and light glitter are the easiest to wear. They feel youthful, flexible, and easy to pair with school or weekend outfits.
How do I keep nail art from chipping quickly?
Use base coat and top coat, let each layer dry, and avoid using your nails as tools. For press-ons, follow the product’s application and removal instructions.
Are school-friendly nail designs possible?
Yes. Short nails, soft colors, minimal accents, and sheer bases are usually the safest options if you want something neat and dress-code-friendly.

