
How to Get Salon Nail Polish Off Safely at Home

If you want the short answer: first figure out what’s on your nails, then use the remover that matches it. Regular polish usually comes off with standard remover. Gel polish, dip powder, and many salon enhancements usually need acetone and a gentler soak-off method. If the product is hard gel, builder gel, or feels firmly bonded after soaking, that’s usually a sign to stop and let a professional remove it.
A simple rule saves a lot of damage: don’t peel, pry, or force product off your natural nail. The goal is to soften the coating until it lifts easily, not to rip it away.
For a broader salon-care overview, you may also find NailPrime’s salon removal guide helpful alongside this one.
Quick Comparison: Which Removal Method Fits Your Nails?
| Product type | Best at-home remover | What to expect | Best choice for most people |
|---|---|---|---|
| Regular nail polish | Non-acetone or acetone remover | Wipes off quickly with cotton | Cotton pad and remover |
| Gel polish | 100% acetone | Needs filing, soaking, and gentle lifting | Foil wraps or nail clips |
| Dip powder | Usually acetone | May take longer than gel and can resist the edges | Foil wraps with patience |
| Acrylic nails | Acetone for soak-off acrylic systems | Often slower and more technical | Salon removal if unsure |
| Hard gel / builder gel / BIAB | Often professional removal | Can be stubborn and may need filing | Salon removal is safest |
That table is the decision point. If you are not sure what you have, treat it like the more stubborn product and proceed carefully.
First, Identify What Type of Salon Product You Have
Before you reach for remover, look closely at the surface and the feel of the nail.
Regular nail polish
Regular polish usually looks and behaves like polish you could buy in a bottle for home use. It tends to chip, scratch, or wear at the edges over time. If you soaked a cotton pad with remover and it starts dissolving right away, that is a strong clue you’re dealing with regular polish.
Gel polish
Gel polish usually feels harder and shinier than regular polish. It is cured under a lamp and does not dissolve quickly with standard remover. If it stays glossy, resists wiping, and seems “stuck” to the nail, it is probably gel.
Dip powder
Dip powder often looks like a smooth, durable color layer with a thicker feel than regular polish. It is usually stronger than standard polish and often needs acetone soak-off.
Acrylic, builder gel, BIAB, or hard gel
These are the products most likely to need professional help if you are not experienced with removal. Essie notes that salons use 100% acetone for gel nails, but also says hard gel should be filed off by a professional, and builder or BIAB gel may need filing first because the layer is thicker. That is a useful clue: if the enhancement feels substantial, don’t assume a quick soak will handle it. Essie’s gel removal guide explains this distinction clearly.
If you still cannot tell what you have, a salon photo or a quick call to the technician who did the service is often worth the extra minute.
What You’ll Need Before You Start
Gather everything first so you are not leaving acetone on your skin while you hunt for foil.
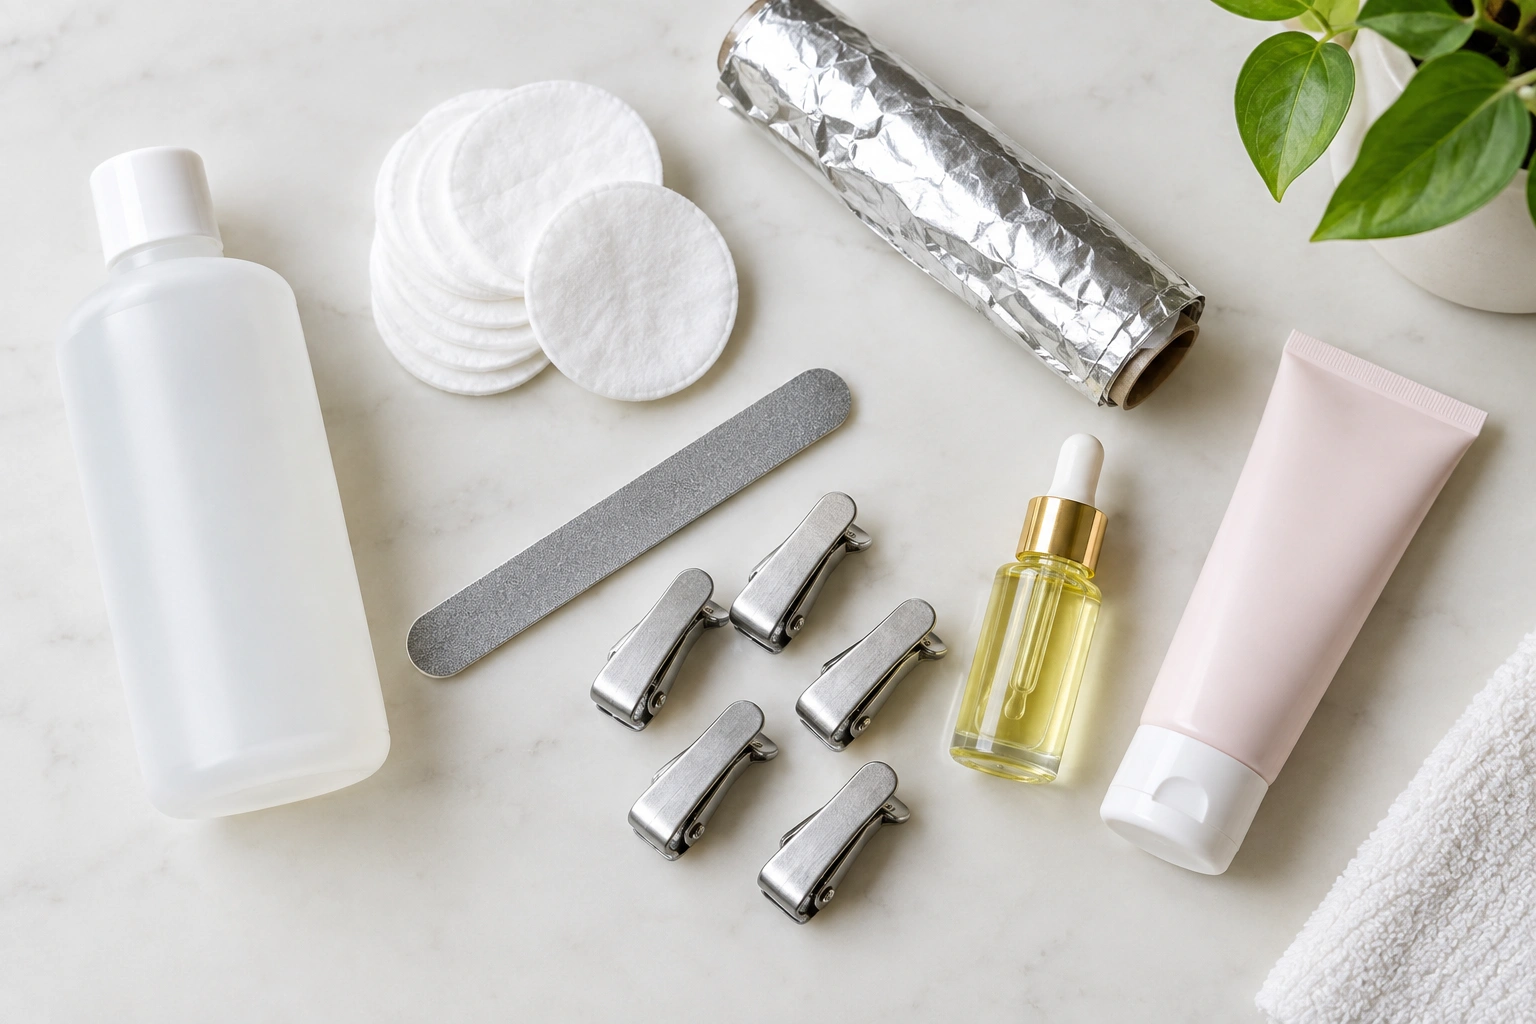
- Nail file: to remove the shiny top layer on gel or similar coatings so remover can penetrate
- Buffer: only for light smoothing, not aggressive thinning
- Cotton balls or cotton pads: to hold remover against the nail
- Aluminum foil or nail clips: to keep the remover in place
- 100% acetone: usually the most effective option for gel, dip, and many salon enhancements
- Non-acetone remover: fine for regular polish, but much slower on salon gel products
- Cuticle oil: for aftercare once the product is off
- Hand cream: to restore moisture after acetone use
- Petroleum jelly: optional, for protecting surrounding skin
The trade-off is simple: acetone works faster, but it is drier. Non-acetone remover is gentler, but it usually will not move salon gel in a reasonable time. Consumer Reports notes that acetone evaporates quickly and can be more drying, so good airflow matters. Consumer Reports on nail polish removers is a helpful reminder that performance and comfort do not always line up.
If you are removing gel polish at home, the American Academy of Dermatology suggests protecting the skin around the nails with petroleum jelly before removal. That small step can help reduce how much acetone dries out the skin. The AAD’s gel polish removal instructions are worth following closely.
How to Remove Regular Salon Nail Polish
Regular polish is the easiest case.
- Soak a cotton pad with remover.
- Press it onto the nail for a few seconds.
- Wipe from cuticle to tip.
- Repeat with a fresh pad if color remains.
- Wash your hands and apply hand cream.
If the polish is stubborn, acetone will usually work faster than non-acetone remover. But for an ordinary pedicure or manicure with standard polish, non-acetone is often enough and less drying.
A useful test: if the polish lifts off in one or two passes, you likely had regular polish. If it barely budges, stop treating it like regular polish and move to the gel-removal section.
How to Remove Gel Polish Safely
Gel removal is where most damage happens, usually because people peel it off too soon.
Step 1: Lightly break the shine
Use a file to remove the glossy top layer. You are not trying to file through the color or reach the natural nail. You only want to dull the surface so the acetone can get in. If you have builder gel or BIAB, Essie notes that the layer may need filing first because it is thicker. If you have hard gel, that is a salon job.
Step 2: Protect the skin
Apply petroleum jelly to the cuticles and surrounding skin if you want extra protection. This is especially useful if your skin tends to get dry from acetone.
Step 3: Saturate cotton and wrap
Soak cotton balls or pads in 100% acetone, place one on each nail, and wrap with foil or secure with nail clips. Essie says salon removal commonly uses foil wraps with a 10- to 15-minute soak, while dermatology guidance may suggest a similar short soak with plastic wrap as one home-removal example.
Step 4: Check the lift
After soaking, most or all of the gel should look softened or lifted. The AAD says to remove the wrap and gently rub away any remaining gel with a warm, wet washcloth, taking care to avoid the surrounding skin. If only part of the product has softened, re-wrap those stubborn areas for short additional intervals instead of scraping hard.
Step 5: Finish gently
If there is still a thin patch left, use a fresh acetone-soaked cotton pad or a damp washcloth rather than digging with metal tools. A little patience here protects the nail plate.
The key warning: never peel gel polish off in sheets. That often takes the top layers of your natural nail with it, leaving the nail weak, rough, and sensitive.
What About Dip Powder or Acrylic Nails?
Dip powder and acrylic are more variable than regular polish, and that is where people get into trouble by trying to use a one-size-fits-all method.
A simple at-home dip powder removal guide
If the product is dip powder and it seems like a soak-off system, you can try this at home:
- File the top layer first. Remove the shiny top coat and lightly thin the surface so acetone can penetrate. You do not need to file down to the natural nail.
- Soak cotton in 100% acetone. Place it on the nail and wrap with foil or secure with a clip.
- Wait about 10 to 15 minutes to start. Dip powder often needs a little longer than regular gel, so treat that as the first check-in rather than the finish line.
- Check whether the product is softening at the edges. If it is, gently wipe or lift away the loosened material.
- Re-wrap stubborn spots for short intervals. If only part of the dip has softened, keep the softened areas moving and re-wrap the resistant areas instead of scraping.
- Stop if it stays hard and rigid after repeated soaks. That is usually a sign the product is too thick, too firmly bonded, or not a good at-home removal candidate.
What about acrylic?
Acrylic can sometimes be soaked off if it is a soak-off system, but many acrylic sets are thicker and more technical than people expect. If you are unsure what type of acrylic you have, or if it stays hard after repeated soaks, salon removal is the safer choice.
A practical rule:
– If it softens after a reasonable soak, continue gently
– If it stays hard after repeated soaks, do not force it
That is especially important for hard gel. Essie specifically recommends professional filing for hard gel nails. When in doubt, treat hard, inflexible enhancements as salon-removal territory.
Foil Wraps, Nail Clips, or a Soak-Off Bowl: Which Works Best?
Each method can work, but they have different trade-offs.
Foil wraps
Foil wraps are the classic choice for gel removal. They hold the acetone-soaked cotton in place and keep the process controlled. They are a little fiddly, but they limit how much acetone spreads onto your skin.
Nail clips
Nail clips do the same job as foil, but they are usually easier to reuse and less messy. If you remove gel often, clips can be more convenient than cutting foil every time.
Soak-off bowl
A soak-off bowl can feel faster, but it exposes more skin to acetone. That can mean more dryness, especially if your hands are already sensitive. For most people at home, foil or clips are the better balance of control and comfort.
If you want the least messy option, choose clips. If you already have foil in the house, foil works well. If your skin gets dry easily, avoid full-hand soaking unless you are very careful and keep the exposure short.
How Long to Soak and When to Stop
Timing matters more than force.
For gel polish, a first soak of 10 to 15 minutes is a practical starting point based on salon guidance and dermatology advice. If the product is not ready, soak a little longer rather than scraping harder.
Stop when:
– the product is lifting at the edges,
– it rubs off easily with gentle pressure,
– or the remaining layer is thin and soft.
Do not keep going just because a few stubborn spots remain. Re-wrap those spots instead.
If the nail starts to sting, the skin feels burned, or the surface looks chalky and over-buffed, stop and let the nail rest. Dryness is common after acetone, but pain is a warning sign.
Common Mistakes That Damage Natural Nails
Most removal damage comes from impatience, not the remover itself.
Peeling off lifted gel
Even if the polish is halfway loose, peeling can still pull off layers of the natural nail.
Over-filing the nail plate
You only need to remove the shine, not thin the nail. If the nail starts to feel rough or tender, you have gone too far.
Using non-acetone remover on gel and expecting speed
Non-acetone can work for regular polish, but it is usually too weak for salon gel products. That often leads to rubbing and scraping, which causes damage.
Scraping with too much pressure
If the product does not lift easily, it is not ready. Re-soak instead of forcing it.
Skipping aftercare
Acetone dries the nail and surrounding skin. If you do not replace that moisture, nails can feel brittle for days.
Aftercare: How to Restore Moisture After Removal
Once the product is off, your nails will usually look and feel drier than usual. That is normal after acetone exposure.
Do this right away:
1. Wash your hands with mild soap and lukewarm water.
2. Pat dry.
3. Massage cuticle oil into each nail and surrounding skin.
4. Apply hand cream.
5. Avoid aggressive filing for a day or two if the nail feels sensitive.
If the nails look dull or chalky, that does not automatically mean they are damaged. Sometimes they just need moisture. Give them a little time, oil, and a break from harsh removers.
When to See a Nail Technician or Dermatologist
Go back to a professional if any of these apply:
- You are not sure whether the product is regular polish, gel, dip, acrylic, or hard gel
- The product will not soften after repeated acetone soaks
- The nail feels painful, hot, or very tender
- The skin is red, raw, or irritated
- The nail plate is lifting from the nail bed
- You suspect infection or there is visible damage around the nail
- You have hard gel, builder gel, or another enhancement you cannot safely identify
Even without pain, salon removal is often the better call if the product is thick, rigid, or unknown. If the nail is already compromised, a salon visit is usually the safer choice. That is not a failure; it is simply the better decision for the nail underneath.
For readers who are deciding whether a salon removal is worth it, NailPrime’s soak-off cost guide can help you weigh convenience against the risk of doing it yourself.
A Simple At-Home Removal Decision Rule
If you want a quick check before you begin, use this:
- Wipes off easily with standard remover → likely regular polish
- Needs acetone and gentle soaking → likely gel or dip
- Feels thick, hard, or unclear → stop and consider salon removal
- Hurts, burns, or looks damaged → stop immediately
That small decision tree will save you more nail trouble than any fancy tool ever will.

