
How to Prevent Bubbles in Nail Polish for a Smooth, Salon-Style Finish

Bubbles are one of the most frustrating polish problems because they can appear even when your color looks perfect going on. The good news: most bubbling comes from a handful of fixable causes — usually bottle handling, coat thickness, drying conditions, or polish that has gotten too thick to level well.
If you want a smoother result at home, think in three buckets: the polish, the application, and the environment. That framework makes troubleshooting much easier. A manicure with clean prep and thin coats can still bubble if the room is humid or the bottle was shaken hard. Likewise, a great room won’t save polish that has turned gummy in the bottle.
For a broader prep-and-wear routine, you may also want our guides on how to prevent nail polish from chipping and how to prevent nail polish smudging while drying.
Why Nail Polish Bubbles Form
Bubbles usually show up for one of two reasons:
- Air got trapped in the polish film
- The polish dried unevenly and formed tiny pockets
That can happen during application, while the coat is still wet, or as the polish dries. A few common triggers are easy to spot:
- Shaking the bottle hard can whip air into the formula. The Beauty Department specifically advises against shaking and suggests rolling the bottle between your palms instead. Source
- Thick coats dry more slowly and are more likely to trap air or level poorly. Dashing Diva also recommends thinner coats and full drying between layers. Source
- Old, thickened polish moves differently than fresh polish and is harder to apply evenly.
- Heat and humidity can interfere with drying, especially in bathrooms or warm rooms. LondonTown notes that room temperature and humidity can affect bubbling in top coats. Source
A useful rule: if the bubbles are mostly in the first coat, suspect bottle handling or nail prep. If they appear after the second or top coat, suspect thickness, drying time, or the room conditions.
Quick decision tree
- Did the bubbles start in the bottle or right after shaking?
Likely bottle handling. - Did they show up while you were brushing and re-brushing the nail?
Likely application technique. - Did the polish look smooth at first, then bubble as it dried?
Likely drying conditions. - Does the polish drag, string, or refuse to level even in thin layers?
Likely polish thickness.
What You’ll Need
Keep your setup simple and controlled:
- Base coat
- Nail polish color
- Top coat
- Nail polish thinner designed for polish
- Lint-free wipe or cotton pad
- Nail polish remover for cleanup
- Cuticle pusher or orange stick
- Good lighting
A base coat matters because it gives the color a smoother foundation. The Beauty Department includes base coat as part of its bubble-avoidance advice. Source
If your polish has thickened over time, use nail polish thinner made for polish, not remover or acetone. Remover changes the formula in ways you do not want.
Before You Start: Prep Your Nails and Workspace
A bubble-free manicure begins before the brush touches the nail.

Clean and dry the nail plate
Oil, dust, and residue can interfere with how polish settles. Dashing Diva recommends clean, oil-free nails as part of bubble prevention. Source
If your hands were recently in warm water, wait until the nails are fully cool and dry. Hot nails and trapped moisture can work against a smooth finish.
Choose a better environment
A cool, dry, low-dust room is easier to work in than a warm bathroom after a shower. If the air feels sticky, your polish may level more slowly and hold onto imperfections longer.
Set out everything before opening the bottle
Every extra minute the bottle sits open lets more air in. The Beauty Department notes that leaving the lid off allows the polish to thicken, and thick polish is more likely to bubble. Source
How to Prevent Bubbles in Nail Polish: Step by Step
1. Prepare the bottle gently
Do not shake the bottle hard. That is the fastest way to introduce air into the formula.
Instead, roll it between your palms for a few seconds. That mixes pigment without beating air into the polish. For regular polish, this is usually the safer choice when you want an even formula without extra bubbles. For gel systems, follow the brand’s instructions; some gel brands also advise against shaking.
2. Apply a thin base coat
Use a light layer, not a wet flood. A thin base coat dries more evenly and gives the color coat a steadier surface to grip. Let it dry to the stage where it is set and no longer tacky before moving on to color.
3. Use thin coats that can self-level
Each coat should be thin enough to settle on its own without you having to keep reworking it. If you keep brushing back and forth, you disturb the surface and can trap tiny air pockets.
A useful visual: the brush should leave the nail looking evenly coated, not drenched.
4. Cover the nail in a few controlled strokes
For most nails, one stroke down the center and one stroke on each side is enough. If a patch looks thin, leave it alone and correct it on the next coat.
5. Choose the right number of coats for the formula
- Opaque polishes: one thin coat may be enough if the formula is highly pigmented, but two thin coats are usually safer for even coverage.
- Sheer or jelly formulas: plan on two thin coats, sometimes more, because one coat often will not level or cover evenly.
- Problem formulas or thickened polish: two very thin coats are better than one heavy coat, but if the polish still drags or bubbles, the bottle may need thinning or replacing.
The goal is coverage without bulk. One thick coat is usually the worst choice for a smooth finish.
6. Let each coat dry before the next one
This is where many bubbling problems start. If the first coat is still soft, the next coat can disturb it and trap air underneath.
The safest approach is to wait until the layer is dry enough that it does not drag when touched lightly. Dashing Diva recommends letting each layer dry fully before adding the next. Source
7. Finish with a thin top coat
A top coat helps seal the manicure, but only if it is applied evenly. Too much top coat can set the surface before the lower layers have leveled. A quick-dry top coat can be useful, but it is not magic: if the base layers are too thick or the room is too humid, it may seal in problems instead of fixing them. LondonTown also advises thin layers and enough drying time between layers. Source
8. Let the manicure dry in a calm environment
Once the top coat is on, avoid moving your hands around a lot. Keep them away from steam, heat, and high humidity while the polish settles.
Should You Shake or Roll the Bottle?
Here is the simple rule:
- Roll if you want to mix the polish gently and reduce the chance of adding air.
- Shake only if the product instructions specifically tell you to, and even then, be cautious.
The Beauty Department recommends rolling the bottle between the palms rather than shaking it. Source
Trade-off
- Shaking is faster, but it can create tiny bubbles in the bottle and in the polish film.
- Rolling is slower, but it keeps the formula calmer.
If your polish already tends to bubble, rolling is the better default.
How Many Coats and How Long to Wait Between Them
Most bubbling problems come from trying to get full coverage in too few passes. One thick coat feels efficient, but it is usually the worst choice for a smooth finish.
Thin coats vs. thick coats
Thin coats
– Dry more evenly
– Level better
– Are less likely to trap air
Thick coats
– Look opaque faster
– Take longer to dry through
– Are more likely to wrinkle or bubble
That trade-off matters most with darker or highly pigmented shades, which can tempt you to apply too much at once.
How long to wait
There is no universal minute count that works for every formula, because polish thickness, temperature, and humidity all change drying speed. Use the practical test: the coat should be dry enough that the brush does not drag or dent it.
If you are unsure, wait longer rather than rushing the next layer. That is especially true before top coat.
How to Tell If the Polish Itself Is the Problem
Sometimes the issue is not your technique. The bottle may be the problem.
Signs the polish is too thick
- It pulls in strings when you lift the brush
- It applies unevenly, with ridges
- It takes too long to level
- It seems tacky even in thin layers
- It keeps bubbling even when you apply thin coats and give it enough drying time
When to thin it
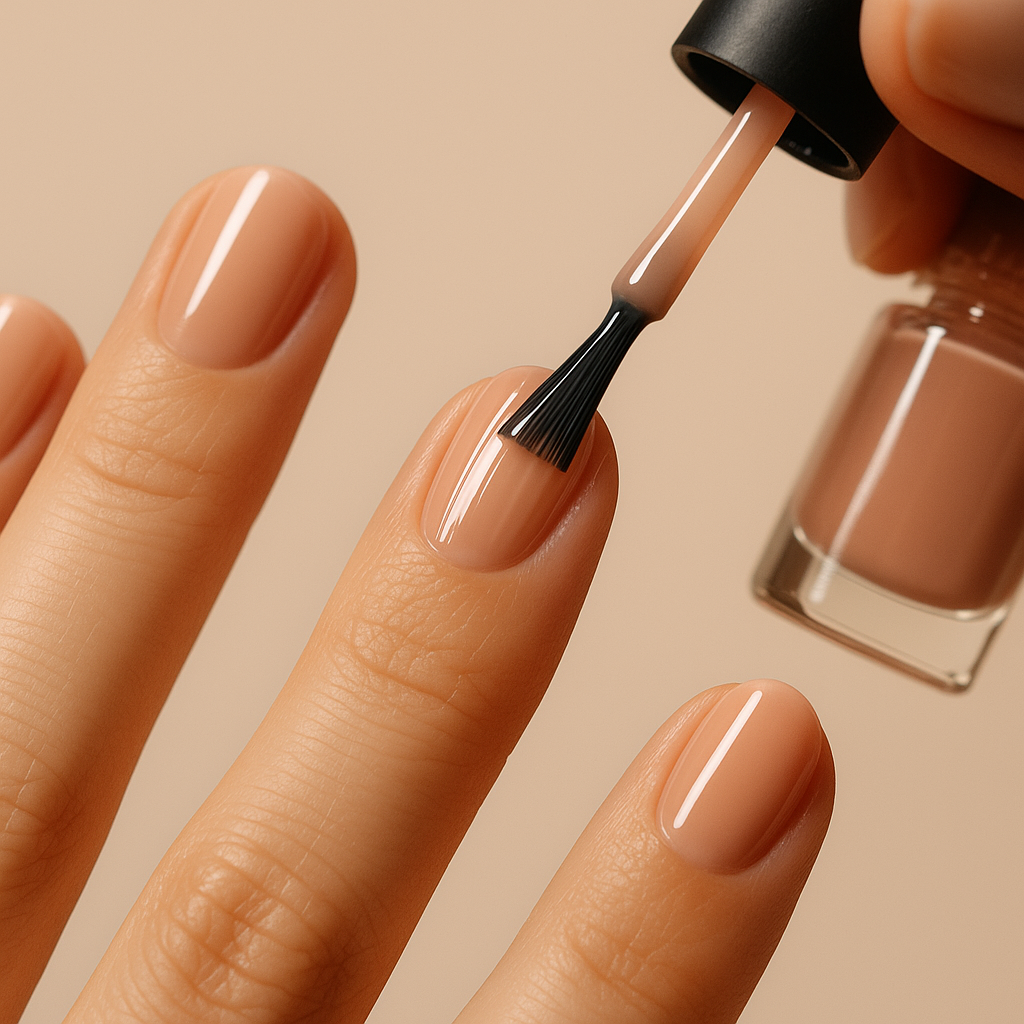
If the polish is still usable but has thickened, add a few drops of polish thinner made for nail lacquer and mix gently. Add gradually. Over-thinning changes the formula and can make application worse.
When to replace it
Replace the polish if it is:
- Severely separated and won’t recombine
- Gummy or stringy even after thinning
- So old that it no longer applies smoothly
- Still bubbling after thinning, careful rolling, and thin-coat application
Fresh polish is easier to work with because the viscosity is closer to what the formula was designed for. Glazeme also notes that fresh polish and a cooler environment can help reduce bubbling. Source
Common Mistakes That Cause Bubbles
Overworking the brush
Going back over the same area repeatedly disturbs the surface. If the polish is already starting to set, those extra strokes can create texture and trapped air.
Painting in a humid room
A bathroom after a hot shower is not ideal. Humidity can slow the way polish dries and make the surface less predictable.
Applying the next coat too soon
If the first layer is still soft, the second layer can sink into it and create tiny pockets.
Flooding the nail
Too much polish near the cuticle or sidewalls is harder to level cleanly.
Skipping nail prep
Oil and residue can make the surface behave unevenly. A quick wipe with remover on a cotton pad is a common prep step for very oily nails; a Beautylish discussion also mentions this approach. Source
How to Fix Bubbles After They Appear
If bubbles appear after application, first decide whether they are only on the surface or trapped lower in the polish.
Surface bubbles you may be able to mask
If the polish is still wet or only the top layer is affected, a very thin top coat may help smooth minor texture. Use it lightly and only if the base layers have already set enough to avoid dragging.
Bubbles trapped in lower layers
If the bubbles are in the color coat or below, a top coat will usually not hide them. Once those bubbles are raised or obvious, the cleanest fix is often to remove the affected nail or restart the manicure.
Dashing Diva notes that some bubbles are too deep to cover and that starting over may be the best option. Source
If the polish is still wet
Do not keep brushing it. That usually makes the problem worse. Give it a moment, then reassess whether the issue is only on the surface or already locked into lower layers.
Environmental Factors: Heat, Humidity, and Airflow
Your room can help or hurt your finish.
Best conditions
- Moderate room temperature
- Low to moderate humidity
- Good ventilation without strong direct airflow
Conditions that can cause trouble
- Hot, steamy rooms
- Very humid weather
- Direct fan or blow-dryer heat too close to the nail
Practical Examples of Bubble-Free vs. Bubbling Manicures
Scenario 1: The shaken bottle
You shake the color hard, paint one thick coat, and notice tiny bubbles across the nail. The fix next time is simple: roll the bottle, use thinner coats, and wait longer between layers.
Scenario 2: The humid bathroom manicure
You paint after a shower in a warm bathroom. The polish looks fine at first, then dries unevenly. A cooler room would have given the layers a better chance to settle.
Scenario 3: The old polish bottle
Your favorite nude has thickened in storage. It drags and bubbles no matter how carefully you apply it. Try polish thinner first. If it still behaves badly, replace it.
Scenario 4: The overworked brush
You keep going back over the same nail to smooth it out. Instead of leveling, the surface starts to look pitted. The better move is to place the polish, leave it alone, and correct coverage on the next coat.
Quick Troubleshooting Checklist
If your manicure is bubbling, use this fast diagnosis:
- Bubbles in the bottle before painting? Roll gently; if the polish is very thick, consider thinner or replacement.
- Bubbles on the first coat? Check nail prep and bottle handling.
- Bubbles after the second coat? Your layers may be too thick or too close together.
- Bubbles only in humid rooms? Change the environment before changing the product.
- Bubbles no matter what you do? The formula may be past its best condition.
When to See a Nail Technician
If you keep getting bubbles with multiple brands, multiple rooms, and careful application, a nail technician can help you narrow down whether the issue is product choice, application pressure, or a prep step you may be missing. If a formula seems badly degraded or you suspect a product reaction, stop using it and choose a fresh bottle.
FAQ
Why does my nail polish bubble after it dries?
Usually because air was trapped during application, the coat was too thick, or the polish dried unevenly. Drying conditions matter too.
Should I shake or roll the bottle?
Roll it between your palms unless the product directions say otherwise. Rolling mixes the polish more gently and is less likely to add air.
How many coats should I apply?
Use as many as needed for coverage, but keep each coat thin. One thin coat may be enough for some opaque formulas, but two thin coats are usually better for even coverage and fewer bubbles.
How long should I wait between coats?
Wait until the previous layer is dry enough not to drag or dent. If in doubt, wait longer.
Can base coat and top coat help prevent bubbles?
Yes, when used correctly. A thin base coat creates a smoother foundation, and a thin top coat helps seal the manicure.
Should I thin old polish before using it?
Only if it is thick but still usable. Use nail polish thinner made for polish, not remover. If the formula is badly degraded, replace it.
Does humidity make bubbles worse?
It can. A cool, dry room is usually easier for polish to dry smoothly than a hot, humid one.
Can I fix bubbles without starting over?
Small surface bubbles may be improved with careful finishing, but deep bubbles usually need a fresh application.
How do I know if the polish is the problem?
If it is stringy, thick, or hard to level even with good technique, the formula may be past its best condition.
What is the biggest beginner mistake?
Usually one of two things: shaking the bottle hard or applying coats that are too thick.

