
How to Prevent Nail Polish Bubbles: A Beginner-Friendly Guide

If your manicure keeps turning bumpy, you are not alone. Nail polish bubbles are usually a sign that something in the process needs a small adjustment — not that you “can’t do nails.” In most cases, the fix is simple: use thinner coats, give each layer enough time, and avoid agitating the bottle too much before painting.
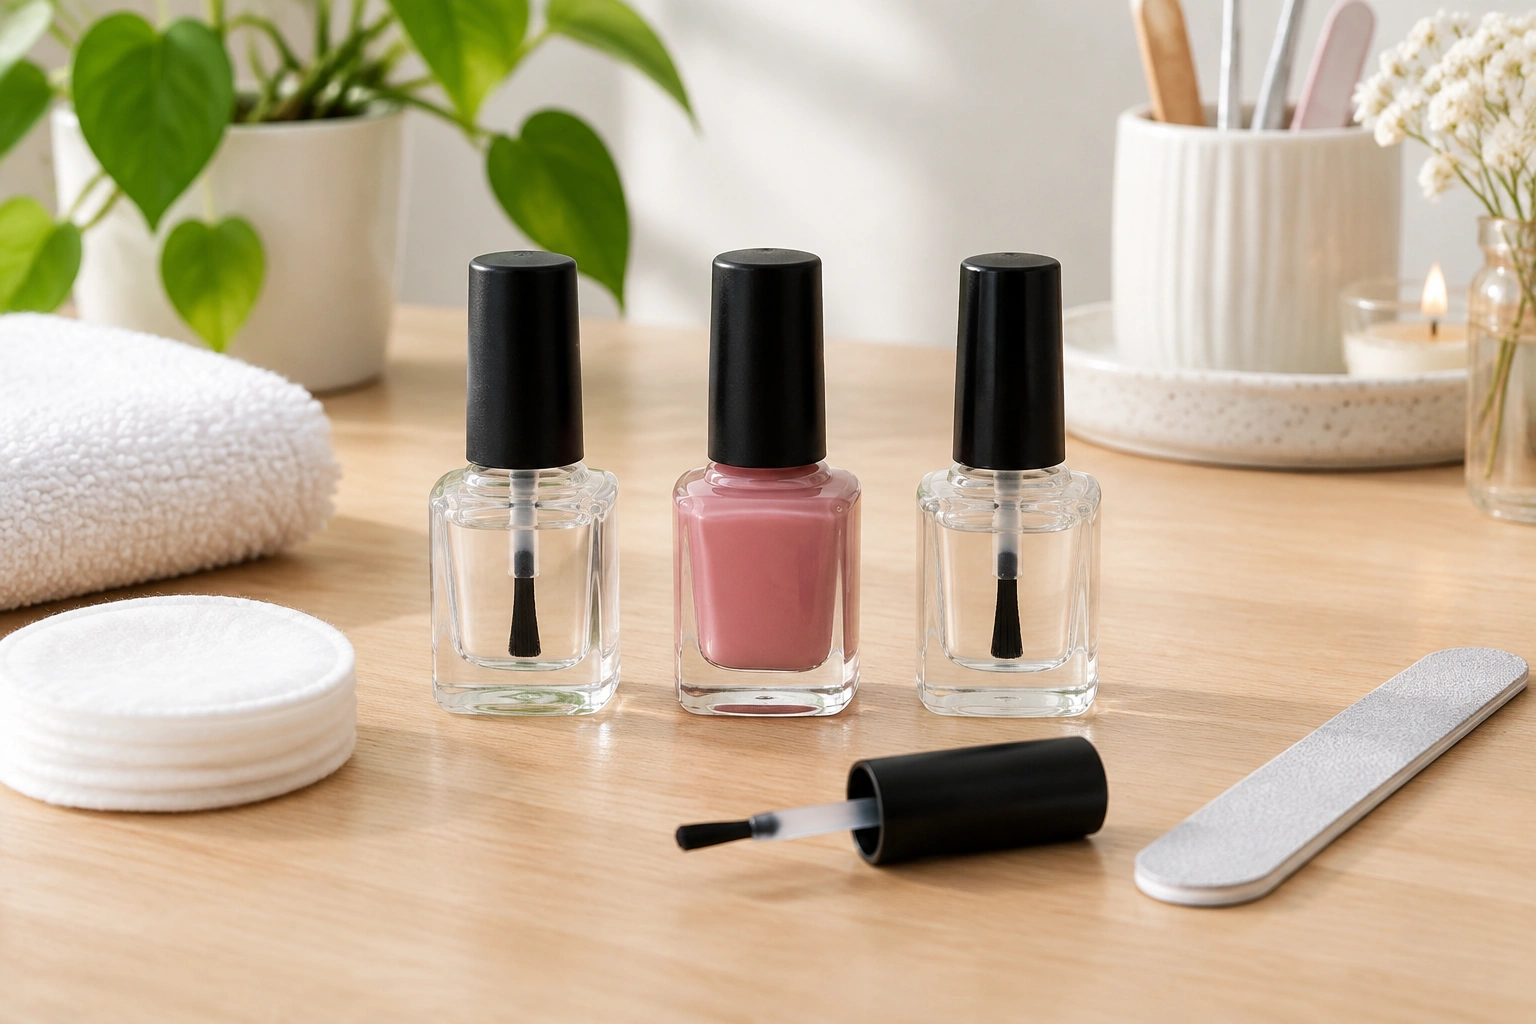
Bubbles can show up for different reasons. Sometimes they are caused while you are applying the polish, such as when the coat is too thick or the brush is overloaded. Other times, the polish looks smooth at first, then bubbles appear as it dries because the layers underneath are still soft, the room is too warm or humid, or the formula has gotten too thick. Once you know which stage the problem starts in, it becomes much easier to prevent it next time.
Quick troubleshooting guide:
– Bubbles while applying: check bottle handling, brush load, and coat thickness first.
– Bubbles after each coat: the layer underneath may not be set yet, so wait longer before adding the next coat.
– Bubbles after the final coat: look at drying conditions, product age, and whether the formula itself may need replacing.
Why Nail Polish Bubbles Happen
The easiest way to troubleshoot bubbles is to figure out when they appear.
Bubbles during application
These usually happen when the brush carries too much polish, or when you go back and forth over the same area too many times. That can trap tiny pockets of air in the wet layer. Thick polish can do the same thing, because it does not spread as smoothly.
Bubbles while drying
Sometimes the coat looks fine when you finish, but bubbles form later. That often means the polish underneath was still too wet when the next layer went on, or the room conditions slowed drying. Heat and humidity can make polish behave less predictably, especially if you are trying to speed things up.
Product-related vs. technique-related
A good rule is this: if the same polish suddenly starts bubbling on every nail, check the bottle first. If bubbles happen only when you paint quickly, apply heavy coats, or rush between layers, technique is the more likely cause. Old or thickened polish can contribute to both problems.
If this happens while applying, start with bottle handling and coat thickness. If this happens while drying, slow down between layers and check the room conditions before assuming the polish is bad.
Start With the Bottle: Shake Less, Roll More
Many beginners shake polish out of habit. That can create tiny air bubbles inside the bottle, and those bubbles may transfer to the brush and then to the nail.
A gentler choice is to roll the bottle slowly between your palms for a few seconds. Rolling mixes the polish without whipping as much air into it. Some formulas may still need gentle mixing, but keep it slow rather than vigorous.
Simple decision rule
- If the polish looks separated, roll it gently.
- If you already shook it, let it sit for a minute before opening.
- If the polish is still full of visible bubbles in the bottle, wait for them to settle before painting.
Shaking is fast, but rolling is usually the safer choice when your goal is a smoother finish. If the cap is stuck, avoid banging the bottle hard on the table; that can stir up more bubbles and make cleanup messier.
Apply Thin Coats Instead of Thick Ones
Thin coats are one of the most reliable ways to prevent bubbles. A thick coat takes longer to set, which gives trapped air more time to rise and stay visible in the finish.
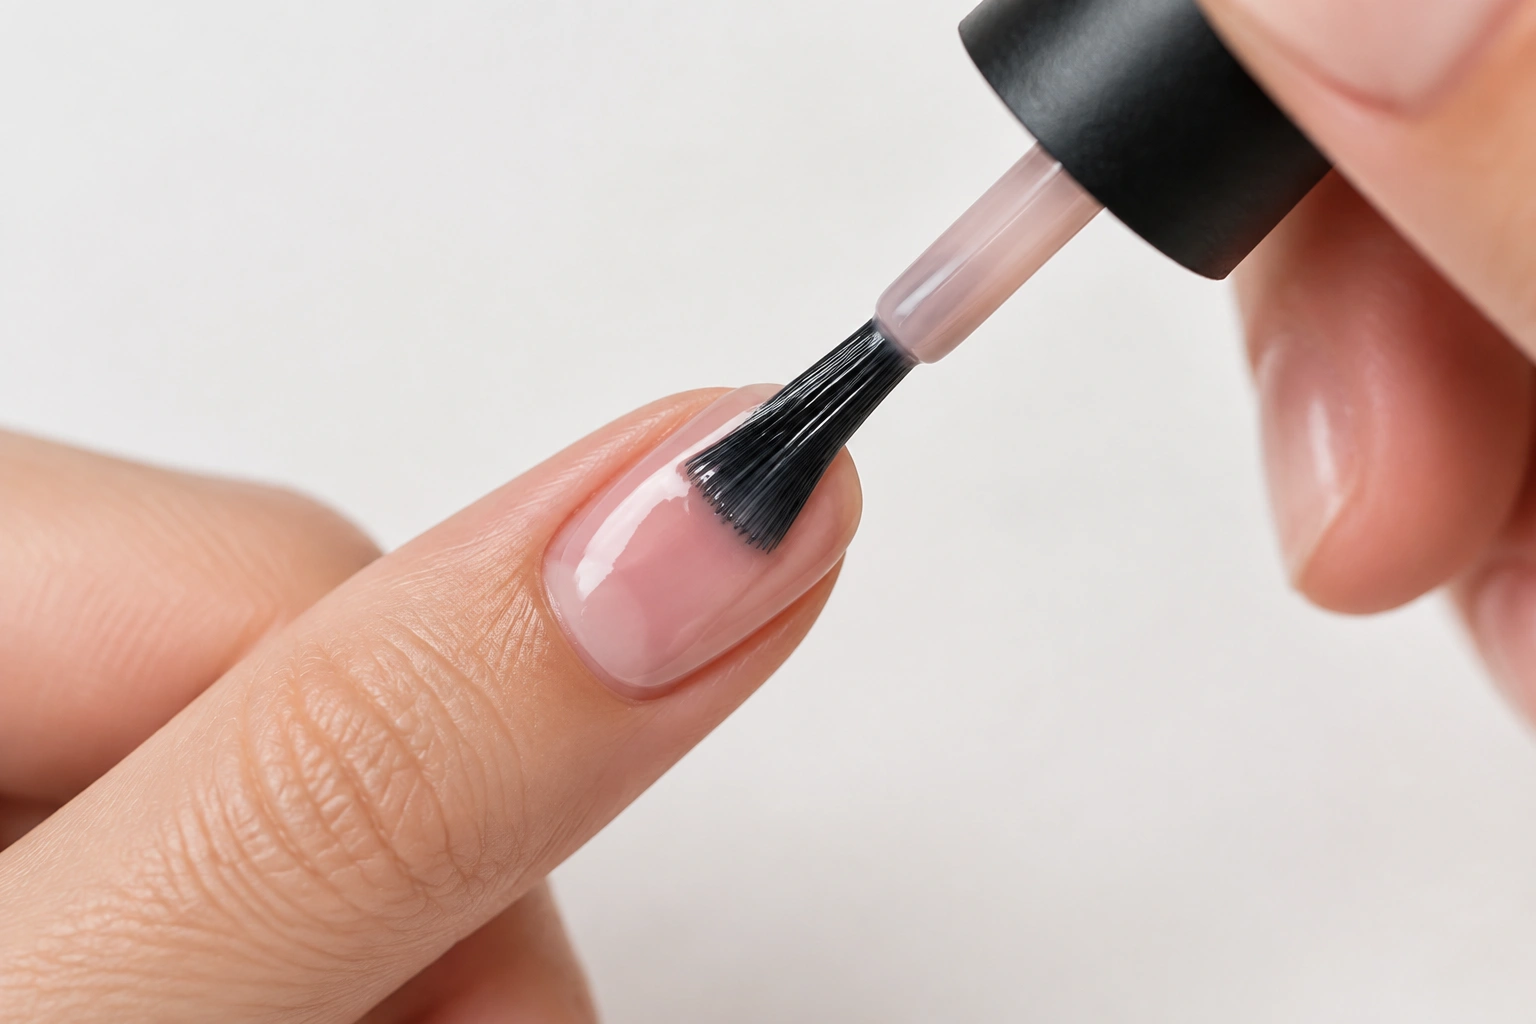
A thin coat should look even, not streaky and flooded. If the brush is dripping, it has too much polish on it.
A beginner-friendly brush load
Wipe one side of the brush against the bottle neck, then paint with the smaller amount left on the other side. That gives you more control and helps the polish settle smoothly.
What to avoid
- Pressing hard on the brush
- Painting over the same area repeatedly
- Trying to cover the whole nail in one heavy swipe
If a coat looks a little sheer, that is usually better than forcing opacity in one pass. Two or three thin layers are often cleaner than one thick one.
For readers who want to compare polish types and finishes, this simple polish vs. lacquer guide can help make the product terms less confusing.
Let Each Coat Dry Before the Next One
Rushing between coats is a common reason bubbles appear later. The layer underneath may still be soft even if it no longer looks wet.
A practical rule: wait until the previous coat feels set enough that it will not shift when touched lightly at the edge. “Set” can mean it looks dull instead of glossy, feels dry to a light touch, and does not drag when you test the very edge of the nail. For beginners, that often means waiting roughly 5 to 10 minutes between thin coats, though thicker coats usually need longer.
Why this matters
When a fresh coat goes over a soft one, the solvents in the new layer can disturb the layer below. That can lead to bubbling, wrinkling, or a finish that never quite levels out.
A simple habit
Paint one hand, then switch to the other. By the time you return, the first hand has had a little more time to settle. This is not a perfect timer, but it helps beginners avoid rushing.
If your polish tends to stay sticky for too long, this article on why nail polish stays tacky after drying may help you figure out whether the problem is the formula, the coat thickness, or the drying conditions.
Use Base Coat and Top Coat the Right Way
Base coat and top coat can help your manicure look smoother, but they can also contribute to bubbling if they are applied too heavily or too quickly.
Base coat
A base coat gives the polish a more even surface to grip. That can help the color go on more smoothly. Keep it thin, though. A thick base layer can stay soft underneath and interfere with the color coat.
Top coat
Top coat can seal the manicure and improve shine, but it should not be brushed on in a way that drags the color underneath. If you press too hard or overload the brush, you may disturb the layers below.
Best practice
- Apply base coat in a thin layer.
- Let it set before color.
- Add top coat only after the color layers are mostly dry.
Quick-dry top coats can be helpful if your main issue is waiting too long and bumping the polish. Air drying is usually gentler for very wet layers, while a quick-dry top coat can help once the color has had time to set. It is not magic, though. If the color coats are thick or still wet underneath, a top coat cannot fully fix that.
Watch the Room Conditions While You Paint
The room you paint in matters more than many beginners realize. Heat, humidity, and strong airflow can all affect how polish dries.
Heat
A warm room can speed up drying on the surface, but that does not always mean the whole layer is ready. If the top skins over while the polish underneath is still soft, bubbles can get trapped.
Humidity
Moist air can slow drying and make polish more likely to stay soft longer than expected.
Strong airflow
A fan or open window may seem helpful, but direct airflow can sometimes disturb the surface of wet polish. That can leave the finish uneven or create small disruptions as it dries. Gentle, indirect airflow can help with drying, but avoid aiming a fan straight at wet nails.
Easy home adjustments
- Paint in a cool, comfortable room
- Keep the polish away from direct heat
- Avoid aiming a fan straight at wet nails
- Give yourself a little extra drying time on humid days
How to Fix a Bubbly Manicure
If bubbles show up after you finish, do not panic. Some manicures can be rescued without starting over.
If the polish is still wet
Gently smooth the area with a clean brush if the bubble is tiny and the coat is still workable. Do not keep brushing over it, or you may make the surface worse.
If the polish has already started setting
Leave it alone. Poking at half-dry polish usually creates more texture than it removes.
If the bubbles are small and only on the top layer
A careful top coat can sometimes improve the look, but only if the layer underneath is already dry enough. If the base layers are still soft, adding more product may trap the problem in place.
If the bubbles are deep or widespread
It is usually faster to remove that nail and repaint it than to keep trying to patch a bad layer. A smooth restart often saves time and frustration.
If your manicure also smudges while drying, this related guide on how to prevent nail polish smudging while drying pairs well with bubble prevention.
When the Polish Itself Is the Problem
Sometimes the technique is fine, but the polish has changed.
Signs the bottle may be the issue
- The polish looks stringy
- It feels unusually thick
- It spreads unevenly
- Bubbles appear even with careful application
Old polish can get harder to work with as solvents evaporate over time. If it has become too thick, it may not level well on the nail.
What to do
If the polish is only slightly thick, check the brand’s instructions before using any thinner. If it is very old, stringy, or consistently bubbly, replacing it is usually the simplest answer. In general, polish thinner may be reasonable for a formula that is just a little too thick; if the polish is separating badly, stringy, or still bubbling after careful application, replacement is the safer choice.
Simple Beginner Checklist for Bubble-Free Nails
Use this quick sequence before your next manicure:
- Roll the bottle gently instead of shaking it hard.
- Apply a base coat in a thin layer.
- Paint the color in thin, even coats.
- Let each coat set before the next one.
- Keep the room cool, dry, and not too breezy.
- Finish with a careful top coat once the color has settled.
- Replace polish that is old, stringy, or too thick to spread smoothly.
If you remember only one thing, make it this: thin coats and patience solve more bubble problems than any special product.
When to See a Nail Technician or Dermatologist
See a nail technician if you keep getting bubbles even after changing your bottle handling, coat thickness, and drying time. A technician can help you spot whether the problem is the polish, the brush, or the way the layers are being applied.
See a dermatologist if you notice nail changes that go beyond polish bubbles, such as pain, redness, swelling, or nail lifting. Those are not normal polish issues and should be checked separately.
FAQs
Should I shake or roll nail polish before using it?
Rolling is usually the safer choice for beginners. It mixes the polish more gently and is less likely to add air bubbles than vigorous shaking.
How thick should each coat be?
Each coat should be thin enough to spread evenly without flooding the nail. If the brush is dripping or the polish looks heavy and wet, the coat is probably too thick.
How long should I wait between coats?
Wait until the previous coat feels set and does not shift easily at the edge. If it still feels soft or tacky, give it more time before adding the next layer.
Can a quick-dry top coat help prevent bubbles?
It can help if your main problem is slow drying or accidental smudging. It will not fully fix bubbles caused by thick coats, rushed application, or old polish.
Why does my polish bubble more on some days than others?
Room conditions can change the result. Heat, humidity, and strong airflow all affect how polish dries, so a manicure may behave differently from one day to the next.
Should I throw away old nail polish?
If it is thick, stringy, or bubbles no matter how carefully you apply it, replacing it is usually the easiest option. A polish that no longer spreads smoothly is hard to rescue consistently.
Can base coat or top coat cause bubbles?
Yes, if either one is applied too thickly or before the layer underneath has set. Thin, patient application matters with every layer, not just the color polish.
What if bubbles appear after the final coat?
If the manicure is still very wet, you may be able to smooth a tiny bubble carefully. If it has already started drying, it is often better to leave it alone or redo the nail rather than keep disturbing the surface.

