
How to Thin Thick Nail Polish Safely at Home

If your nail polish has turned gloopy, stringy, or hard to brush on, the safest fix is usually nail polish thinner made for polish formulas. Add it a little at a time, mix gently, and stop as soon as the polish becomes smooth and brushable again.
That simple approach matters because thick polish is often just missing some of the solvent that evaporated over time. But if you use the wrong liquid, you can damage the formula or make it too thin to apply well.
Start with a very small amount of thinner — ideally one drop at a time with a dropper or the tip of the bottle — then wait and retest before adding more.
For a broader refresher on polish basics, you can also read how nail polish works and what nail polish is made of.
Why Nail Polish Gets Thick, Stringy, or Separated
Nail polish thickens when some of its solvents slowly evaporate every time the bottle is opened. Even if the cap seems closed, a little air exchange can still happen over time. That’s why an old bottle can turn sticky and hard to spread, even if the color itself is still fine.
A polish may also look separated, with pigment sinking to the bottom and thinner liquid sitting on top. That does not always mean it is ruined. Sometimes it just needs gentle mixing and a small amount of thinner.
Here’s the useful distinction:
- Slightly thick: usually fixable
- Stringy but still mixed: often fixable with care
- Clumpy, grainy, or rubbery: may be past saving
- Separated and won’t blend back together: likely no longer worth the effort
If you want a deeper explanation of the causes, see why nail polish gets thick.
What You Can Use to Thin Nail Polish Safely
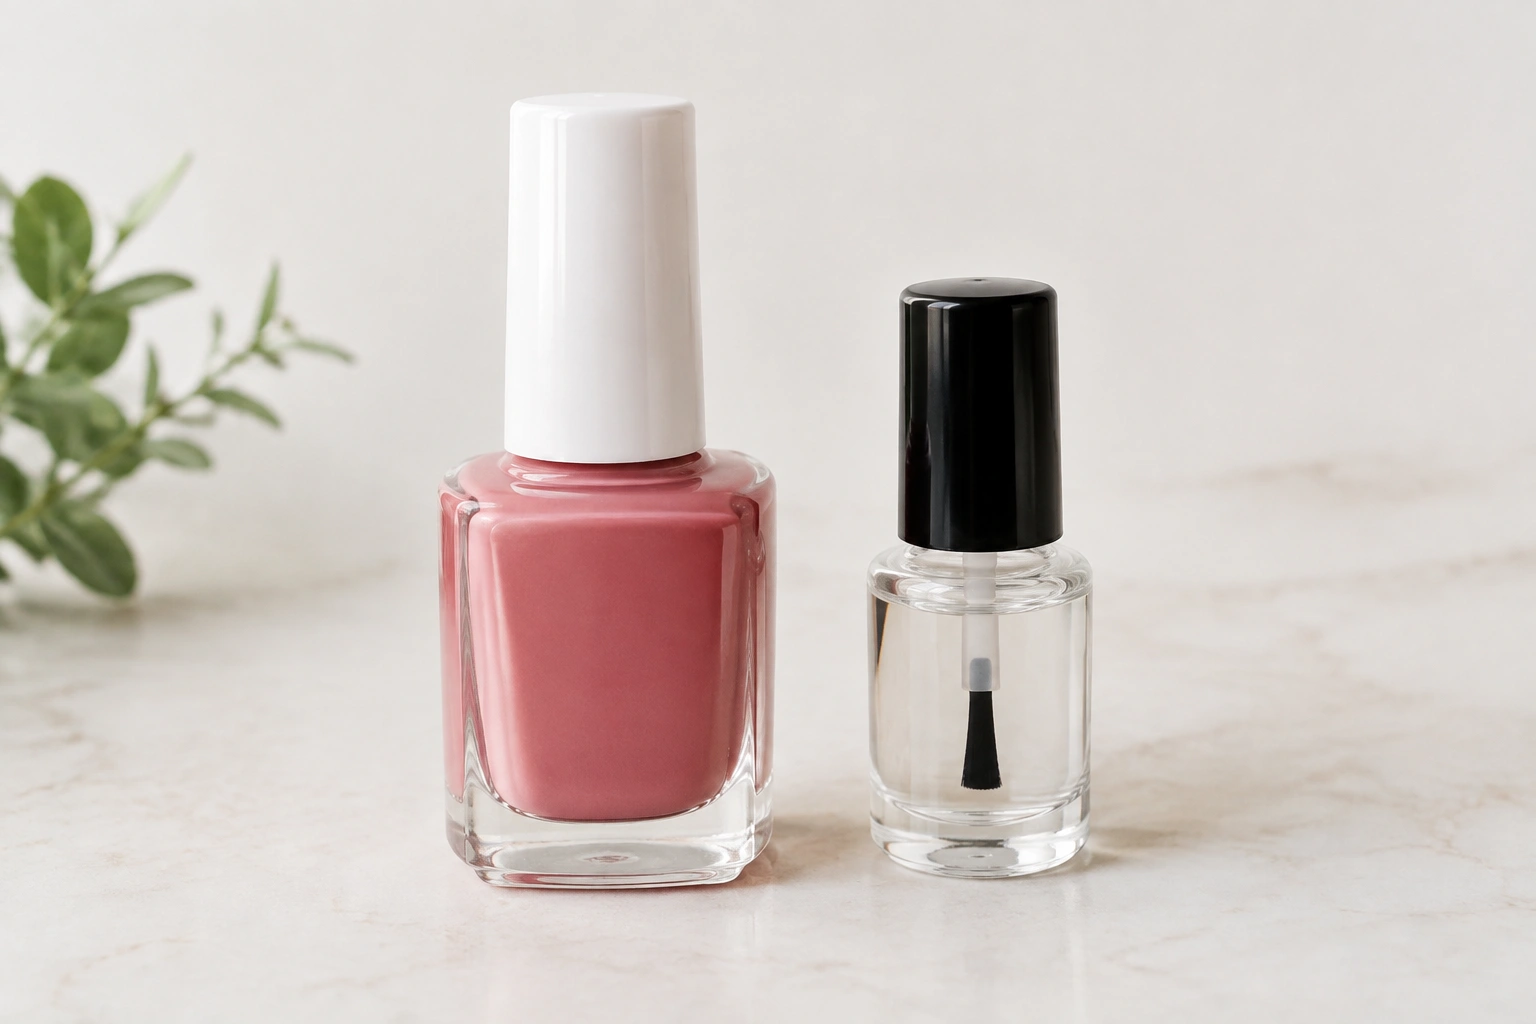
The safest and most reliable choice is usually a nail polish thinner made for regular nail polish. These products are designed to restore flow without changing the formula as aggressively as other solvents can.
Nail polish thinner vs acetone vs regular remover
| Option | Best use | Main drawback | Beginner verdict |
|---|---|---|---|
| Nail polish thinner | Restoring thick regular polish | Must be added slowly | Best first choice |
| Acetone | Strong cleaning and removal | Can alter or weaken the formula | Use cautiously, if at all |
| Regular nail polish remover | Removing polish from nails | Formulas vary and may include conditioners or other additives that make them unreliable for thinning | Less reliable for thinning |
The big advantage of a polish thinner is that it is meant to help the bottle behave like polish again. Acetone is much harsher and can change the formula quickly. Regular remover is even less predictable because not every remover is made with thinning in mind, and some include ingredients that can interfere with the polish instead of restoring it.
If you are checking a bottle before buying anything, the label or product instructions matter. A remover that works well on your nails is not automatically a good thinning liquid for the bottle.
What Not to Use If You Want to Save the Formula
If your goal is to rescue the polish, avoid guessing with random liquids. The most common mistake is adding a solvent that seems close enough but is not designed for the formula.
Do not treat these as automatic fixes:
- Too much acetone
- Random nail polish remover without checking the label
- Water
- Alcohol
- Household cleaners
These can make the polish worse, not better. Water and alcohol do not restore the polish structure the way a proper thinner can.
A second common mistake is trying to “save” a polish that is already chemically breaking down. If the texture stays gummy, rope-like, or full of stubborn clumps after gentle mixing and careful thinning, the bottle may be beyond repair.
How to Thin Nail Polish Step by Step
Use a flat, steady surface and give yourself a little time. Rushing usually leads to over-thinning.
1. Check the bottle first
Look at the polish in good light. Ask yourself:
- Is it just thick?
- Is it separated but still fluid?
- Are there hard clumps or a rubbery texture?
If the polish is only thick, it is worth trying to save. If it looks badly broken down, stop before you waste time and thinner. Old polish with a damaged brush, a hardened neck, or a bottle that has clearly lost a lot of liquid may also be impractical to rescue, even if some of the polish inside could still be recovered.
2. Open it carefully
Old bottle caps can stick. Twist gently so you do not spill. If the neck of the bottle is crusted shut, clean the rim later so the cap seals properly again.
3. Add thinner in very small amounts
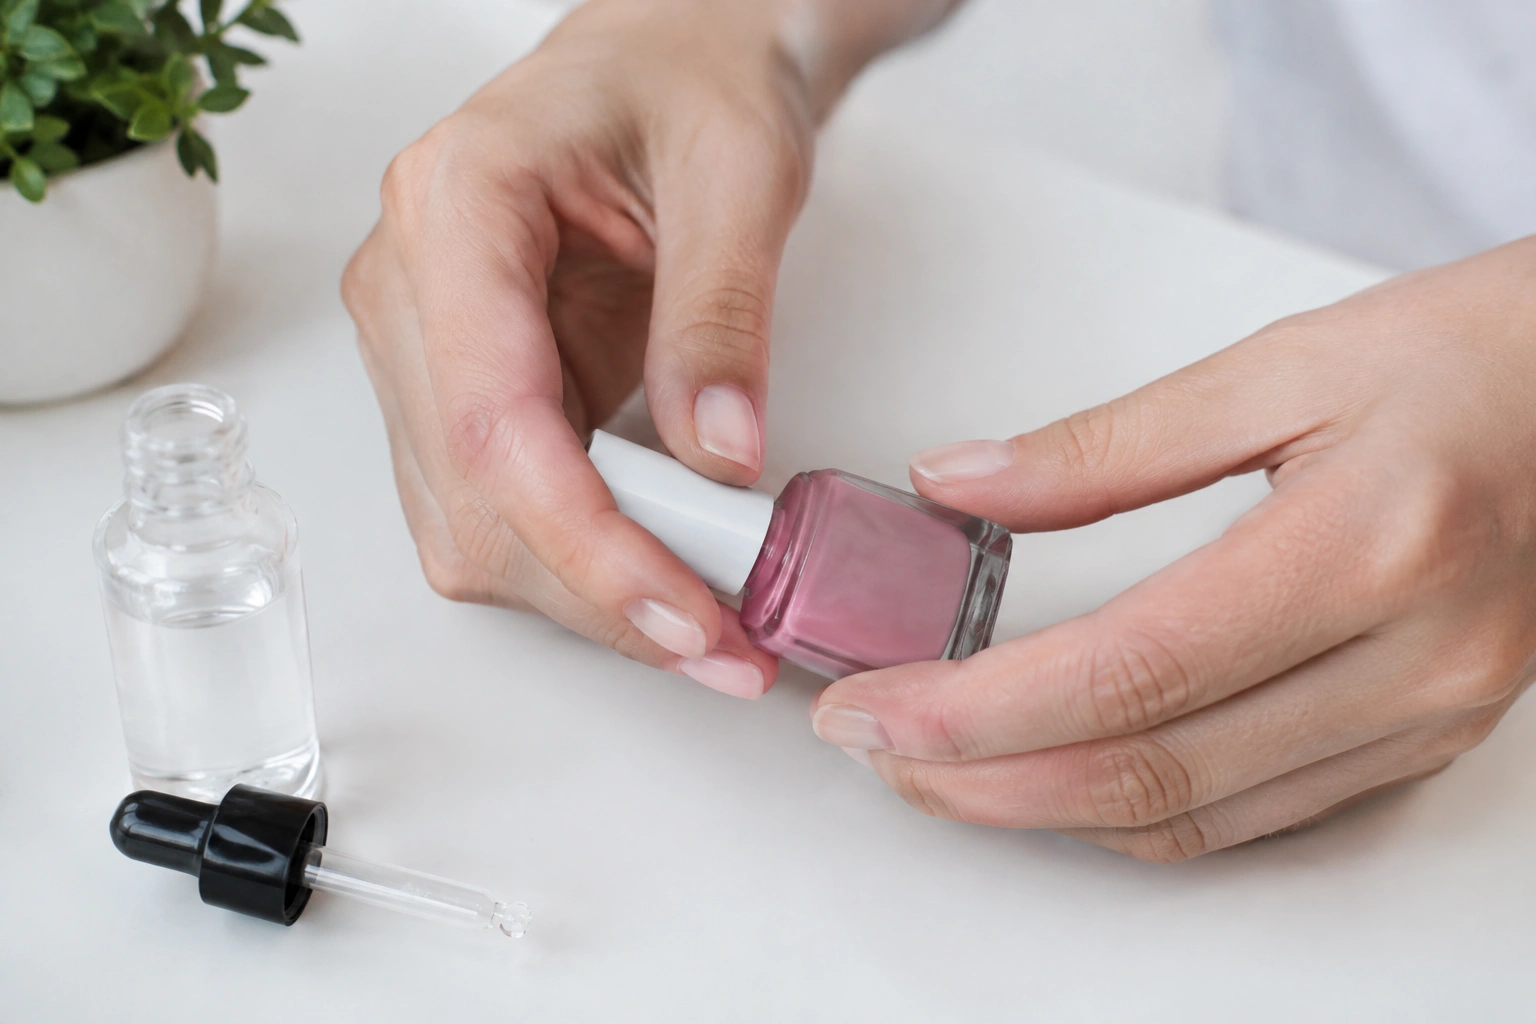
This is the key part. Add a small amount of nail polish thinner and wait to see how the polish changes. Beginners often add too much at once, then end up with polish that is too runny.
A practical way to think about it: make one small adjustment, mix, test, and repeat only if needed. For a beginner, that usually means starting with 1 to 2 drops, then waiting a moment before checking the texture again. If the polish is still too thick, add another drop or two and retest.
4. Mix gently
Roll the bottle between your palms or tilt it slowly back and forth. Try not to whip air into it. Air bubbles can make the polish look foamy and can affect how smoothly it goes on the nail.
5. Test the brush
Pull the brush out and watch how the polish behaves. Good consistency usually means:
- the brush loads evenly
- the polish does not string dramatically
- it spreads without dragging
If it still feels sticky, add a little more thinner and mix again.
6. Let it settle
After mixing, give the bottle a short rest. That helps bubbles rise and gives you a more accurate read on the texture.
For more on bottle care and polish structure, you may also find this beginner guide to nail polish helpful.
How Much Thinner to Add and How to Check the Texture
There is no safe universal amount that fits every bottle, because formulas vary. That is why drop-by-drop adjustment is the better beginner method.
A good stopping point is when the polish:
- moves smoothly on the brush
- coats evenly without tugging
- does not leave thick strings behind
- still looks pigmented and even
If the color starts looking weak or watery, you have gone too far. At that point, adding more polish thinner will not help. You would need to either live with a thinner formula or replace the bottle.
One useful test is to paint a single nail or a practice swatch. If the polish levels out nicely and does not clump at the edges, the texture is probably back in a usable range.
Should You Shake or Roll the Bottle After Thinning?
For most beginners, rolling is gentler than shaking. Shaking can mix faster, but it also traps bubbles. Those bubbles can show up on the nail as tiny pits or uneven spots.
Rolling the bottle between your hands or slowly turning it end over end usually blends the ingredients without making the polish foamy. That is especially helpful after you add thinner.
A simple decision rule:
- Roll if you want smoother mixing and fewer bubbles
- Shake only if the polish is extremely separated and you are willing to let it rest afterward
If you do shake, do it lightly and then wait for the bubbles to settle before using the polish.
When Thick Polish Is Too Far Gone to Fix
Sometimes the best answer is to let the bottle go. That can feel disappointing, but it saves you from fighting a formula that no longer performs well.
Signs the polish may be beyond saving:
- It stays stringy after careful thinning
- It has hard clumps that do not break down
- It looks grainy or sandy
- The texture turns rubbery instead of smooth
- It remains gritty, stringy, or rubbery even after careful mixing
- It becomes thin in one moment, then gummy again the next
Those signs suggest more than simple evaporation. The formula may have broken down enough that thinning will not restore a clean finish.
If a bottle still smells normal, mixes smoothly, and only seems thick, it may be worth saving. If it behaves like damaged glue, replace it.
How to Prevent Nail Polish from Thickening Again
A few small habits help polish stay usable much longer.
Keep the cap tight
A loose cap lets solvent escape faster. After every use, wipe the neck of the bottle so the lid closes fully.
Store it upright
Keeping bottles upright helps reduce leaks and keeps polish from pooling in the neck where it can dry out.
Keep it away from heat
Heat speeds up evaporation. A cool, dry place is usually better than a spot that gets warm or humid.
Clean the bottle neck
Dried polish around the rim can stop the cap from sealing properly. A quick wipe after use makes a real difference.
Close the bottle promptly
Leaving the bottle open while you paint nails gives solvent time to escape. Keep the cap on when you are not actively using the brush.
These habits do not make polish last forever, but they do help slow the thickening process.
When to See a Nail Technician or Dermatologist
If you are unsure whether a product is safe to use on your nails or skin, a nail technician can help you judge whether the bottle is worth saving. If you notice irritation, redness, or a reaction after using polish or thinner, stop using it and speak with a dermatologist.
This is especially wise if the polish is old, the ingredients are unclear, or the bottle has been stored badly for a long time.
Common Questions About Thinning Nail Polish
Can I use nail polish remover to thin polish?
Sometimes people try it, but it is not the best first choice. Some removers may work in a pinch, but many are not ideal because formulas vary and can include conditioners or other additives. A proper nail polish thinner is more reliable.
Can I use acetone?
Acetone can change the formula too aggressively, so it is usually not the safest option for beginners trying to rescue a bottle. If you want to preserve the polish, use a product made for thinning polish instead.
How do I know if I added too much thinner?
If the polish looks watery, sheer, or drips off the brush too fast, it may be over-thinned. At that point, stop adding more and test it on a nail before doing anything else.
Can stringy polish be saved?
Sometimes, yes. If it is only slightly stringy and still mixes back into a smooth texture, it may be salvageable. If the stringiness, graininess, or rubbery feel stays after careful mixing and thinning, the bottle is probably too far gone.
Should I warm the bottle before thinning it?
Gentle room-temperature handling is usually enough. Avoid heat sources, since heat can affect the polish and its safety around flammable solvents.
How long will thinned polish last?
That depends on the product and how it is stored. Thinning can make an old bottle usable again, but it does not fix a polish that is already breaking down.
What if the polish separates again after I thin it?
If it separates quickly every time, the formula may be unstable. Try gentle rolling and proper storage once, but if the problem keeps returning, replace the bottle.
The FDA offers general consumer safety information that can be useful when you are handling cosmetic products and their ingredients.
The Simple Takeaway
If you want to know how to thin thick nail polish safely, the shortest answer is this: use a nail polish thinner, add it slowly, mix gently, and stop as soon as the polish becomes smooth and brushable. If the bottle stays clumpy, grainy, or rubbery after a careful try, it is probably time to replace it.

