Simple Nail Designs for Teens: Cute, Easy Ideas That Work on Short Nails

Teens usually want nails that feel fresh, fun, and age-appropriate without taking an hour to paint. That’s exactly where simple nail designs shine. The best looks are easy to do at home, comfortable on short natural nails, and polished enough for school, weekends, or a special event.
A manicure should fit your routine, not fight it. If you write a lot, play sports, or prefer low-maintenance nails, the smartest choices are often the ones with clean lines, small accents, and a limited color palette.
Below, I’ll walk you through the easiest teen-friendly nail ideas, what tools you actually need, and how to choose a look that suits your nail length and skill level.
Simple Nail Designs for Teens: The Best Easy Ideas at a Glance
Here’s a quick comparison to help you narrow it down fast.
| Design | Skill level | Best nail length | Tools needed | School-friendly? | Best for |
|---|---|---|---|---|---|
| Solid pastel manicure | Beginner | Short or medium | Polish, base coat, top coat | Yes | Fast, neat everyday wear |
| Micro French tips | Beginner to easy | Short square, short almond | Thin brush or tape, polish | Usually yes | Clean, classic style |
| Dot accent nails | Beginner | Short nails | Dotting tool or bobby pin | Yes | Cute, simple detail |
| Glitter accent nail | Beginner | Short or medium | Glitter polish, top coat | Usually yes | Weekend or party look |
| Nail stickers | Beginner | Short or natural nails | Stickers, top coat | Yes | Fast DIY with little effort |
| Tiny heart or star details | Easy | Short to medium | Fine brush or stickers | Usually yes | Soft, playful style |
| Daisy or floral accent | Easy | Natural nails | Dotting tool, polish | Usually yes | Sweet, seasonal look |
| Matte nude with gloss detail | Beginner | Short nails | Matte and glossy top coat | Yes | Subtle, modern finish |
If you want the safest starting point, choose a solid pastel, tiny dots, or stickers. Those three are the easiest to keep neat, even if you’ve never done nail art before.
The single best first design for complete beginners is a solid pastel manicure. It is the easiest because you only need one color, there are no small details to place, and it still looks polished even if the edges are not perfect.
How to Choose a Teen Nail Design That Fits Your Nails and Routine
The best design is the one that matches your daily life. A teen who types all day, plays violin, or does sports will usually be happier with short, low-profile nails than with anything long or heavily detailed.
A simple rule helps here:
- Choose short square or short almond if you want the easiest everyday wear.
- Choose round if you want a very natural shape that’s easy to maintain on very short nails.
- Choose oval if you like a softer, slightly elongated look.
- Choose medium shapes only if the manicure is for a special occasion and you’re okay with more upkeep.
Also think about your tools and time. If you only have polish and a few household items, pick a design that uses dots, stripes, or stickers. If you’re going to a salon, you can ask for a slightly cleaner version of the same idea, like a thin French tip or one glitter accent nail.
For beginners, the easiest decision is simple: start with short nails, one color, and one small accent if you want it. That keeps the manicure manageable and makes mistakes less noticeable.
The Easiest Nail Designs Teens Can Recreate at Home
These are the designs I’d recommend first to a beginner because they’re forgiving. Small mistakes are easier to hide, and none of them require advanced hand control.
1. Solid pastel nails
A single soft color is the fastest way to get a cute result. Think baby blue, lilac, peach, mint, or pale pink. These shades look fresh on teens and usually feel less mature than deep reds or dramatic dark tones.
Why it works: one color is easier to apply evenly, and it still looks intentional. If your paint lines aren’t perfect, the overall manicure still reads as neat.
How to do it
1. Clean and dry your nails.
2. Apply a base coat if you have one.
3. Paint two thin coats of your chosen pastel color.
4. Let each coat dry before adding the next.
5. Finish with a top coat for shine and protection.
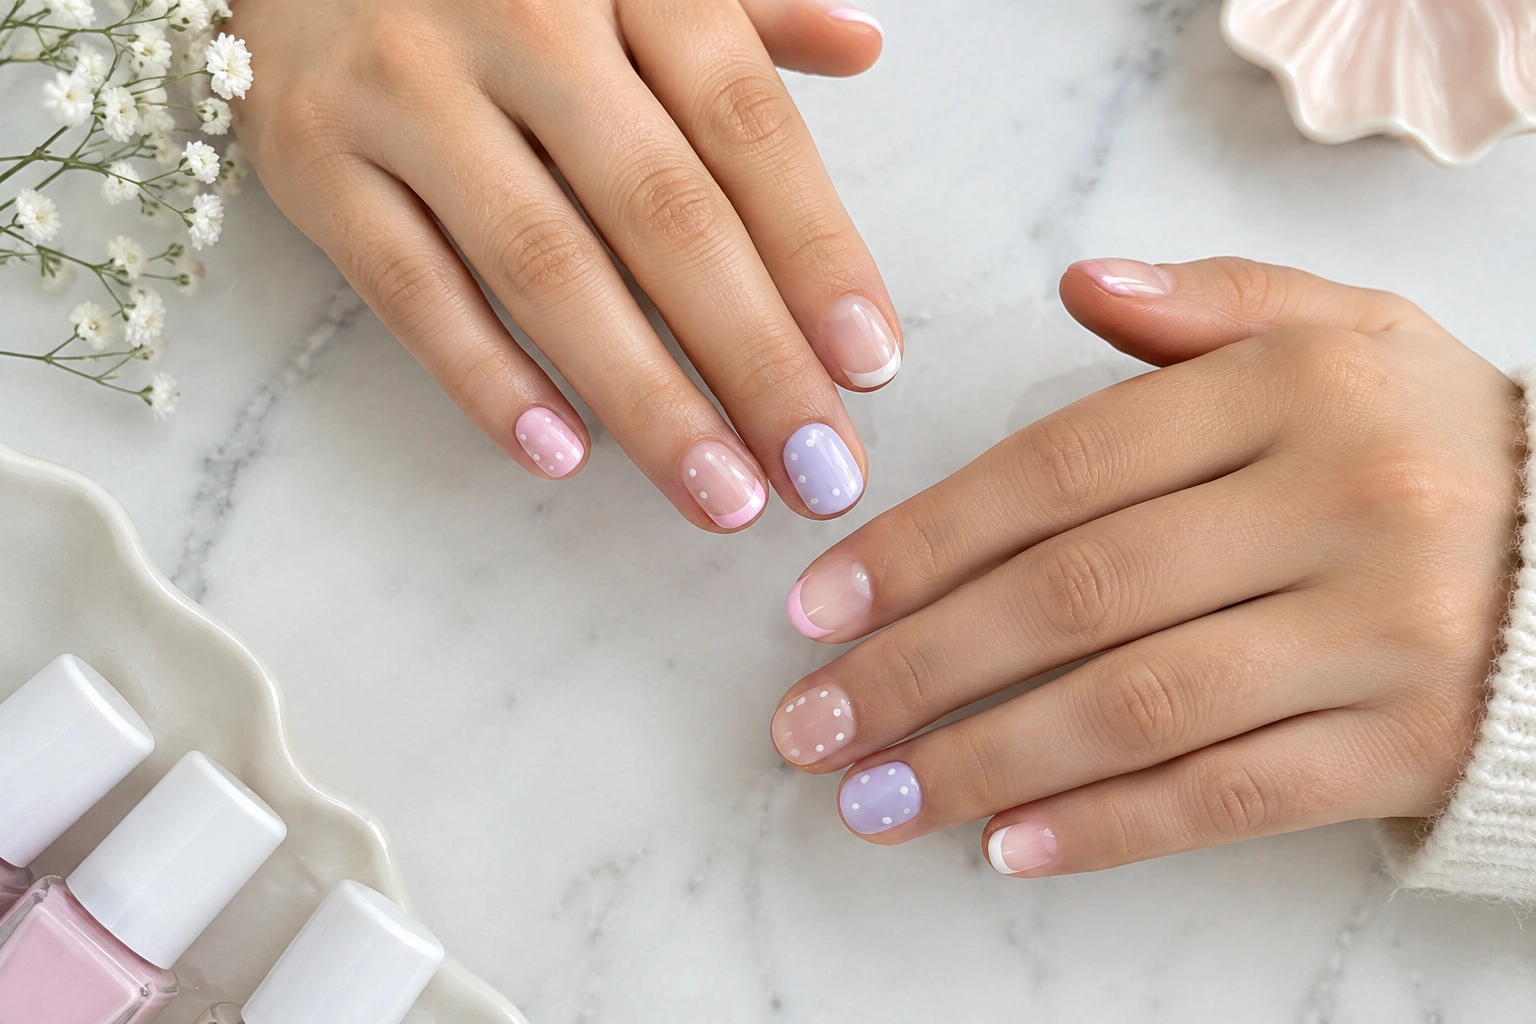
2. Micro French tips
A thin tip in white, pastel blue, or soft pink gives a classic look without feeling too grown-up. On short nails, keep the line narrow so the nail still looks balanced.
If you’re doing this at home, use tape or a thin brush. Freehand works too, but keep the tip small. A thick French tip can overwhelm short nails.
How to do it
1. Start with a clean base color or sheer nude polish.
2. Let it dry fully.
3. Use tape or a thin brush to paint a very thin tip.
4. Clean up the edges with a cotton swab if needed.
5. Seal everything with top coat.
3. Dot accents
Dots are one of the easiest patterns to make cleanly. You can place one dot near the cuticle, a row of tiny dots along the tip, or a few scattered dots on one accent nail.
A dotting tool makes this simpler, but a bobby pin or toothpick can work in a pinch. This is a good choice if you want nail art that feels playful without looking busy.
How to do it
1. Paint a solid base color and let it dry.
2. Dip a bobby pin, toothpick, or dotting tool into polish.
3. Add one dot or a tiny pattern on one or two nails.
4. Keep the design small so it stays neat on short nails.
5. Finish with top coat.
4. One glitter accent nail
If you want a little sparkle, use glitter on just one nail per hand and keep the rest solid. That gives you a fun finish without tipping the design into “too much.”
This is especially useful for weekend plans, birthdays, or school events. The trade-off is that glitter can be a little harder to remove, so keep the rest of the manicure simple.
5. Nail stickers
Stickers are ideal when you want cute details but don’t trust your freehand skills yet. Tiny hearts, stars, flowers, bows, and fruit shapes can all look polished with very little effort.
They’re also a smart option for preteens or beginners because the design stays neat even if your hand isn’t steady. Seal them well with top coat so the edges don’t lift.
6. Tiny hearts or stars
Small shapes look best when they’re kept minimal. One heart on each ring finger, or a tiny star near the tip, gives a sweet look without crowding the nail.
This is a strong choice if you want something trendy but still subtle enough for school.
7. Daisy or floral accent nails
Blue daisy art on natural nails is a nice example of a teen-friendly design that feels sweet and seasonal. The flower details add personality, but the look still stays simple and light.
A floral accent works best when the rest of the nails are a plain neutral or pastel. That keeps the manicure from looking busy.
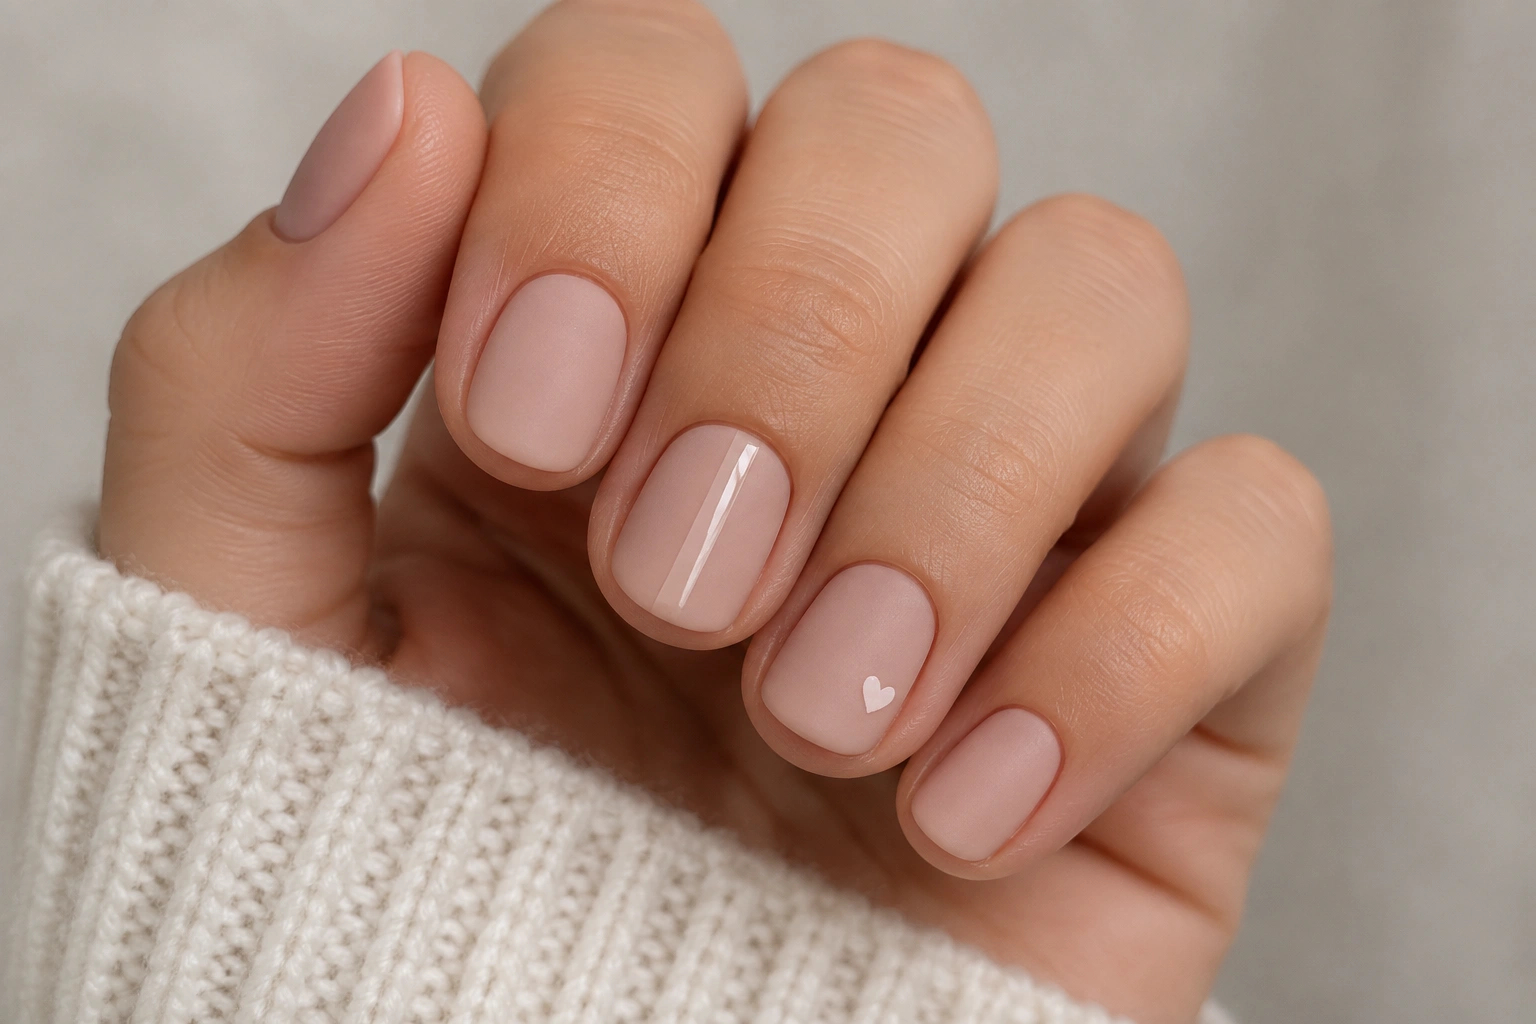
8. Matte nude with a glossy detail
A matte nude or soft pink base with one glossy stripe, dot, or tip can look very modern. It’s understated, but it still has a design element.
This is a good option if you like minimalist nail art and want something that doesn’t scream for attention.
Which Designs Look Best on Short Nails and Natural Nails
Short nails are actually great for simple nail art. They give you less surface area to fill, which makes it easier to keep designs clean and balanced. On short nails, tiny details usually look better than large patterns.
Best choices for short natural nails:
- Solid pastels
- Micro French tips
- Tiny dots
- Small hearts or stars
- One glitter accent nail
- Stickers placed near the tip or cuticle
Designs that can feel crowded on short nails:
- Large florals
- Thick French tips
- Multiple patterns on every nail
- Heavy glitter on all fingers
If your nails are natural and short, think “small detail, big effect.” That keeps the manicure cute without making the nail look shorter than it is.
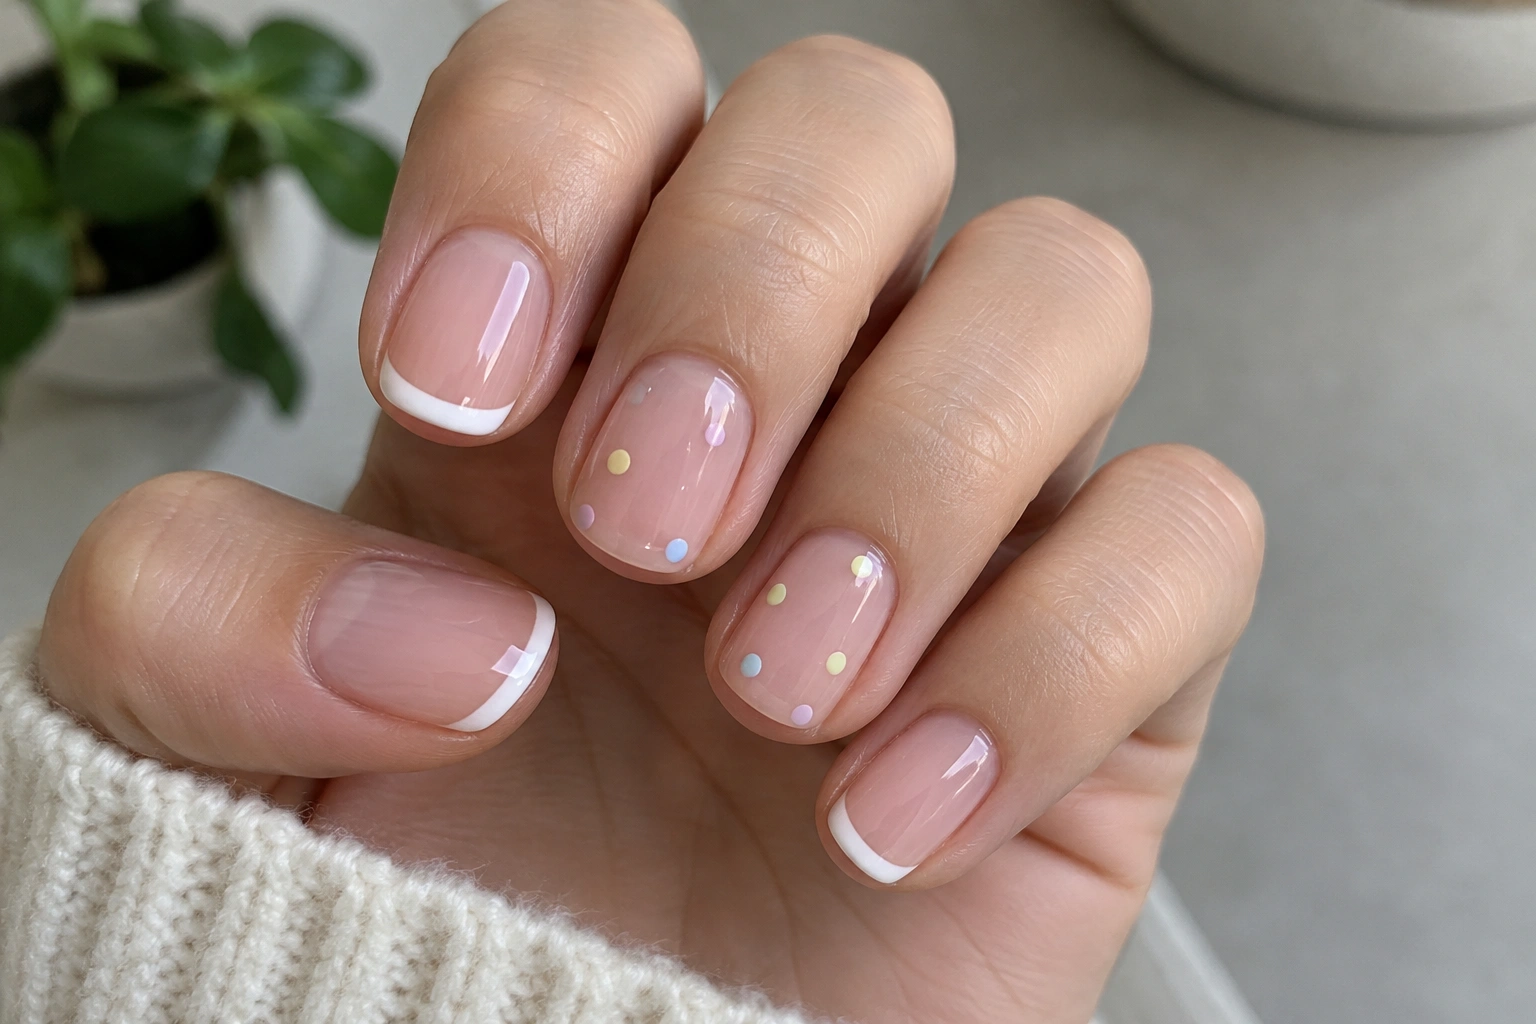
For a more natural finish, oval nails can soften the look a little. But you don’t need extra length to make the manicure work. In fact, short nails are often easier to keep neat and less likely to chip during daily life.
What Tools You Actually Need for Simple DIY Nail Art
You can do a lot with very little. For most teen-friendly designs, the must-haves are simple:
Must-have basics
– Nail polish in your chosen colors
– Base coat
– Top coat
– Nail file
– Cotton pads or remover
– A clean, dry surface to work on
Optional but helpful
– Dotting tool
– Thin detail brush
– Nail stickers or decals
– Tape for crisp lines
– Small cleanup brush or cotton swab
Many simple designs can also be done with household items only. A bobby pin can make dots, a toothpick can help with tiny details, and regular tape can help with straight lines. If you’re starting from scratch, don’t buy everything at once.
For example, if you love dots, a dotting tool is worth it. If you prefer French tips, tape or a thin brush matters more. If you want fast results, stickers may be the best investment.
How to Make Simple Nail Designs Last Longer
A neat design can still chip quickly if the prep is rushed. The biggest wear-time difference usually comes from the basics.
Here’s the practical routine I recommend:
- Clean the nail surface first. Remove oils or leftover product so polish sticks better.
- Use a base coat. This helps the color go on more evenly and gives the manicure a better foundation.
- Apply thin layers. Thick polish takes longer to dry and chips more easily.
- Let each layer dry. Rushing this step is one of the fastest ways to dent the finish.
- Seal with top coat. This protects the design and adds shine or a matte finish depending on the product.
- Refresh the top coat if needed. A thin extra layer a few days later can help the manicure stay neat longer.
If you’re active in sports or use your hands a lot, keep the design simple. The fewer raised details you have, the less likely the manicure is to catch on clothing, gear, or hair.
School-Friendly vs More Decorative Teen Nail Looks
For school, the safest style choice is usually something subtle and tidy. That doesn’t mean boring. It just means the manicure should look clean from a normal distance and not rely on oversized decorations.
What makes a design school-friendly
– Soft or neutral colors instead of very bold shades
– Small details instead of large art
– A smooth finish with no bulky decorations
– Simple placement, like one accent nail or a tiny pattern
– A look that feels neat with everyday clothes and uniforms
School-friendly examples
– Sheer pink or beige
– Soft pastel solid colors
– Tiny dots
– Micro French tips
– One small sticker on an accent nail
– Matte nude with a tiny glossy detail
More decorative but still simple
– Glitter accent nail
– Daisy art
– Tiny hearts on a few fingers
– Pastel French tips with a brighter edge
– Two-tone color blocking
If your school has a dress code, go with the quieter option. Save brighter colors and more playful art for weekends, holidays, or school breaks. That way you can enjoy the design without worrying about it feeling too bold.
At-Home vs Salon: Which Makes Sense for Teens?
Both options can work well. It mainly depends on how polished you want the result to look and how much time or money you want to spend.
At home makes sense when:
– You want a low-cost option
– You like simple designs
– You’re okay with a more casual finish
– You want to practice and change colors often
A salon makes sense when:
– You want a cleaner, more even finish
– You need help with French tips or detailed art
– You’re getting ready for a special event
– You want the manicure to last longer with less effort
For teens, DIY is usually the best starting point because simple looks are easy to learn and inexpensive to repeat. A salon is a better choice when you want a more polished result for a dance, birthday, or other event.
Easy Color Combinations That Look Fresh and Teen-Appropriate
Color does a lot of the work for you. Even the simplest design can look stylish if the palette is right.
Good combinations for teen nails:
– Soft pink + white
– Lilac + silver
– Baby blue + white
– Mint + nude
– Peach + gold
– Sheer nude + tiny pastel accents
These combinations feel fresh because they’re light, clean, and easy to pair with everyday clothes. They also work well on short nails, where too many dark shades can make the manicure feel heavy.
Glossy finishes usually look brighter and more polished, while matte finishes feel softer and more modern. If you want a classic teen look, glossy is the easiest choice. If you prefer something understated, matte nude or matte pastel can look very neat.
Common Mistakes to Avoid with Beginner Nail Art
Most beginner mistakes come from trying to do too much at once. A simple manicure can go sideways fast if the design is too detailed for your tools or too busy for your nail length.
Watch out for these issues:
- Using too many colors. Two or three is usually enough.
- Choosing details that are too tiny. If you don’t have a fine brush, keep shapes larger and simpler.
- Picking a design that doesn’t suit short nails. Big art can overwhelm a small nail plate.
- Painting too thickly. Thin layers dry better and look cleaner.
- Trying to freehand a complicated pattern on your first try. Stickers or dots are usually a better starting point.
A good beginner manicure should feel achievable. If the idea makes you nervous before you even start, simplify it. That’s not a downgrade — it’s how you get a result that actually looks neat.
When to See a Nail Technician or Dermatologist
A nail technician can help if you want a cleaner finish for a special event, a more precise French tip, or advice on which shape works best for your nails.
See a dermatologist or other medical professional if you have persistent nail discoloration, swelling, pain, or signs of infection. A pretty design should never hide a nail problem that needs attention.
FAQ: Simple Nail Designs for Teens
What is the easiest nail design for a beginner teen?
A solid pastel manicure is usually the easiest. If you want a little detail, add one dot or one sticker on an accent nail.
Are French tips okay for short nails?
Yes. Just keep the tip thin. A micro French tip looks cleaner and more balanced on short nails than a thick white edge.
What nail colors look best on teens?
Soft pink, lilac, baby blue, mint, peach, nude, and white are all easy choices. They look fresh without feeling too mature.
Can I do these designs without special tools?
Absolutely. You can use stickers, tape, a toothpick, or a bobby pin for simple details. A dotting tool is helpful, but not required.
What’s the best design for school?
A sheer pink, soft nude, pastel solid, or tiny dot design is usually the most school-friendly. Those looks are neat and subtle.
How do I make my nail art last longer?
Use base coat, apply thin layers, and finish with top coat. Let each layer dry fully before moving on.
