
Fastest Way to Dry Nail Polish at Home Without Smudging Your Manicure

If you want the fastest safe way to dry nail polish at home, the best option is thin coats plus a quick-dry top coat, with cool airflow to finish. If you are in a hurry and do not have that product, the fallback order is: cool airflow first, then a drying drop product if you have one, and only then a brief cold-water dip after the polish has started to set.
A useful rule: dry to the touch is not the same as fully cured. Polish may feel ready for light handling in under an hour, but it can still dent or smudge much later. For normal daily activity, a practical rule of thumb is to keep things gentle for at least a few hours, and if you can, avoid heavy use, gloves, workouts, or anything that presses on the nails for the rest of the day. You can read more about that distinction in our guide on how long nail polish takes to dry completely.
Why Nail Polish Takes So Long to Dry
Regular nail polish dries as solvents evaporate from each coat. Thicker layers trap more solvent, so the surface may seem set while the layer underneath stays soft. That is why a manicure can look fine and still smudge when you press a zipper or pick up a cup too soon.
The other issue is coat count. More coats mean more material to dry, and thick coats are the slowest of all. That is also why prep matters: washing your hands first can remove oils that interfere with adhesion, and clean nails help polish settle evenly instead of sliding around on the nail plate. Older polish can also be thicker and harder to apply smoothly, which slows drying indirectly. For a practical breakdown of timing, see our related guide on how long does nail polish take to dry.
When you understand that drying is mostly about evaporation and surface setting, the fastest methods make more sense: they either reduce polish thickness, move air across the surface, or seal the top layer so it sets faster.
What You Need Before You Start
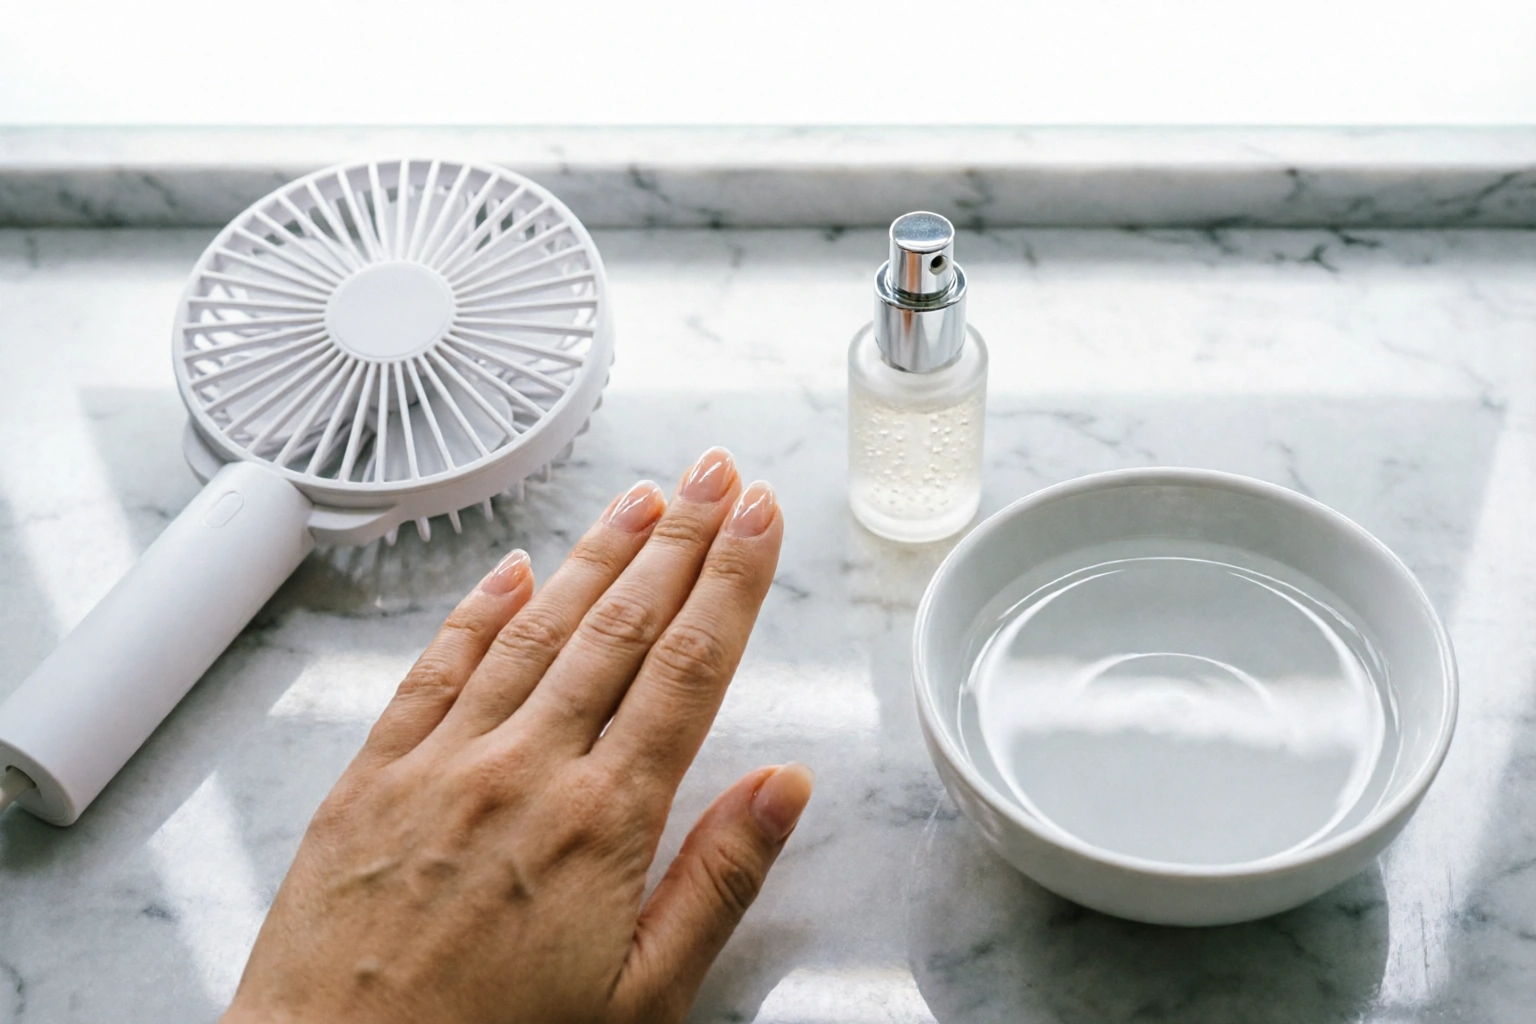
You do not need a drawer full of products, but a few basics make a big difference:
- Base coat to help polish go on evenly
- Regular nail polish in good condition, not old and gummy
- Quick-dry top coat or drying drops, if you have them
- Fan or hair dryer with a cool setting
- Small bowl for cold water or ice water
- Cuticle oil for later, not immediately after polish
If you are prepping from scratch, Manucurist recommends softening and pushing back cuticles, gently buffing the nail surface, and cleansing nails with a degreaser to remove oil and impurities. That kind of prep does not magically dry polish, but it helps the coat go on thinner and more evenly, which indirectly speeds drying. For a closer look at prep timing and coat spacing, our guide on how long to wait between coats of nail polish is worth a read.
Fastest Ways to Dry Nail Polish at Home
Here is the practical ranking when someone wants speed without wrecking the manicure:
1. Quick-dry top coat
This is usually the best all-around choice and the fastest safe option for most home manicures. It helps lock down the top layer and reduces the time your manicure stays vulnerable. If you want the simplest answer to “What is the fastest way to dry nail polish?”, this is it.
Best for: regular polish, busy schedules, and people who smudge easily
What to do now: apply your color in thin coats, then seal with a quick-dry top coat as the final step
Trade-off: it works best when the base color is already applied evenly and not too thick
2. Drying drops
Drying drops are a strong backup if you already have a manicure in progress and want a speed boost at the end. They are convenient, especially for travel or quick touch-ups.
Best for: people who want a lighter-feeling finish or already own a favorite top coat
What to do now: place a drop or two on each nail after the polish has started to set on the surface
Trade-off: they may be less protective than a true quick-dry top coat, depending on the formula
3. Cool airflow
A fan or cool hair dryer can help move solvent away from the polish surface. Use gentle airflow rather than a strong blast, since too much force can disturb the wet top layer.
Best for: when you want a low-risk, no-mess option
What to do now: hold a fan or cool dryer a few inches away and keep it moving lightly over the nails
Trade-off: it helps the surface more than the deeper layers, so it is not a full cure
4. Cold water or ice water
Cold water can help after the polish has had a brief chance to set, but it is a secondary helper, not the main drying method. If the surface is still very wet, moving your hands in water can leave dents or tiny ripples.
Best for: people who can keep their hands steady and want an extra finishing step
What to do now: wait briefly for the polish to begin setting, then do a short, careful dip
Trade-off: it is easy to overdo, so it should not replace thin coats and airflow
5. Air drying alone
This is the slowest option, but it is also the easiest. If you are not in a hurry, it is fine. If you are in a hurry, it is the method most likely to disappoint you.
Step-by-Step: How to Dry Nail Polish Faster Without Smudging
Follow this workflow if you want the quickest safe result:
-
Wash and dry your hands first.
This removes oils that can interfere with even application. -
Use thin coats only.
Thin coats dry faster than thick ones because there is less solvent to evaporate. -
Wait a few minutes between coats.
A few thin coats are better than one heavy pass that stays soft for much longer. -
Finish with a quick-dry top coat or drying drops.
If you own one, use it. This is the easiest way to cut down the vulnerable time at the end. -
Use cool airflow for a short burst.
Hold a fan or cool hair dryer a few inches away and keep the setting gentle. -
If you want, use a cold-water dip only after the polish has begun to set.
Keep it brief and controlled. Think “steady hands,” not “swish around in the bowl.” -
Leave the manicure alone longer than you think.
It may feel dry in minutes, but normal use should still be gentle for a while. For most people, that means avoiding pressure, tight gloves, and heavy hand use for the rest of the day if possible.
Quick-Dry Top Coat vs. Drying Drops
Both products can help, but they solve slightly different problems.
A quick-dry top coat is the better choice if your main goal is speed plus protection. It usually gives a smoother, more sealed surface and is the stronger option when you want the manicure to last longer.
Drying drops are more convenient if you already like your top coat and just want a quick finish. They are often easier to use in a small bathroom or while traveling.
Choose a quick-dry top coat if:
– you want the best overall speed-and-protection balance
– you wear regular polish often
– you are willing to add one more product to your routine
Choose drying drops if:
– you want something fast and simple
– you do not want another full top coat layer
– you mainly need help with the final set
If you are buying only one product for faster drying, a quick-dry top coat is usually the better first purchase. For many home manicures, that one product is enough.
Cold Water, Ice Water, Fan, or Air Drying: Which Works Best?
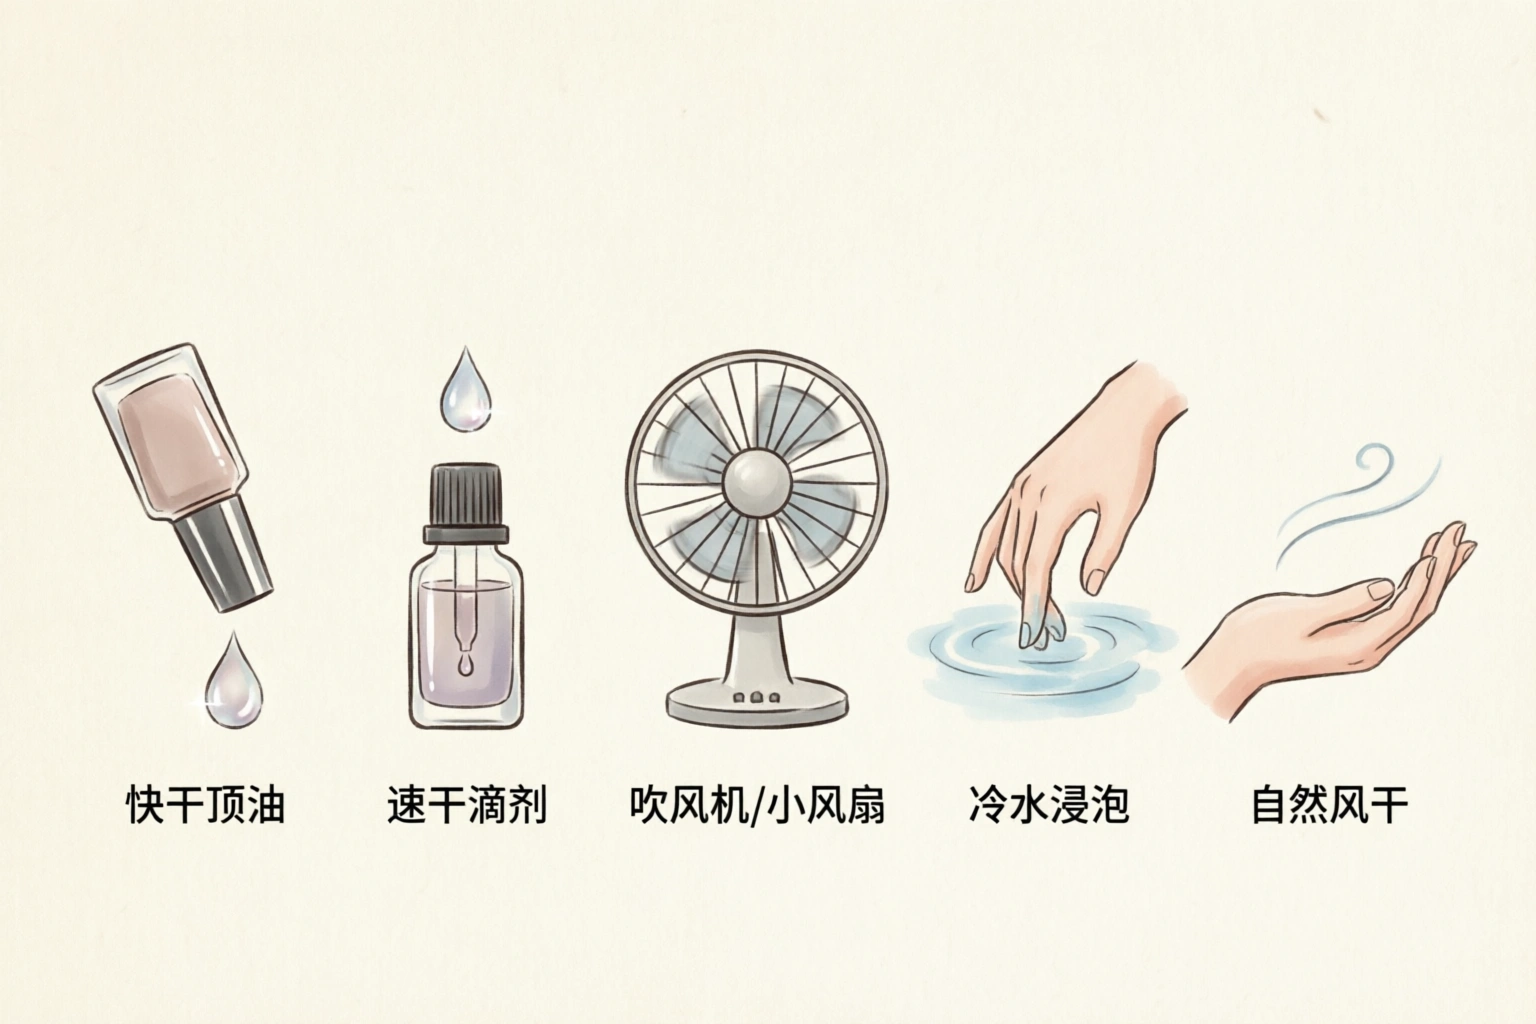
Here is the practical comparison:
| Method | Speed | Safety | Best Use |
|---|---|---|---|
| Quick-dry top coat | Fastest | High | Best overall at-home option |
| Drying drops | Fast | High | Easy final-step help |
| Cool fan / cool hair dryer | Moderate-fast | High if gentle | Good when you want low risk |
| Cold water / ice water | Moderate-fast | Moderate | Secondary helper after polish starts to set |
| Air drying | Slow | High | Fine when time is not an issue |
A fan is usually the simplest low-risk method. A cool hair dryer can work too, but keep the airflow gentle and the dryer a few inches away. Heat is not your friend here; it can make the surface behave unpredictably and may encourage bubbles or ripples.
Cold water can help, but it should be treated as a finishing tool, not the main drying strategy. If you are clumsy with wet nails, airflow plus thin coats is usually the safer route.
How Many Coats Should You Use for Faster Drying?
The best speed rule is simple: use the fewest coats that still give you even color.
For many polishes, that means:
– 1 base coat
– 2 thin color coats
– 1 quick-dry top coat
That is often the best compromise between opacity and speed. If your polish is sheer, you may need a third thin color coat, but keep each layer light. Thick coats are the biggest reason people think polish “just won’t dry.”
If you are tempted to apply one heavy coat to save time, don’t. You may save 30 seconds during application and lose much more time waiting for the polish to set.
Drying Time by Polish Type
Regular nail polish
This is the easiest type to speed up at home. Cool airflow, thin coats, and quick-dry products all help.
Gel polish
Gel is a different system. It does not simply air-dry the way regular polish does, so at-home “drying tricks” are not a substitute for the proper curing process.
Fast-dry formulas
Some formulas are built to dry faster from the start. Brand-reported claims may say certain shades dry faster than others, and some quick-dry lines can set very quickly, but that is product-specific rather than a promise for every polish you own. Formula choice still matters.
Common Mistakes That Slow Drying or Ruin a Manicure
These are the mistakes that cause the most smudges:
- Using thick coats
- Painting too many layers too quickly
- Touching the surface because it “looks” dry
- Using heat instead of cool air
- Submerging hands too aggressively in water
- Putting on gloves, gripping bags, or bending nails too soon
- Using old, thick polish when you need speed
One more subtle problem: if the polish is old and sticky, it may drag on the brush and go on unevenly. That creates thicker spots, and those spots stay soft longer.
How to Tell When Polish Is Dry Enough to Use Your Hands
There are three useful milestones:
Surface-dry
The top layer no longer looks glossy-wet and is starting to set. This is not enough for normal use.
Dry to the touch
A light tap does not leave a wet mark. This usually means you can be a little more confident, but you should still avoid pressure.
Fully cured
The polish has hardened all the way through and is much less likely to dent. This can take many hours.
If you need a practical rule of thumb, assume your manicure is only safe for light, careful use after about 30 to 60 minutes, and keep normal, hands-on activity gentle for several hours or the rest of the day when possible. Even then, the polish may still be curing underneath. That is why it is smart to avoid workouts, tight gloves, heavy lifting, and anything that presses on the nails too soon.
Troubleshooting: If Your Polish Is Still Tacky, Wrinkled, or Bubbling
If it is still tacky
You probably used too much polish or moved too quickly between coats. The fix is patience, not more touching. Add cool airflow and give it more time.
If it wrinkles
That usually means the top layer set before the lower layer had a chance to stabilize. Thick coats are the usual cause.
If it bubbles
Heat, strong airflow, or overworking the polish can cause bubbles. Next time, use cooler air and lighter coats.
If it dents easily
The manicure is not fully hardened yet. Keep your hands out of tight gloves and avoid anything that presses on the nail plate.
Practical Examples: Fast-Drying Routines for Real-Life Situations
You have 20 minutes before dinner
Use thin coats, then finish with a quick-dry top coat and a short cool-air blast. Skip the thick third coat unless you truly need it.
You need to check your phone right away
Paint earlier than you think you need to. Then give the nails a few minutes with cool airflow before you touch anything. The phone is one of the easiest ways to ruin fresh polish.
You forgot to buy a quick-dry product
Use thin coats, wait between layers, and rely on a fan or cool hair dryer. It will not be as fast as a dedicated product, but it is still much better than air drying alone.
Your polish is older and seems sticky
Do not fight it with thicker application. If the polish is dragging or stringy, it may be time to replace it. Older polish is often slower and less cooperative.
When to Ask a Nail Technician
If you regularly struggle with polish that bubbles, wrinkles, or stays soft for hours even when you use thin coats, a nail technician can help you figure out whether the issue is product choice, application thickness, or prep. That is especially useful if you want a faster routine but keep ending up with dents and smears.
For most at-home manicures, though, the answer is usually the same: thin coats, cool airflow, and a quick-dry product when you need the fastest safe result.
