How Long Does Nail Polish Take to Dry? A Practical Guide for Faster, Smudge-Free Manicures

If you’ve ever painted your nails, waited “long enough,” and still ended up with a dent, sheet mark, or thumbprint, you already know the tricky part of a manicure isn’t the color — it’s the dry time.
Here’s the honest answer: regular nail polish usually feels dry to the touch in about 10 to 30 minutes, but it can take 1 to 2 hours to fully dry depending on the formula, how thickly you applied it, and the environment. Some sources put the usable window sooner, around 20 minutes for careful handling, while complete dryness takes longer. Quick-dry formulas and gel systems change that timeline a lot.
Below, I’ll break down what those drying stages actually mean, how to speed things up without wrecking your manicure, and how to decide when your nails are really safe to use.
How Long Nail Polish Usually Takes to Dry
The biggest mistake people make is treating “dry to the touch” as the same thing as “fully dry.” Those are not the same.
A polish can feel set on the surface while the layers underneath are still soft. That’s why a manicure may survive a light tap but still dent if you press into it with a bag, blanket, or phone case.
Here’s a practical comparison:
| Polish type | Dry to the touch | Usable with caution | Fully dry / cured |
|---|---|---|---|
| Regular nail polish | about 10–30 minutes | about 20–45 minutes for light handling | about 1–2 hours, sometimes longer with thick coats |
| Quick-dry nail polish | about 2–10 minutes per coat | about 10–20 minutes | faster than regular polish, but still varies by formula and coat thickness |
| Gel polish with UV/LED lamp | after each lamp step | shortly after curing | cured after the lamp step, though the full manicure still needs careful handling right after |
| Gel polish without a lamp | not ideal | not ideal | can take hours and is not the intended method |
That table gives you the practical version, not a promise that every bottle behaves the same way. Brands, pigment load, and coat thickness all matter.
If you want a brand-specific reference point, essie notes that a base coat may dry in 1–2 minutes, thin color coats in a few minutes, and top coat in 1–2 minutes under their system. You can see that kind of guidance on essie’s drying-time guidance. For a broader look at curing versus air-drying, NIH’s nail product safety resources are useful when you’re comparing polish types and tools.
Dry to the touch vs fully dry
Think of polish drying in layers:
- Dry to the touch: the surface no longer feels wet or tacky.
- Usable with caution: you can lightly use your hands, but you still need to avoid pressure and friction.
- Fully dry: the polish has hardened enough that normal contact is far less likely to leave marks.
- Cured: this term mainly applies to gel polish, which hardens under a lamp rather than just air-drying.
That distinction matters because many manicure mishaps happen after the surface seems dry. A top layer can feel fine while the lower layers are still moving.
What Affects Nail Polish Drying Time
A manicure dries at the speed of its slowest layer. If one coat is thick, the whole nail behaves like a thicker manicure.
Coat thickness
Thin coats dry faster because solvents evaporate more evenly. Thick coats trap more liquid underneath, which slows the process and increases the chance of wrinkling or denting.
A useful rule: two thin coats are usually safer than one heavy coat. One heavy coat may look opaque sooner, but it often costs you more drying time and gives a less reliable finish.
Number of coats
More layers usually mean more total drying time. Base coat, two color coats, and top coat all need time to set. That’s why a manicure that looks simple can still need a real wait before it’s safe to handle normally.
Formula type
Regular polish, quick-dry polish, and gel polish are built differently.
- Regular polish air-dries as solvents evaporate.
- Quick-dry polish is formulated to set faster.
- Gel polish needs a lamp to cure properly.
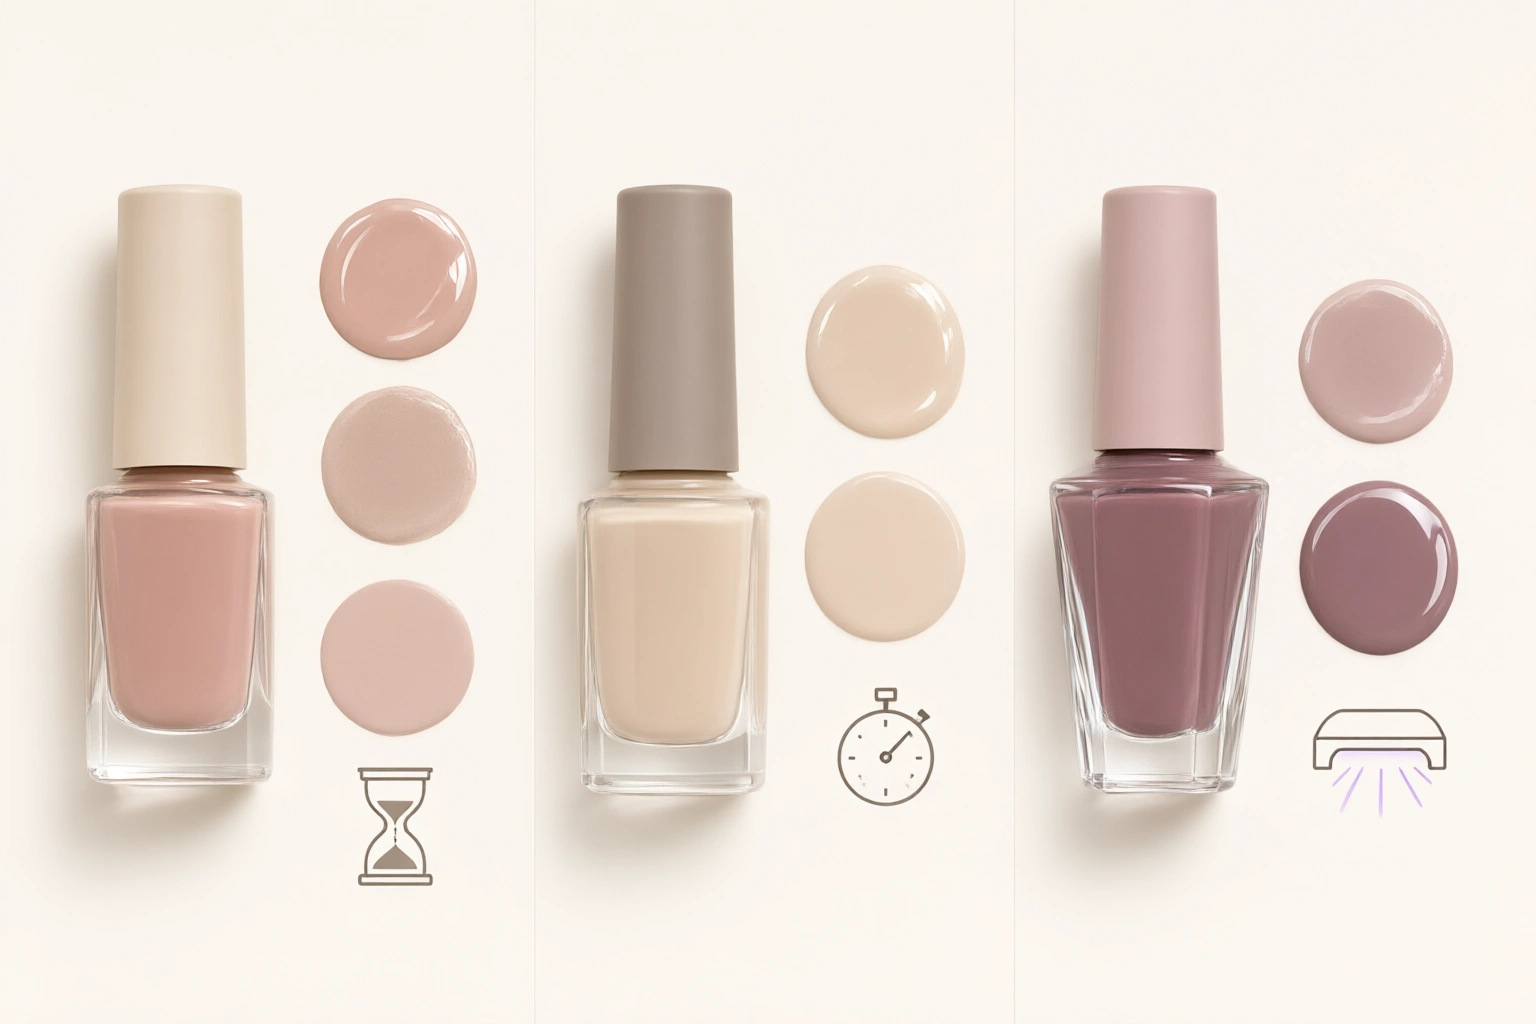
A quick-dry formula can save time, but it may feel different during application and may not behave exactly like your favorite classic polish.
Temperature, humidity, and airflow
Air movement helps solvents leave the polish surface. That’s why a fan or open room often works better than a still, humid bathroom.
Humidity slows drying because the air is already holding more moisture. A warm, dry room is generally friendlier to polish than a steamy one, but excessive heat is not a shortcut you should improvise with.
Base coat and top coat
Both can help or hurt, depending on the formula and how you apply them. A fast-drying top coat can reduce smudge risk on the surface layer. A thick or slow-setting top coat does the opposite.
If you’re using a dehydrator or prep product as part of your routine, it can help the nail plate stay cleaner and improve adhesion. If you want to understand how prep products fit into a manicure system, see how nail dehydrator works and whether nail dehydrator dries on its own.
What You Need Before You Start
If your goal is a faster, cleaner dry, set up the manicure before you open the polish bottle.
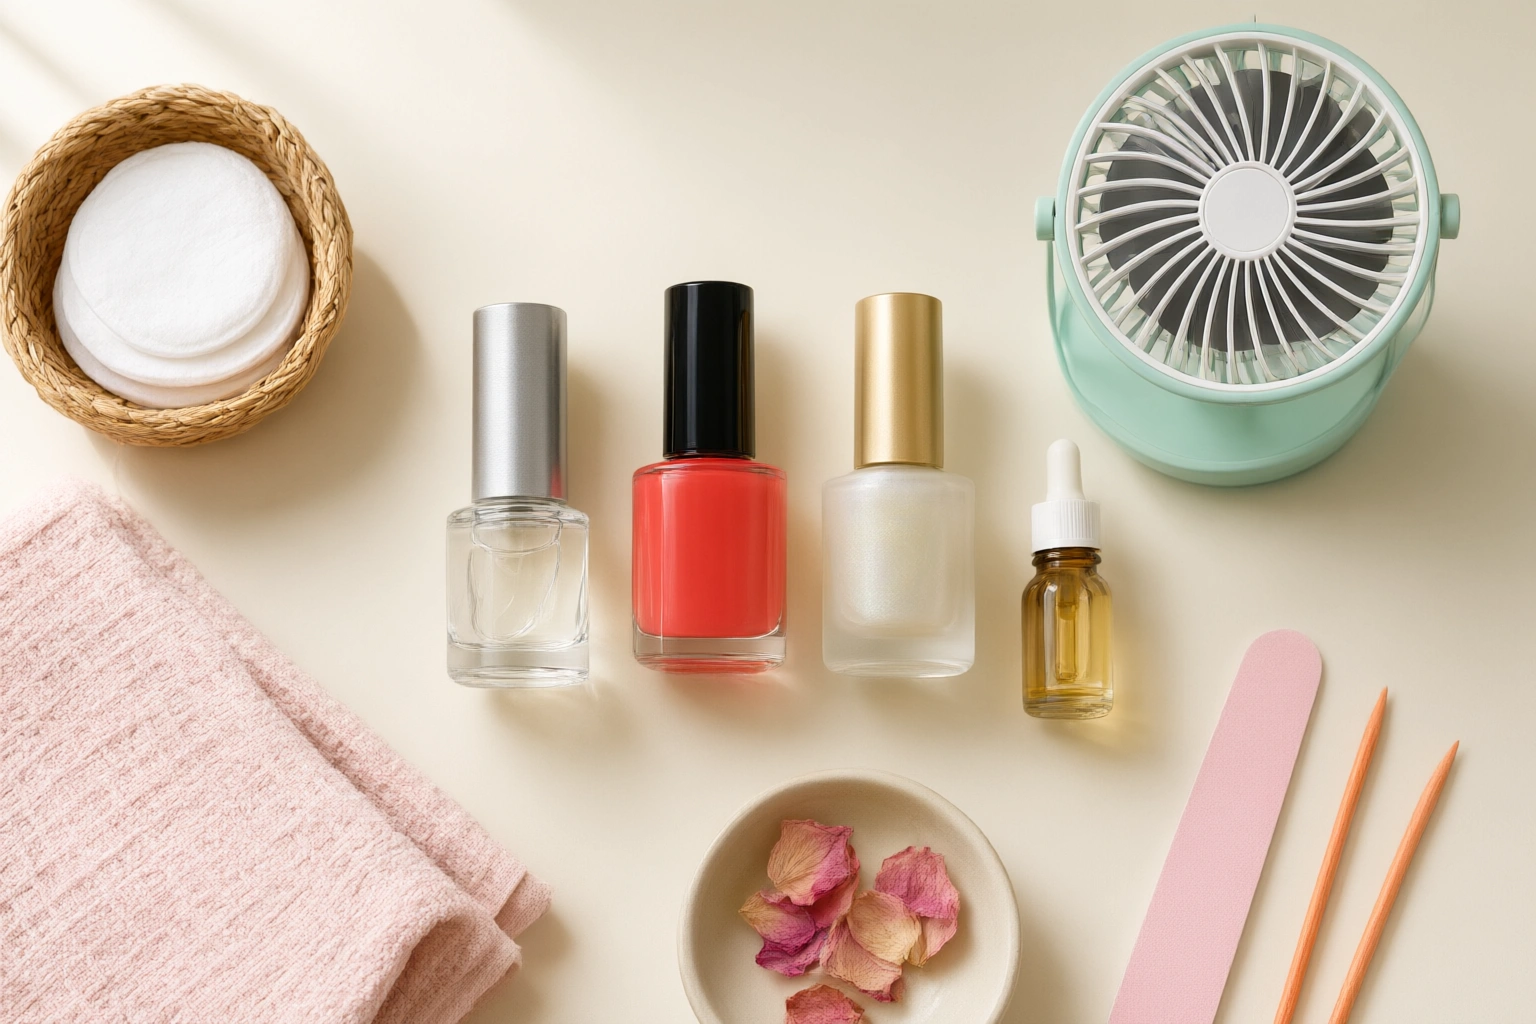
Have these ready:
- regular polish or quick-dry polish
- base coat
- top coat
- quick-dry top coat or quick-dry drops
- lint-free wipe or clean cleanup brush
- timer or phone timer
- optional small fan
That’s enough for most at-home manicures. You do not need a lot of gadgets to get better results; you need a better sequence.
If you use prep liquids, make sure you know whether they air-dry or need another step. For example, Nail Prime’s guides on whether nail dehydrator needs a lamp and whether nail dehydrator needs to be cured can help you avoid mixing up prep steps with polish drying.
How to Make Nail Polish Dry Faster
The fastest safe manicure is usually the one you don’t overload.
1. Prep the nail surface well
Clean, dry nails give polish a better chance to set evenly. Remove oils and residue before you start. If the nail plate is damp or greasy, polish can slide around longer than it should.
2. Apply a thin base coat
Use enough to cover the nail, not enough to pool at the edges. A thin base coat sets faster and gives your color coats a smoother foundation.
3. Build color in thin layers
This is the most important speed decision you make.
A thin first coat may look streaky. That’s normal. The second thin coat usually evens things out without trapping as much solvent as a thick single coat would.
If you’re tempted to “fix” sheer polish by loading the brush, resist that urge. One thick coat often takes longer to dry than two controlled coats.
4. Wait between coats
For classic polish, a short wait between coats helps the lower layer settle before the next one goes on. In practice, that usually means a few minutes, not just a quick swipe-and-stack application. The thicker the coat and the creamier the formula, the longer you should wait.
Use the polish itself as your guide: if the surface still drags when you lightly float the brush, wait a little longer.
5. Seal with a fast-drying top coat
A quick-dry top coat is usually the most useful shortcut for regular at-home manicures. It can help the upper layer set faster and reduce the chance of immediate smudges.
This is often the best trade-off if you want to keep your usual polish colors but need a more usable manicure sooner.
6. Use drying drops if you want less waiting
Drying drops can help move the top layers along, especially if you tend to paint at night or before getting dressed. They’re useful when you want speed without changing your polish color.
They are not a magic fix for thick coats. If the color layer underneath is overloaded, drops can only help so much.
7. Use a fan for airflow, but keep expectations realistic
A small fan can help with airflow and may make the surface feel ready a little sooner. It’s a decent backup, but it’s usually less effective than a good quick-dry top coat or drying drops.
A fan helps most when your coats are already thin. It helps least when the polish is applied too heavily.
8. Give the manicure a calm finish
After the final coat, keep your hands still for a bit. Avoid typing, rummaging through a bag, or grabbing your phone too quickly. Even a “dry” surface can still mark under pressure.
How to Tell When Nails Are Really Dry
A manicure can look finished before it’s ready for normal use. These checks are more reliable than guessing.
Good signs
- the surface no longer feels tacky
- light air contact doesn’t leave a drag
- the shine looks even, not wet
- gentle fingertip contact does not shift the polish
Bad signs
- the polish feels soft when you press lightly
- you can leave a faint mark with a blanket, sleeve, or towel
- the surface still moves when you lightly touch the edge
- the color looks glossy but not yet settled
The safest check is visual first, then very light contact only if needed. Look for a smooth, even surface with no tackiness. If you want to test an edge, use the lightest possible touch on a corner or tip rather than pressing the center of the nail.
Do not test with pressure. Pressing to “see if it’s dry” often creates the exact dent you were trying to avoid.
How Long to Wait Before Common Activities
This is where realistic expectations matter most.
Typing or using your phone
For regular polish, light handling may be okay after about 20 to 45 minutes, but typing, tapping, and scrolling can still leave dents if you’re pressing hard. If you used thin coats plus a quick-dry top coat, you may be able to be more careful sooner, but “safe for use” is not the same as “fully dry.”
Showering
A fresh manicure and hot water are not best friends. Steam and prolonged soaking can soften polish before it fully hardens. For regular polish, it’s better to wait until it is fully dry — usually closer to 1 to 2 hours, and longer if your coats were thick. If you can avoid a hot shower right after painting, even better.
Going to bed
Bedtime is one of the most common ways manicures get ruined. Sheets and blankets leave pressure marks even when nails seem dry.
If you paint your nails at night, give yourself a real buffer before sleep. For regular polish, a quick 10-minute wait is usually not enough. A safer plan is to paint earlier in the evening and leave as much time as possible before bed, especially if you used multiple coats.
Getting dressed or grabbing bags
Anything that presses against the nail tips can dent soft polish. Use the first hour as a low-friction window.
Regular Polish vs Quick-Dry Polish vs Gel Polish
Here’s the practical trade-off.
Regular polish
Best if you want familiar application, easy removal, and more color variety. The downside is drying time.
Quick-dry polish
Best if speed matters and you want to reduce the wait without changing your whole routine. The trade-off is that some formulas feel a little different and may not have the exact finish you prefer in a classic polish.
Gel polish
Best if you want a manicure that resists smudging after curing and lasts longer. The trade-off is the lamp, the process, and the removal method. It is not the same as regular polish, and it should not be treated like a simple air-dry manicure.
For readers comparing polish systems, Manucurist’s explanation of drying methods is a helpful overview of how classic polish and gel differ in practice.
Common Mistakes That Make Polish Dry Slower
These are the habits that usually cause the problem in the first place:
- applying thick, overloaded coats
- rushing the next coat before the last one has settled
- skipping top coat or using a slow one
- painting in a humid, steamy room
- assuming a shiny surface means a hard manicure
- touching the nails too soon to “check”
- using heat carelessly instead of giving the polish time
A fan can help with airflow, but it won’t rescue very thick polish. If the coat is too heavy, the top may set while the lower layers stay soft.
Troubleshooting a Manicure That Won’t Dry Properly
If your manicure still feels tacky after what seems like enough time, check the likely cause before adding more products.
If the surface is sticky
You may simply need more time. Some top coats stay tacky longer than others, and gel systems require curing rather than air-drying.
If you see dents or impressions
The coat was probably too thick, or you used your hands too soon. In that case, the best fix is patience. Pressing or smoothing usually makes it worse.
If the polish bubbled
Bubbles often come from thick application, shaking the bottle too aggressively, or applying layers too quickly. The next manicure should be thinner and calmer, not faster.
If the finish looks uneven
Uneven drying can happen when the room is humid or the coats vary in thickness. A more even application usually solves more than any drying hack.
Practical Examples: Real-World Drying Scenarios
You painted two thin coats before dinner
If the polish is regular formula, treat the next 20 to 45 minutes as cautious time. You may be able to use your hands lightly, but avoid anything that presses on the nails.
You need to paint your nails before bed
Use thinner coats than usual and a fast-drying top coat. Then give yourself a longer buffer than you think you need before getting under the covers.
You’re getting ready for an event in under an hour
Choose quick-dry polish or add a quick-dry top coat to your regular polish. That combination is usually more realistic than hoping air alone will do the job quickly.
You want the longest-lasting, least smudgy finish
Gel polish is the better fit if you’re willing to use the lamp and follow the curing steps. It’s a different system, but it solves the “I accidentally touched my nails” problem better than standard air-dry polish.
When to Ask a Nail Technician
If your polish consistently stays tacky, bubbles every time, or smudges even after careful application, a nail technician can help you figure out whether the issue is product choice, coat thickness, prep, or a curing problem with gel.
That’s especially useful if you’re unsure whether you’re using a regular top coat, a quick-dry top coat, or a product that needs a lamp. The steps are different, and mixing them up can make a manicure feel impossible to dry.
The bottom line: how long nail polish takes to dry depends less on the clock and more on the system you use. Thin coats, the right top coat, and a little patience usually beat every shortcut that promises instant results.