
How to Dry Nail Polish Fast at Home Without Smudging Your Manicure

If you want the fastest safe result, use this order:
- Apply thin coats. Thick polish is the biggest reason manicures stay soft too long.
- Finish with a quick-dry top coat if you have one.
- Use cool airflow or a cold-water dip after the polish has had a moment to set.
- Keep your hands still longer than you think you need to.
For a simple at-home routine, that usually means: base coat, two thin color coats, then a quick-dry top coat. If you need extra help, a fan, cool hair dryer setting, or a drying spray/drop can speed things up more safely than hot air or heavy layers.
A useful reality check: polish can feel dry to the touch fairly soon, but still dent or wrinkle if you press it too early. OPI notes that polish may feel dry to the touch in about 30 to 60 minutes, while full cure can take up to 24 hours. That gap is why a manicure can look finished and still get ruined by shoes, zippers, or a phone grip. You can read more about that in OPI’s drying guidance.
What You Need Before You Start
You do not need a salon setup to dry polish faster, but you do need the right basics.
Have these ready:
– Nail polish
– Base coat
– Top coat, ideally a quick-dry version
– Optional: quick-dry drops or drying spray
– Optional: a small fan
– Optional: a bowl for cold water and ice
– Tissue or paper towel
– Cotton swab or cleanup brush for mistakes
If you are planning to use a cold-water method, set up the bowl before you paint. If you are using a fan, place it where you can keep your hands steady without reaching or twisting your wrists. That matters more than people expect; movement is what causes most fresh-polish dents.
One small prep step helps more than it gets credit for: wash and dry your hands before painting. Essie recommends removing oils first because residue can interfere with how polish adheres. They also note that older polish may be thicker and stickier, which can slow drying. Their drying tips are here: Essie’s quick-drying advice.
How Nail Polish Actually Dries: Surface Dry vs Fully Dry
Polish does not dry in one moment. It dries in stages.
First, the top layer starts to set. That is the surface-dry stage, when the nail may look finished but still feels vulnerable. Next, solvents continue evaporating from deeper layers. That is when the polish hardens enough to resist dents, pressure, and bending.
This is why a manicure can seem fine until you:
– put on socks
– grab a heavy bag
– press a fingernail against a phone
– lean on a table edge
Those small actions can leave marks even if the polish looked dry a minute earlier.
A practical way to judge readiness without risking dents: wait until the surface no longer feels tacky, then test with a very light side-of-finger touch on one nail only. If the surface feels firm and does not leave a fingerprint, it is closer to ready for normal use. If it still feels soft, glossy-wet, or grabs your skin, give it more time. For extra caution, try a gentle tap of two painted nails together only after several more minutes; if they stick or leave a mark, they are not ready yet.
The practical takeaway: “dry enough to look good” and “dry enough to use normally” are not the same thing. If you need to leave the house quickly, aim for methods that speed both surface drying and deeper hardening, not just methods that make the finish feel less tacky.
Step-by-Step: How to Dry Nail Polish Fast at Home
1) Prep the nail so the polish can set cleanly
Wash and dry your hands, then remove any leftover oil or lotion from the nail plate. Clean nails help polish lay down evenly instead of sliding around.
2) Use thin coats, not one heavy coat
Thin layers dry faster because there is less liquid to evaporate. They also level more evenly, which reduces the chance of a wrinkled surface.
A good rule is to use just enough polish to cover the nail in a smooth pass or two. If the brush looks overloaded, wipe off the excess before you paint.
3) Let each coat settle before the next one
If the first coat still looks wet and glossy, the second coat can trap solvent underneath. That slows drying and increases the chance of dents.
For a regular manicure, wait until the coat is no longer sliding around before adding the next layer. If you are using a thicker or darker formula, give it extra time rather than forcing the next coat on too soon. For more timing guidance, see how long to wait between coats.
4) Seal with a quick-dry top coat
A quick-dry top coat gives you two benefits: it helps protect the color and can speed the set-up time. It is usually the best buyable product if your goal is a faster, smoother finish with minimal fuss.
Apply it in one confident layer. Dragging the brush back and forth too much can disturb the color underneath.
5) Add a drying aid if you need extra speed
If you are in a hurry, use one of these after the top coat:
– Drying drops for targeted, controlled use
– Drying spray if you want a quicker whole-hand finish
– Cool air from a fan or hair dryer on the cool setting
– Cold water once the polish has had a moment to set
6) Keep your hands still longer than feels necessary
Even when polish looks set, it is still easy to dent. Hold off on tight shoes, heavy bags, workouts, or anything that bends the nails until the manicure has had more time to harden.
If you want a broader timing reference, this guide on how long nail polish takes to dry can help you plan better.
Best At-Home Drying Methods Compared
| Method | Speed | Safety | Cost | Ease of Use | Best For |
|---|---|---|---|---|---|
| Quick-dry top coat | Fast | High | Medium | Easy | Most DIY manicures |
| Drying drops | Fast | High if used as directed | Medium | Easy | Precision and small routines |
| Drying spray | Fast | High if used correctly | Medium | Easy | Quick whole-hand drying |
| Fan | Moderate | High | Low | Very easy | Everyday household drying |
| Cold water / ice water | Moderate | High if timed correctly | Low | Easy | No-buy speed boost |
| Air drying only | Slowest | High | Free | Easiest | When time is not a problem |
Quick-dry top coat vs drying drops vs drying spray
If you want the most practical buyable option, a quick-dry top coat usually gives the best balance of speed and protection. Drying drops are great when you want a controlled finish and do not want to add much product. Drying spray is convenient if you want to cover all nails quickly.
The trade-off is simple:
– Top coat improves the manicure finish and helps it dry.
– Drops are precise but may feel a little more fiddly.
– Spray is fast to apply, but you need to follow the directions closely for even results.
Fan drying vs cold water
A fan is the easier everyday choice because it is simple and low-risk. Cold water can be useful when you need a stronger speed boost, but timing matters.
Cold-water walkthrough: paint your nails, then wait about 1 to 2 minutes so the surface can start to set. Fill a bowl with cold water and ice, then gently dip your fingertips in without scraping the nails against the sides. Keep them in the water for about 2 minutes. When you lift your hands out, do not rub them dry. Instead, let the water bead off, then pat the skin around the nails only with a tissue or paper towel and let the nails air-dry for another minute or two.
That method is useful, but it is not magic. The polish still needs to be applied well first.
If you want the simplest no-buy method, a fan wins on convenience. If you need a stronger at-home boost and can spare a bowl, cold water is worth trying. See OPI’s ice-water drying tip.
Air drying vs using a hair dryer
Air drying is the safest but slowest path. A hair dryer can help only if it is on cool. Hot air can soften polish, encourage bubbles, or make the surface shift before it has set.
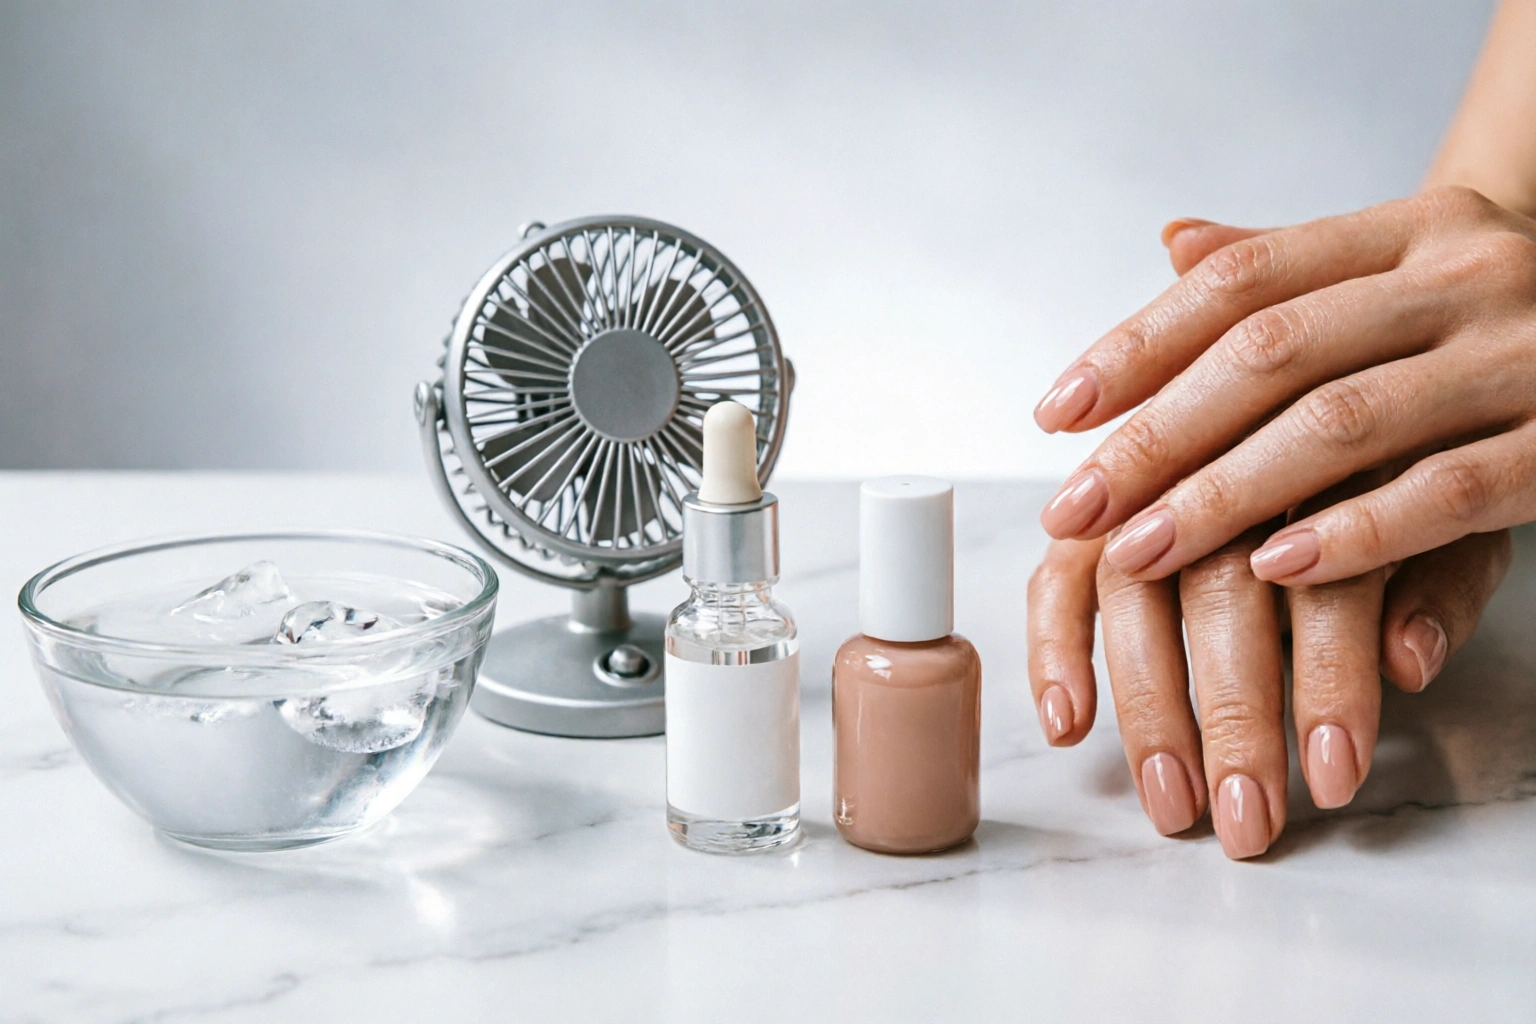
Essie specifically recommends cool air on a lower power setting and warns against drying out the cuticles. Cote Beauty also suggests a cool setting held a few inches away from the nails. The key is airflow, not heat.
How Coat Thickness and Polish Formula Affect Drying Time
The formula matters, but coat thickness matters more.
A thin coat dries faster because solvents evaporate more easily from a smaller amount of product. A thick coat may look richer at first, but it usually stays soft longer and is more likely to dent or wrinkle.
This is especially noticeable with:
– dark shades
– heavily pigmented polishes
– older bottles that have thickened
– brushes loaded with too much product
If your polish is getting stringy or sticky in the bottle, that can make it harder to apply thinly. Essie notes that older polish tends to be thicker and stickier, which can slow drying.
A useful decision rule: if one coat looks streaky but two coats look smooth, choose two thin coats rather than one heavy coat. That usually gives you a better finish and a faster dry-down than trying to force full coverage in a single pass.
Manucurist also recommends thin coats and notes that applying color in thin layers with about three brush strokes is part of better drying. Their guidance is here: Manucurist’s drying tips.
Common Mistakes That Make Polish Dry Slower
Using thick coats
This is the biggest one. Thick polish traps more solvent and stays soft longer.
Rushing into water too soon
Cold water can help, but only after the polish has had a minute to begin setting. If you dunk too early, you can distort the surface instead of helping it.
Using hot air
Heat is the wrong tool for fresh polish. It can make the surface behave unpredictably and increase the chance of bubbles or smudges.
Touching the nails too early
If you keep “checking” the polish, you may leave tiny dents that are hard to fix later. That includes testing with a fingertip, pressing nails together, or grabbing objects with the fingertips.
Skipping the top coat
If your goal is speed, a quick-dry top coat is one of the most efficient upgrades you can make. It is often more reliable than hoping air alone will do the job quickly.
Troubleshooting: If Your Polish Is Still Tacky, Streaky, or Dents Easily
If it feels tacky
That usually means the surface has set, but the layers underneath are still soft. Stop touching it and give it more time. If you need to move, use a fan or cool air rather than heat.
If it looks streaky
Streaking often comes from coats that were too thin in some places and too heavy in others. On your next manicure, aim for more even brush loading and smoother coverage. If the current manicure is already done, resist the urge to keep brushing over it; that usually makes it worse.
If it dents easily
The polish is not ready for normal pressure yet. Give it a longer rest and avoid anything that bends the nail. OPI notes that full cure can take up to 24 hours, which is why a manicure can still be vulnerable long after it feels dry.
If bubbles appear
Bubbles are often linked to overworking the polish, shaking the bottle too hard, or using heat. Let the manicure settle, then adjust your application method next time.
Practical Examples: Fast-Drying Routines for Real Life
If you need to leave the house soon
Use thin coats, then finish with a quick-dry top coat. After that, sit in front of a fan or use cool air. This is the most balanced routine for speed and low risk.
If you want a no-buy method
Paint in thin coats, then use a cold-water dip after the polish has set for a moment. This is a good option when you do not own drying products yet.
If your polish is thick or old
Expect slower drying. Take the time to apply thinner layers and avoid adding extra product to “fix” opacity. That usually saves more time than trying to rush a heavy coat.
If you are doing a dark, opaque color
Plan for longer between coats. Darker formulas often look best in thin, patient layers rather than one rushed application.
When to Ask a Nail Technician
If your polish consistently stays gummy, wrinkles, or dents even when you apply thin coats and use a quick-dry top coat, a nail technician can help you troubleshoot the application. Sometimes the issue is not the drying method at all; it is the product formula, the way the brush is loaded, or the number of coats being used.

A technician can also help if you want a routine tailored to your usual polish brands, nail length, or schedule.
The Fastest Safe Routine to Remember
If you want the simplest version, use this:
- prep clean nails
- apply thin coats
- let each coat settle
- finish with a quick-dry top coat
- use cool air or cold water if needed
- avoid heat and heavy hand use for longer than you think
That combination gives you the best chance of a smooth, smudge-free manicure at home without unnecessary guesswork.

