
How to Dry Nail Polish Without Smudging: A Practical At-Home Guide

If you want the shortest path to a clean, smudge-resistant manicure, focus on three things: thin coats, a protective quick-dry finish, and fewer chances to bump your nails while they’re still soft. That combination usually does more for drying than any single “hack.”
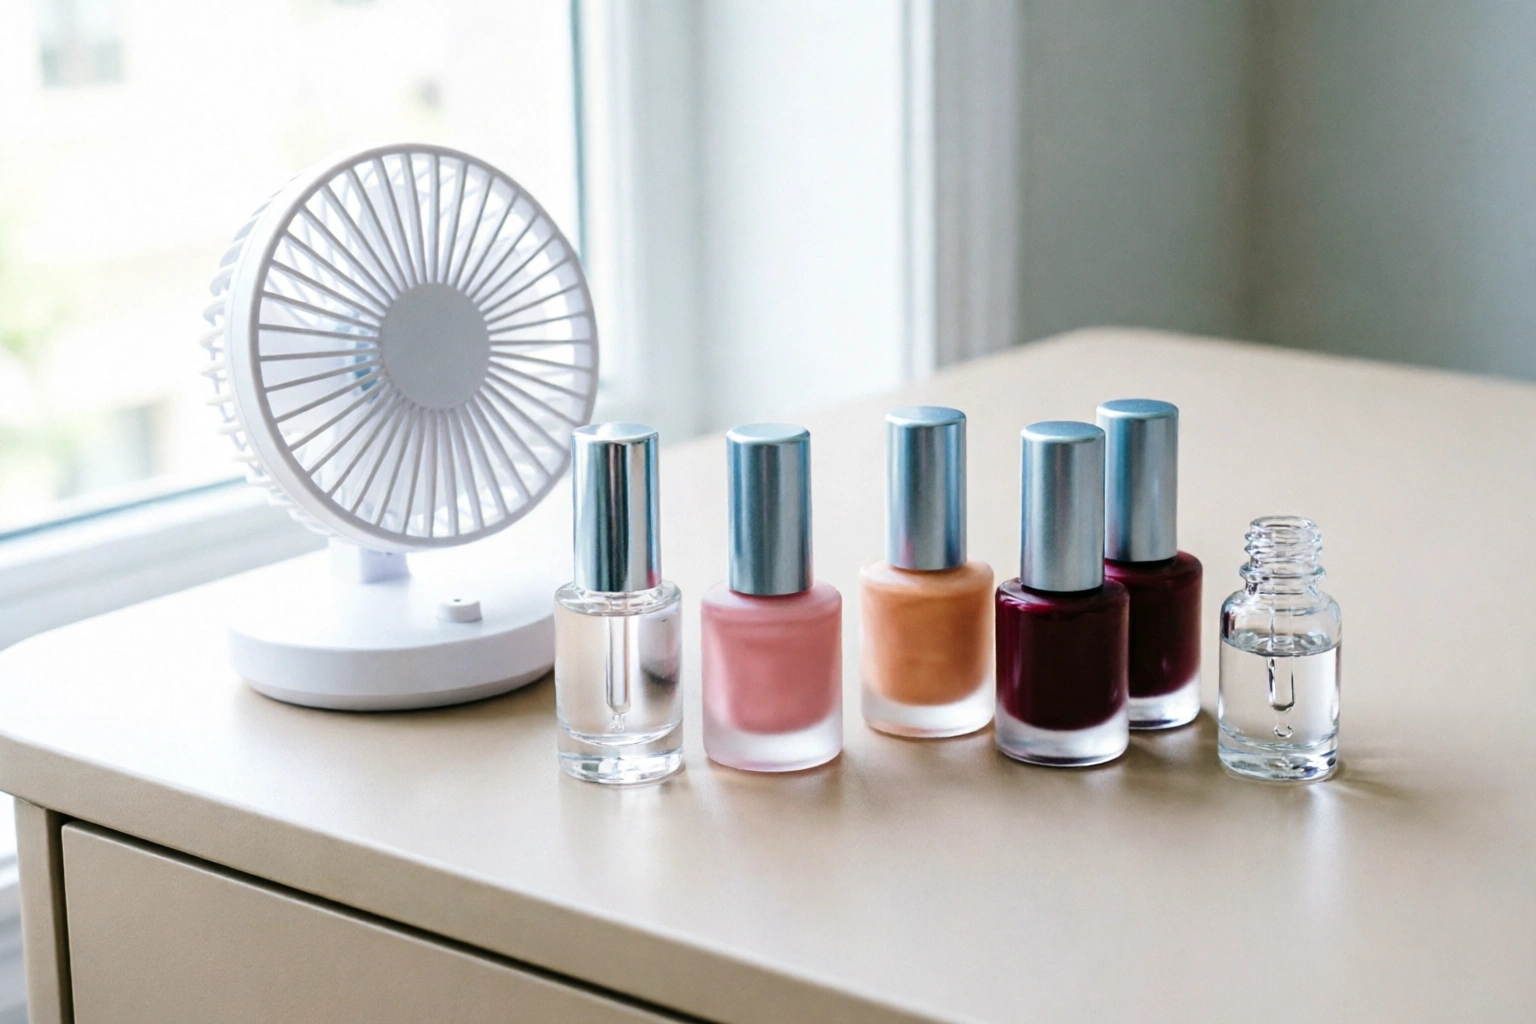
Here’s the simplest decision rule I use with clients and DIY readers:
- Need the safest all-around option? Use thin coats plus a quick-dry top coat.
- Need a no-buy method? Use thin coats, wait between layers, and keep your hands out of the way.
- Need speed and convenience? Add drying drops or a quick-dry top coat, then give the manicure a little breathing room before normal use.
Cold water and cool air can help in some cases, but they’re better viewed as supporting tricks, not miracle fixes. If you want the most reliable result at home, build the manicure so it dries well from the start.
A useful comparison: OPI’s guidance for drying drops says to give the manicure a couple of minutes to breathe, then add one or two drops per nail; it also says the nails are smudge-free five minutes later. That’s a product-specific claim, not a universal rule, but it shows how a drying product can speed up the final stage when used correctly. You can read that approach on OPI’s drying tips.
What You Need Before You Start
You do not need a complicated setup, but you do need a few basics within reach before you paint. Interruptions are one of the biggest reasons fresh polish gets dented.
Gather these items first:
- Base coat
- Nail polish
- Top coat, ideally a quick-dry top coat
- Optional: nail polish drying drops
- Optional: a fan on the cool setting
- Optional: a bowl for cold water
- Cotton swabs and remover for cleanup
- A flat, stable place to let your hands rest
If you already know your polish tends to stay soft, choose a fast-drying polish formula or a quick-dry top coat before you start. That matters more than trying to rescue a thick, slow manicure later.
How Nail Polish Dries and Why Smudges Happen
Fresh polish is vulnerable because the surface can feel dry before the layers underneath have finished settling. That’s why a manicure can seem okay for a minute, then show a dent when you tap a phone, zip a bag, or rest a finger on a table.
Drying time varies by formula and coat thickness, but a practical rule is:
- Between coats: about 1 to 5 minutes for many regular polishes, with thinner coats drying closer to the low end
- After the final coat: about 10 to 20 minutes before light handling for many manicures
- Before normal activities: often 30 minutes to 2 hours, and sometimes longer for thicker coats or slower formulas
Fast-drying polish and quick-dry top coats can shorten those windows, while thick coats, humid rooms, and highly pigmented formulas can stretch them out. The exact timing depends on the product, so treat these as working ranges rather than guarantees.
Smudging usually happens for one of four reasons:
- The coat is too thick. Thick polish takes longer to become stable.
- The next coat goes on too soon. The brush drags through the layer below.
- The manicure is touched too early. The polish may still be soft under the surface.
- The finish gets disturbed by heat, pressure, or water too soon.
Londontown’s guidance describes smudging as marks or imperfections that appear when the polish surface is disturbed before it has completely dried, and it points to insufficient drying time as a major cause. That lines up with what I see in real-life manicures: most “mystery smudges” are really timing problems.
For a broader drying-time reference, this site’s guide on how long nail polish takes to dry is helpful if you want to compare your routine with typical drying windows.
Step-by-Step: How to Dry Nail Polish Faster Without Smudging
1) Prep the nail so the polish can sit evenly
Clean, dry nails hold polish more predictably. If there’s lotion, oil, or leftover remover on the nail plate, polish can slide around longer and feel less stable.
Keep the prep simple:
– Wash hands and dry them fully
– Remove old residue
– Push back cuticles if needed
– Apply base coat in a thin layer
A smooth base matters because unevenness encourages thicker polish application later.
2) Apply thin color coats, not one heavy coat
This is the biggest speed upgrade you can make without buying anything.
Two thin coats usually dry better than one thick coat because each layer has less material to set. Thick coats trap more solvent and stay soft longer, which raises the odds of dents and brush marks.
Paint each nail in controlled strokes:
– Load the brush lightly
– Wipe excess polish off one side of the brush if needed
– Use two to three passes to cover the nail
– Leave the coat looking even, not flooded
If your polish looks streaky after the first coat, that is normal. The second thin coat is there to refine it.
3) Wait briefly between coats
Do not rush the second coat just because the first coat looks less glossy. If the first layer is still tacky, the brush can pull it into ridges or soft patches.
A practical guide:
– Very thin coats: wait about 1 to 3 minutes
– Regular thin coats: wait about 3 to 5 minutes
– Thicker or slower-drying formulas: wait longer, until the surface no longer drags
For a more detailed breakdown, see how long to wait between coats of nail polish.
4) Seal with a top coat
A top coat helps protect the color layer and gives the surface a more finished feel. If you want faster drying, choose a quick-dry top coat rather than a standard one.
A quick-dry top coat is usually the better choice if:
– You want a smoother surface sooner
– You’re painting right before bed
– You tend to dent polish with light contact
A standard top coat is still useful, but it may not give the same speed advantage. If your main goal is to reduce smudging, the quick-dry version usually earns its place.
5) Add a drying product if you want extra speed
Drying drops are useful when you want a little more help after the top coat.
They’re especially practical if:
– You’re short on time
– Your polish tends to stay soft at the cuticle line
– You want a more controlled method than cold water
The trade-off: drying drops are convenient, but you need to follow the product directions closely. Too much product can leave the finish uneven or greasy.
6) Give the manicure a protected pause
Even if the surface looks dry, the polish may still be easy to dent. Keep your hands still for a short window after finishing.
Good habits during that pause:
– Keep hands away from sleeves and blankets
– Don’t reach into pockets
– Avoid opening tight containers
– Rest palms upward on a table if you need to sit still
This is the part many people skip, then wonder why their manicure has one tiny thumbprint or a sheet-print on it.
Best At-Home Drying Methods Compared
| Method | How it helps | Best for | Trade-off |
|---|---|---|---|
| Air drying | No extra product needed | Simple routines, no-buy approach | Slowest and easiest to interrupt |
| Cool fan air | Moves air across the polish | Faster surface drying | Helps more with the top layer than full hardness |
| Cold water | Can help set the surface in some cases | Emergency-style drying when used carefully | Not ideal for every formula; too much movement can cause issues |
| Quick-dry top coat | Helps seal the manicure | Most reliable all-around option | Requires an extra product |
| Drying drops | Convenient spot treatment after top coat | Busy routines, soft finishes | Must be used as directed |
A few practical notes:
– Air drying vs. fan drying: a fan is usually more helpful than doing nothing, but it doesn’t make polish instantly safe to use. Best use: when you want a low-effort boost after the final coat. Less useful if your polish is already thick or you need to start using your hands right away.
– Cold water vs. natural drying: cold water is often described as helping the polish set more quickly. Londontown says a bowl of cold water can help harden the top layer, and Mitty describes icy water as helping solidify polish. That said, this is best treated as a commonly used trick, not a guarantee for every formula. Best use: when you’re working with a fairly standard manicure and can keep the water still and gentle. Not ideal if your polish is very thick, if you hate the mess, or if you’re already prone to flooding the cuticle area. You can see those references here: Londontown’s cold-water tip and Mitty’s icy-water method.
– Quick-dry top coat vs. drying drops: top coats are better if you want to seal the whole manicure; drops are handy if you want targeted help after the top coat. If you only want to buy one product, the top coat is usually the more versatile choice.

How Long to Wait Between Coats and Before Using Your Hands Normally
There is no single safe wait time that works for every polish, but these rules are practical:
- Between coats: wait until the previous coat no longer drags or looks wet in motion, which is often 1 to 5 minutes depending on thickness and formula.
- After the final coat: many manicures need about 10 to 20 minutes before light handling, even if they feel dry on top.
- Before normal use: plan on 30 minutes to 2 hours for more confident day-to-day use, and longer if the coats were thick or the polish is slow-drying.
A manicure can feel “dry” on top and still dent underneath. That is why people often smudge nails while typing, making a bed, or putting on jeans. Those motions add pressure, friction, and accidental contact.
If you need a more detailed estimate for your formula, check how long nail polish takes to dry completely.
Common Mistakes That Cause Smudging, Bubbling, or Dents
Thick coats
Thick layers are the number-one reason polish stays soft too long. They also make the finish more likely to wrinkle if you rush the next step.
Warm air
Warm air is not the shortcut many people hope it is. It can make the surface behave unpredictably and may encourage bubbles or a tacky finish.
Too much product
Whether it’s top coat or drying drops, more is not automatically better. Overloading the nail can leave the surface slippery or uneven.
Touching before the manicure has settled
A lightly dry nail can still take a fingerprint. That includes tiny contacts like brushing against a sleeve cuff.
Using water too aggressively
If you try a cold-water method, keep it gentle. Strong water movement or rough handling can create new problems instead of solving the old one.
Troubleshooting: Why Your Polish Is Still Soft or Keeps Smearing
If your manicure keeps going wrong, the issue usually fits one of these patterns:
- It stays soft for a long time: the coats are probably too thick, or the formula is naturally slower.
- It smears when you think it’s dry: the top layer set before the layers below.
- It dents after routine tasks: you resumed normal use too soon.
- It looks uneven after drying: too much quick-dry product or too many brush passes may be the culprit.
What to change next time:
– Use thinner coats
– Wait a little longer between layers
– Switch to a quick-dry top coat
– Limit hand use right after finishing
– Choose a faster-drying formula when you know you’re short on time
Practical Examples: Fast-Drying Routines for Different Situations
If you’re painting nails before bed
Use thin coats, then finish with a quick-dry top coat. After that, keep your hands still long enough that you’re not immediately folding blankets or reaching under pillows.
If you’re getting ready for work
Choose a fast-drying polish or quick-dry top coat and keep the manicure simple: base coat, two thin color coats, top coat. This is not the time for thick, opaque layers that need extra patience.
If you keep denting polish on your phone
That’s usually a sign you’re using the hand too soon after painting. Keep one hand still while you paint the other, then give both hands a protected pause before scrolling, texting, or carrying bags.
If you want a no-buy method
Thin coats and disciplined waiting between layers matter more than any home trick. A fan can help, but the real win is not overloading the nail in the first place.
How to Tell When Nail Polish Is Dry Enough to Touch, Type, or Shower
Use these decision rules instead of guessing:
- Dry enough to lightly inspect: the surface no longer looks wet or pools under light.
- Dry enough to risk a gentle touch: only if you can barely touch one nail without leaving a mark.
- Dry enough for normal hand use: wait longer than the “feels dry” stage, especially for typing, bag straps, and clothing. A practical target is often 30 minutes or more, and some manicures need longer.
- Dry enough for showering or soaking: give the manicure extra time, since water and steam can affect a still-soft finish. When possible, wait at least an hour, and longer if the polish was applied thickly.
A simple test: if you can press the nail lightly and it feels firm rather than gummy, you’re closer to safe handling. But if there’s any drag, shine shift, or print from contact, it needs more time.
For more background on drying windows and what “dry” really means in practice, how to make nail polish dry quickly is a useful companion guide.
When to Ask a Nail Technician
If your polish repeatedly stays soft, bubbles, or smudges even when you use thin coats and a quick-dry top coat, a nail technician can help you troubleshoot the formula, application thickness, and timing. That’s especially useful if one brand always behaves differently from the rest of your collection.
The goal is not perfection in one pass. It’s building a routine that gives you a smoother finish with fewer chances to dent it before it’s ready.

