
Does Gel Polish Dry Without UV Light? A Beginner’s Guide to Curing Gel Nails

If you’re new to gel manicures, the short answer is this: most gel polish does not dry properly without a UV or LED lamp. Unlike regular nail polish, gel polish usually needs light to cure and harden. If you leave it out on the counter like standard polish, it often stays sticky, smudges easily, and never reaches the finish you expected.
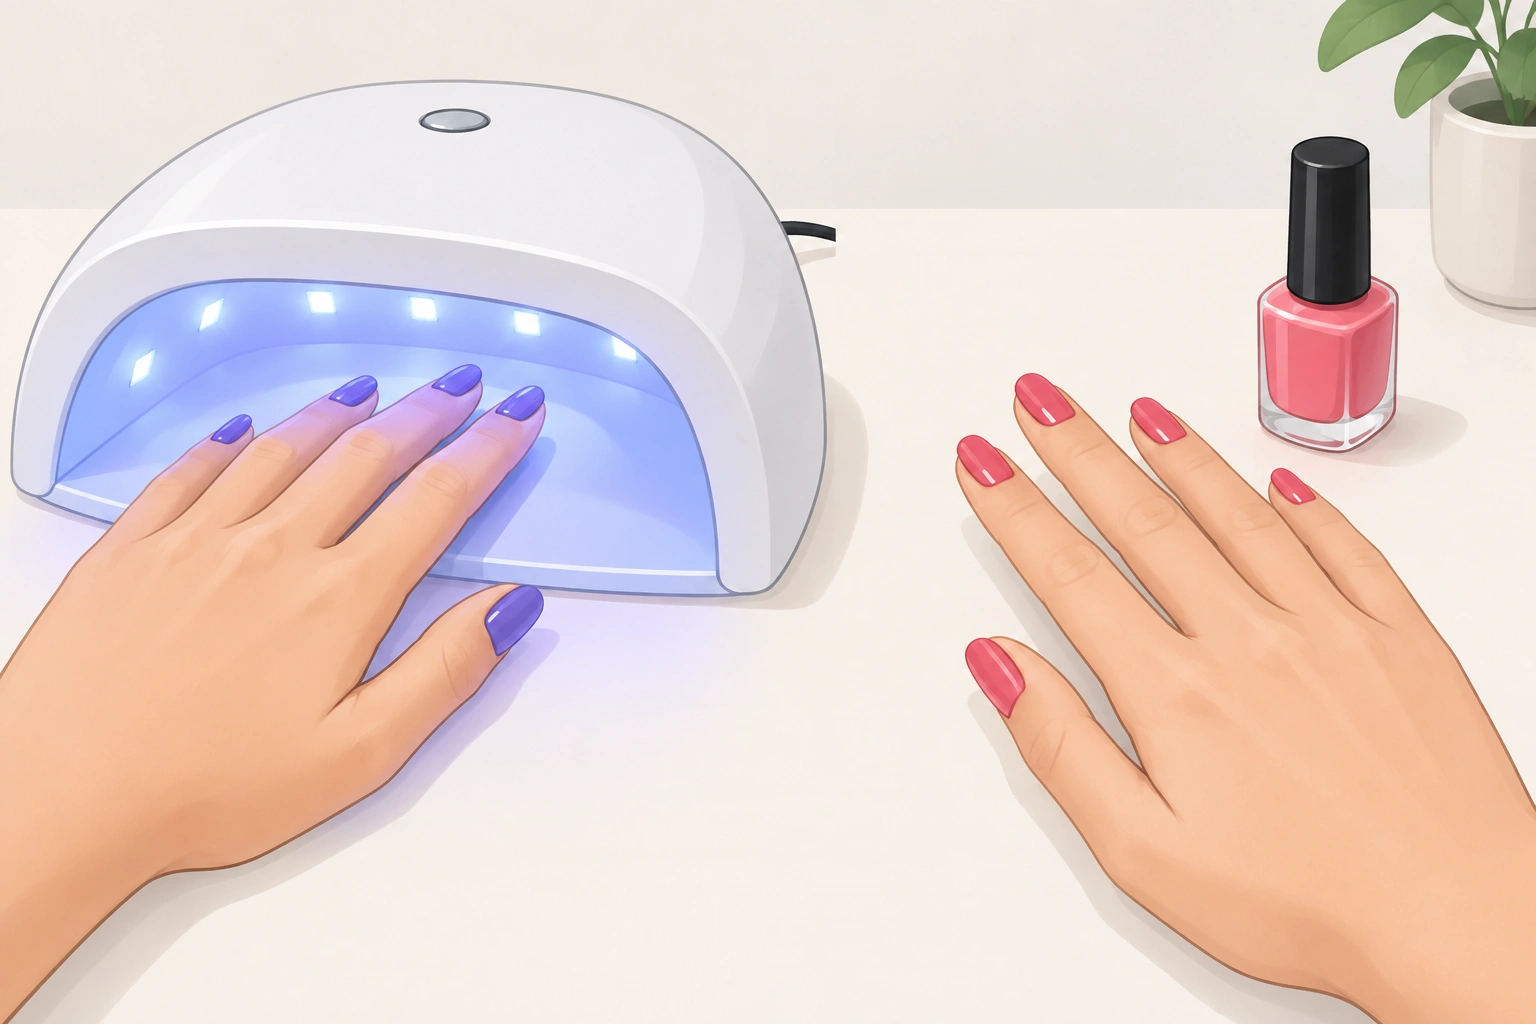
There are some products marketed as no-lamp gel polish or gel-like polish, but those are not the same as traditional gel polish. The label matters here. If the bottle says it needs a UV or LED lamp, assume it does.
What Gel Polish Actually Does: Drying vs. Curing
The easiest way to understand gel polish is to separate two ideas:
- Drying means a product hardens as the air evaporates from it.
- Curing means a product hardens when it is exposed to a specific light source.
Regular nail polish dries in air. Gel polish is different. It is made to cure under a lamp, which is why it behaves so differently during application.
That difference matters because a gel manicure can look finished on top while still being soft underneath. If you touch it too soon, you may leave dents, streaks, or fingerprints in the surface.
For a simple comparison of how polish dries in general, you may also find how nail polish dries helpful.
Why Gel Polish Usually Needs a UV or LED Lamp
Traditional gel polish contains ingredients that respond to light. When the polish is placed under the right lamp, it hardens into a durable finish. Without that light, the polish often stays in its uncured state.
A UV lamp and an LED lamp both do the same basic job: they help the gel set. The difference is the type of light and the cure time the product may need. Some formulas are made for UV lamps, some for LED lamps, and some work with both. That is why the label and instructions matter more than guessing.
If you are shopping for polish, read the product description carefully. A bottle that simply says “gel” does not automatically mean it can dry without a lamp.
What Happens If You Leave Gel Polish to Air-Dry
If you treat gel polish like regular polish and leave it to air-dry, a few things can happen:
- It may stay tacky or sticky.
- It may wrinkle or shrink on the nail.
- It may smudge when you touch anything.
- It may peel or lift sooner than expected.
- The surface may look uneven instead of smooth.
A beginner mistake is assuming “dry to the touch” means “fully cured.” Those are not the same thing. A layer can feel less wet on top and still be soft underneath.
That is one reason gel manicures can fail at home even when the application looked neat. The product was never given the curing step it needed.
Are There Any No-Lamp or Air-Dry Gel Polishes?
Yes, some products are sold as non-UV gel polish or no-lamp gel polish. These are meant to be alternatives for people who want a gel-like finish without a curing lamp.
The key word is some. Not every product with “gel” in the name belongs in this category. Some brands use “gel” to describe the look or texture, not the curing method. In some cases, products marketed as “gel” are actually regular polish or hybrid formulas, which can be confusing for beginners.
Before you buy, check for one clear instruction: does the label say the polish does not require a UV light? If that wording is missing, assume you still need a lamp.
This is also where reading the manufacturer directions matters. A product’s name can be misleading, but the instructions usually tell the truth.
Can Sunlight, a Fan, or Heat Replace a UV/LED Lamp?
These substitutes are popular ideas, but they are not reliable replacements for the manufacturer-recommended curing method.
- Sunlight is inconsistent. It is not controlled like a curing lamp, so you cannot count on even results.
- A fan may help regular polish dry faster, but it does not cure traditional gel polish.
- Heat does not do the same job as the correct UV or LED light.
If you are using a true gel formula, these shortcuts usually lead to a manicure that stays soft, smudges, or wears poorly. The polish needs the method the brand designed it for.
If you want faster drying for a regular manicure instead, quick-dry polish basics may be a better fit than trying to force gel to behave like standard polish.
If You Don’t Have a Lamp, What Are Your Best Alternatives?
If you do not own a UV or LED lamp, you have two practical choices:

-
Use regular nail polish instead of gel polish.
This is the simplest option if you want to paint your nails at home without extra tools. Regular polish air-dries, so you can finish your manicure without a lamp. -
Buy a compatible lamp if you want to use true gel polish.
This makes sense if you like the durability and shine of gel and plan to use it more than once.
A good rule for beginners: if you want the easiest at-home setup, choose regular polish. If you want the longer-wearing finish of gel, plan on getting the lamp that goes with it.
Gel Polish vs. Regular Nail Polish: Which Is Better for You?
Here is a simple side-by-side comparison:
| Feature | Gel Polish | Regular Nail Polish | No-Lamp Gel-Like Product |
|---|---|---|---|
| How it sets | Cures under UV/LED light | Dries in air | Depends on the formula |
| Equipment needed | Usually a lamp | None | Usually none |
| Finish | Glossy and durable | Softer shine, easier to change | Varies by product |
| Beginner-friendly | Less forgiving without the right tools | Easier to start with | Good only if clearly labeled |
| Main trade-off | More steps, longer setup | Less wear time | May not perform like true gel |
This comparison usually makes the decision easier. If you want convenience and no extra equipment, regular polish is the easier path. If you want a longer-lasting manicure and do not mind the lamp step, gel may be worth it.
For readers who want to understand why polish behaves this way in general, how long nail polish takes to dry completely is a useful next read.
How to Cure Gel Polish Correctly at Home
If your polish is a true gel formula, the basic process is straightforward:
- Prep your nails according to the product instructions.
- Apply a thin base coat.
- Cure that layer under the correct lamp for the recommended time.
- Apply the color in thin coats, curing each layer.
- Finish with a top coat and cure again.
Thin coats matter. Thick layers are more likely to cure unevenly, which can leave the polish soft in the middle even if the surface looks fine.
Also, use the lamp type the brand recommends. A product designed for LED light may not cure correctly in a UV-only setup, and the reverse can also be true.
If you already use regular polish at home, how to dry nail polish without smudging can help you avoid common beginner mistakes while you decide whether gel is right for you.
Typical gel-cure times are often around 30 to 60 seconds under an LED lamp and about 2 minutes under a UV lamp, but the bottle instructions always override general guidance.
Common Mistakes to Avoid With Gel Polish
Beginners usually run into the same few problems:
Applying coats that are too thick
Thick layers look efficient, but they make curing harder. Thin layers are safer and more even.
Assuming the polish is ready too soon
If it feels dry on top, that does not mean it is fully cured. Give it the full lamp time.
Buying a “gel” product without checking the label
Some products are true lamp-cured gels. Others are gel-like or no-lamp formulas. Read the packaging before you buy.
Using the wrong substitute for a lamp
Sunlight, fans, and heat do not replace the curing step for traditional gel polish.
Touching the nails too early
Even a small touch can leave marks if the gel has not fully cured.
These mistakes are easy to make once, but they are also easy to avoid once you know what to look for.
When to See a Nail Technician or Dermatologist
See a nail technician if you are unsure whether a product is a true gel, need help choosing the right lamp, or want guidance on proper curing for a specific brand.
See a dermatologist if a nail product seems to trigger redness, itching, burning, or other skin irritation. If a manicure causes a reaction, stop using the product and get professional advice before trying it again.
For general ingredient and product safety information, the FDA and the NIH are useful places to start.
Frequently Asked Questions About Gel Polish and Lamps
How do I know whether I need a UV lamp, an LED lamp, or both?
Check the bottle or product page. Some gels are UV-only, some are LED-only, and some are compatible with both, depending on the formula.
What should a beginner buy first: gel polish or a lamp?
If you want the easiest start, buy regular nail polish first. If you specifically want true gel polish, choose the polish and the recommended lamp together so they match.
How can I tell if a product is truly no-lamp?
Look for clear wording that says it does not require a UV or LED lamp. If the instructions still mention curing, it is not a true no-lamp product.
What if my gel polish is still sticky after curing?
Some gel systems leave a tacky layer that is meant to be wiped off after curing. If the whole nail still feels soft or smears, the polish may be undercured.
Final Takeaway for Beginners
If you remember one thing, make it this: traditional gel polish usually does not dry without UV or LED light. It cures, rather than air-dries. If you do not have a lamp, choose regular nail polish or buy a product that is clearly labeled as no-lamp.
That one decision will save you a lot of frustration and help you get a manicure that actually sets the way you expect.

