
Why Gel Polish Can Still Feel Sticky After Curing: A Beginner’s Fix-It Guide

If your gel manicure still feels tacky after the lamp, don’t panic. In many cases, that sticky finish is normal. Gel polish often leaves a thin surface layer after curing, called an inhibition layer, and that layer is meant to be removed or covered by the next step in the system.
The key is knowing when you’re dealing with a normal tacky finish and when the gel is actually undercured. Those two situations can feel similar at first, but they need different fixes. A normal sticky layer is easy to wipe away. Undercured gel usually feels soft, dentable, or a little slippery, and it may need more curing or a full redo.
If you’re still learning the basics, that distinction matters. It helps you avoid peeling at the polish, wiping the wrong product, or leaving a manicure on the nail when it hasn’t fully set.
Why Gel Polish Can Feel Sticky After Curing
A slight sticky feel after curing is common with many gel formulas. That surface tackiness is often just the top layer left behind after the gel cures under a UV or LED lamp, and it can be part of the normal process.

In simple terms, the polish may be firm underneath but still have a tacky film on top. That film is not always a sign that something went wrong. In fact, some gel systems are designed that way so the next layer can grip properly.
The important exception is a no-wipe top coat. If your product is labeled no-wipe, it should not need the sticky layer removed after curing. If it still feels tacky in a way that seems soft or unfinished, that points to a possible curing issue instead of a normal finish.
A helpful rule: if the nail looks smooth and feels hard, the stickiness is probably just a surface layer. If it feels squishy, wrinkled, or easy to dent, keep troubleshooting.
Sticky Layer vs. Undercured Gel: How to Tell the Difference
Here’s the simplest way to separate normal tackiness from a curing problem:
| What you feel or see | Likely meaning | Best next step |
|---|---|---|
| Slight tacky film, but nail feels hard | Normal inhibition layer | Wipe if the product requires it |
| Soft, dentable, or slippery surface | Possible undercured gel | Move through the troubleshooting steps below |
| Wrinkled, uneven, or thick-looking finish | Gel may not have cured through | Remove and redo if it doesn’t improve |
| No-wipe top coat still feels sticky | Product may be undercured or mislabeled | Follow brand instructions and troubleshoot |
A cautious beginner test is to wait a moment after curing, then very lightly touch the surface with a clean fingertip or orange wood stick. Use only the gentlest pressure needed to check firmness. If the surface dents easily, the gel is not fully set. If it feels firm but tacky on top, you’re probably dealing with the normal sticky layer.
Do not peel, scrape, or repeatedly press uncured gel with bare skin while testing it. That can distort a soft manicure, make the finish harder to assess, and may spread product where it shouldn’t be.
That little difference saves time. It also helps you avoid assuming every sticky manicure needs to be thrown out.
What to Do If the Stickiness Is Normal
If the gel feels hard underneath and the product is supposed to leave a tacky layer, the fix is simple: remove that surface film the way the brand recommends.
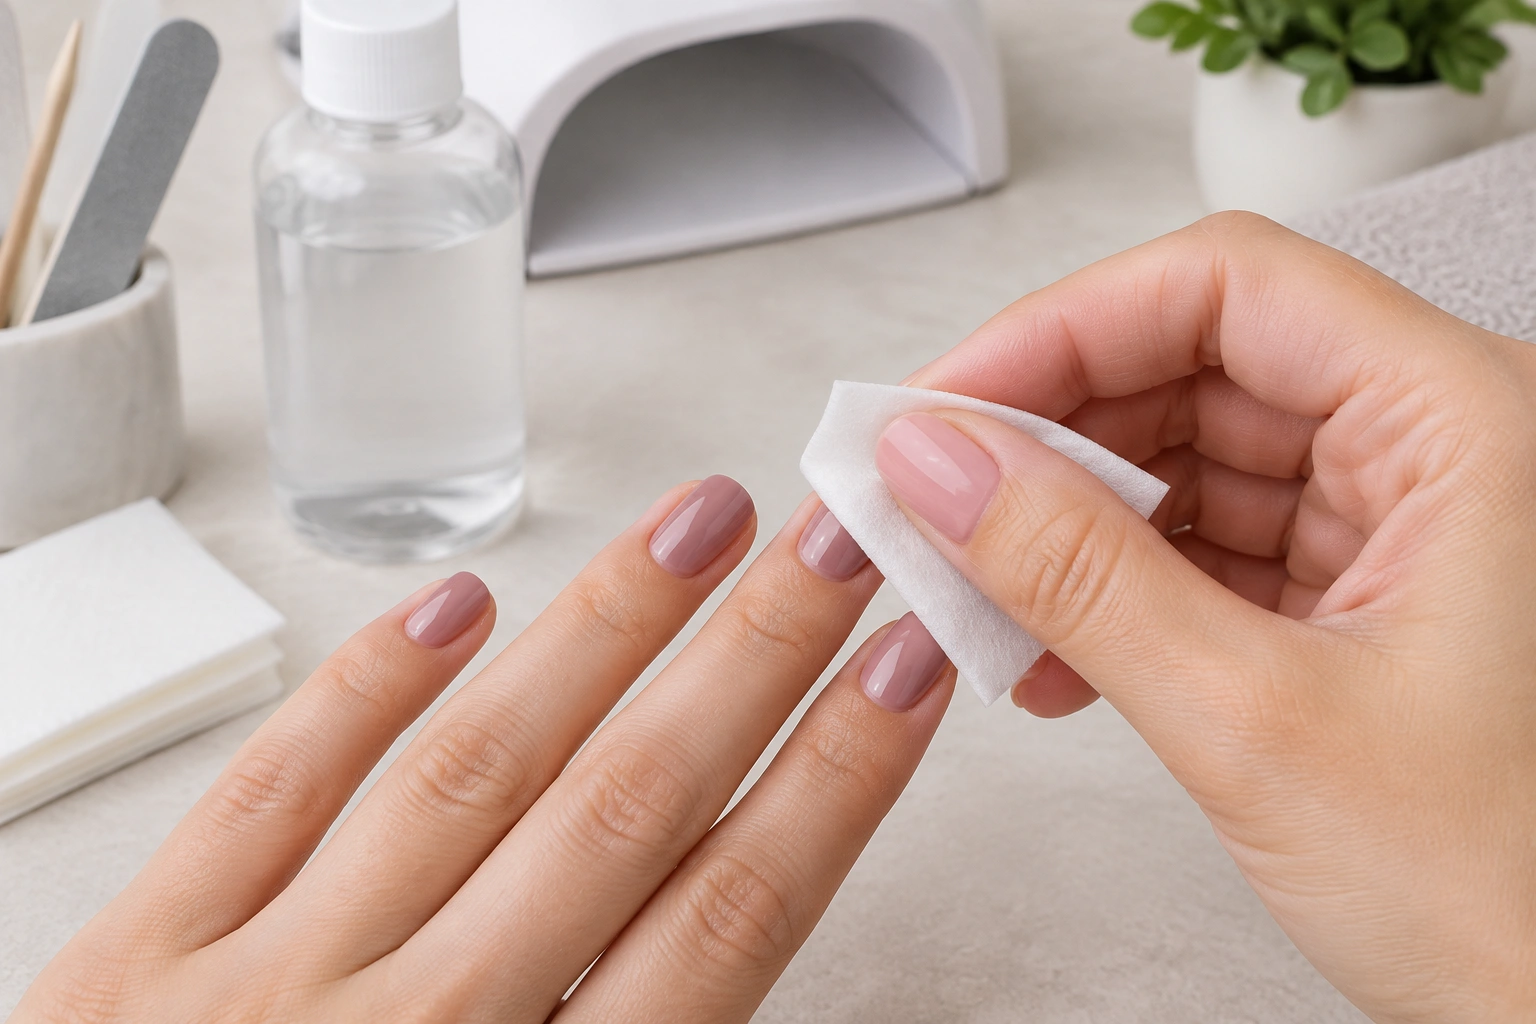
For many regular gel top coats, that means a lint-free wipe and isopropyl alcohol or cleanser. This is the point where the manicure should go from tacky to smooth.
If you’re new to gel nails, this step is worth doing carefully. Rubbing too hard can leave streaks or drag the surface, especially if the top layer is still warm from the lamp.
A clean finish also matters if you’re comparing this step to other beginner prep habits, like using a dehydrator before gel polish. Good prep and proper finishing work together; one doesn’t replace the other. If you want a refresher on prep basics, see how to use dehydrator before gel polish and common nail polish mistakes.
How to Remove the Sticky Layer Safely
Use this simple method:
- Wait a moment after curing so the nail is not hot.
- Saturate a lint-free wipe with isopropyl alcohol or the cleanser your brand recommends.
- Press the wipe gently onto the nail.
- Wipe in one direction or with light, controlled strokes.
- Use a fresh section of the wipe for each nail if the surface is getting cloudy or sticky again.
The goal is to lift the tacky film, not scrub the nail. A gentle wipe is enough for a normal inhibition layer.
A few cautions help here:
– Don’t use random household cleaners.
– Don’t peel at the sticky layer.
– Don’t assume more rubbing will “finish” the gel.
If the surface only becomes cleaner for a moment and then still feels soft, that is no longer a wiping problem. It’s a curing problem.
Why Gel Polish Stays Sticky When It Shouldn’t
If the stickiness is more than a normal tacky layer, the most likely causes are usually simple. A good troubleshooting order is: check whether the product is wipe or no-wipe, confirm the lamp compatibility, verify the cure time, and then look at coat thickness and application.
1. The product is wipe or no-wipe, and the wrong expectation was used
Some tacky residue is normal on base coats and color coats, while a no-wipe top coat is meant to stay smooth after curing. If you treat every sticky finish the same way, you can miss the real issue.
Start by checking the label. If the product is a no-wipe top coat, it should not need an alcohol wipe. If a base or color coat still feels soft after curing, that is a different problem.
2. The lamp and product don’t match
Some gels are made for UV lamps, some for LED lamps, and some work with both. If the product and lamp don’t match, the polish may not cure the way it should.
This is one reason brand instructions matter so much. A lamp can be bright and still not be the right fit for the formula. If your manicure stays soft after the recommended cure time, check the label before changing anything else.
3. The curing time was too short
There is no universal curing time that works for every gel. The brand instructions are the best guide. A top coat that needs longer under one lamp may seem finished under another, but still be undercured.
If you shortened the cure time because the polish “looked dry,” that can be misleading. Gel can look set on the surface while still being soft underneath.
Some pigments, darker shades, or specialty formulas may also need different cure times than standard clear products, so product-specific instructions matter.
4. The gel was applied too thickly
Thicker coats are harder for light to cure through. This is one of the most common beginner mistakes because thick coverage looks efficient, especially with darker or more sheer shades.
In reality, a thinner coat usually cures more reliably and wears better. Two thin coats are often safer than one heavy one.
5. The product instructions were ignored
Some products need specific lamp times, specific lamp types, or a no-wipe top coat step. If you skip those details and use a generic method, the finish may stay sticky longer than it should.
This is especially common when mixing products from different brands. Even if each item is good on its own, the system may not be designed to work together.
Lamp Type and Curing Time Basics
For beginners, the main thing to understand is this: read the product instructions first, then match the lamp to the formula.
A UV lamp and an LED lamp are not interchangeable in every case. Some formulas cure in both, but not all do. That’s why the bottle or instructions matter more than a general rule you saw online.
If you’re unsure, check:
– whether the gel says UV, LED, or both
– the recommended cure time for each coat
– whether the top coat is wipe or no-wipe
Lamp wattage alone does not guarantee proper curing. A stronger-looking lamp can still be the wrong match for the formula, and a lower-watt lamp can sometimes work if the product is designed for it and cured for the full recommended time.
A good habit is to cure each layer exactly as directed the first few times you use a new product. Once you know how that system behaves, it becomes much easier to spot when something is off.
For more beginner-friendly polish basics, the nail polish guide for beginners is a helpful starting point.
Application Mistakes That Can Prevent Full Curing
A sticky manicure is not always the lamp’s fault. Application can make a big difference too.
Thick coats
Heavy layers block light from reaching the center of the gel. The top may feel set while the lower part stays soft.
Uneven coats
If one area is much thicker than another, the thickest spot is usually the one that stays tacky longest. That can happen at the sidewalls, near the cuticle, or at the free edge.
Flooding the skin
If product touches the skin, it can cure unevenly and lift later. That doesn’t always cause stickiness by itself, but it can make the manicure behave badly overall.
Rushing between layers
If you apply the next coat before the previous one is properly cured, the whole manicure can feel gummy or soft. Thin, even layers are easier to cure and easier to wear.
When a Sticky Manicure Needs More Curing or a Redo
Use this decision rule:
- Hard nail, tacky surface only: wipe the inhibition layer if the product calls for it.
- Soft, dentable, or slippery nail: check the product label, confirm lamp compatibility, and verify the full cure time.
- Still sticky after the full recommended cure time and the gel feels wrong: stop trying to save it and remove the manicure instead of continuing to cure.
If the polish is clearly undercured, don’t keep pressing, scraping, or aggressively wiping it. That can distort the finish and make the problem harder to assess.
If one coat is the issue, sometimes following the full recommended cure time helps. If several coats were applied too thickly, or the lamp is not compatible, a redo is often the cleaner fix.
Common Mistakes to Avoid
A few beginner errors come up again and again:
- Wiping a no-wipe top coat when the brand says not to
- Assuming every sticky finish means failure
- Using a lamp without checking whether it matches the gel
- Applying thick coats to save time
- Peeling or scraping soft gel
- Using random cleaners instead of the recommended wipe product
These mistakes are easy to make, especially at home. The good news is that they’re also easy to correct once you know what the sticky finish is telling you.
When to See a Nail Technician or Dermatologist
If the gel stays soft or sticky no matter how carefully you cure it, a nail technician can help you check the lamp, product type, and application method.
See a dermatologist if you notice irritation, redness, itching, or a rash around the nails. Sticky polish by itself is usually a curing issue, but skin reactions should be taken seriously.
For general nail safety and product-use guidance, it can also help to review FDA nail care information and broader skin-health resources from the NIH.
Quick FAQ
Is a sticky layer after curing normal for gel polish?
Yes, it can be. Many gel polishes leave a tacky inhibition layer after curing. If the nail feels hard and the product is not a no-wipe formula, that sticky film is often normal.
Do I need to wipe off the sticky layer?
If the product requires it, yes. Use a lint-free wipe with isopropyl alcohol or the brand’s cleanser. If it is a no-wipe top coat, follow the label instead of wiping automatically.
How do I know if my gel is undercured?
Undercured gel usually feels soft, dentable, or slippery, not just tacky on the surface. Wrinkling or uneven texture can also be a clue.
Can I just cure it longer?
Sometimes, yes. If the manicure still feels soft after the recommended time, a little more curing may help. If it stays sticky and soft after that, the lamp or product may be the real issue.
Why is my gel polish still sticky after curing even though I used a lamp?
The most common reasons are a normal tacky layer, the wrong lamp for the product, curing for too short a time, or applying the gel too thickly.
What should I do if the stickiness never goes away?
If it never feels firm, the safest move is usually to remove the manicure and start over with the correct lamp, thinner layers, and the brand’s cure instructions.
Can I use alcohol on every gel top coat?
Only if the product is meant to be wiped. A no-wipe top coat should be left alone unless the instructions say otherwise.
What’s the safest first thing to check?
Check whether your product is a wipe or no-wipe formula, then confirm the lamp type and cure time on the bottle. That solves a lot of beginner confusion quickly.

