
How to Prevent Nail Polish from Staining Nails: A Beginner-Friendly Guide

If you love wearing color but worry about yellowing or tinting afterward, the good news is that most staining problems are preventable. In my work as a nail technician, I see the same pattern again and again: nails are more likely to stain when they skip a base coat, wear very pigmented polish for too long, or are removed too aggressively.
The goal is simple. Protect the natural nail plate, apply color in a way that minimizes transfer, and remove polish cleanly before residue builds up. That approach works better than trying to “fix” staining after it happens.
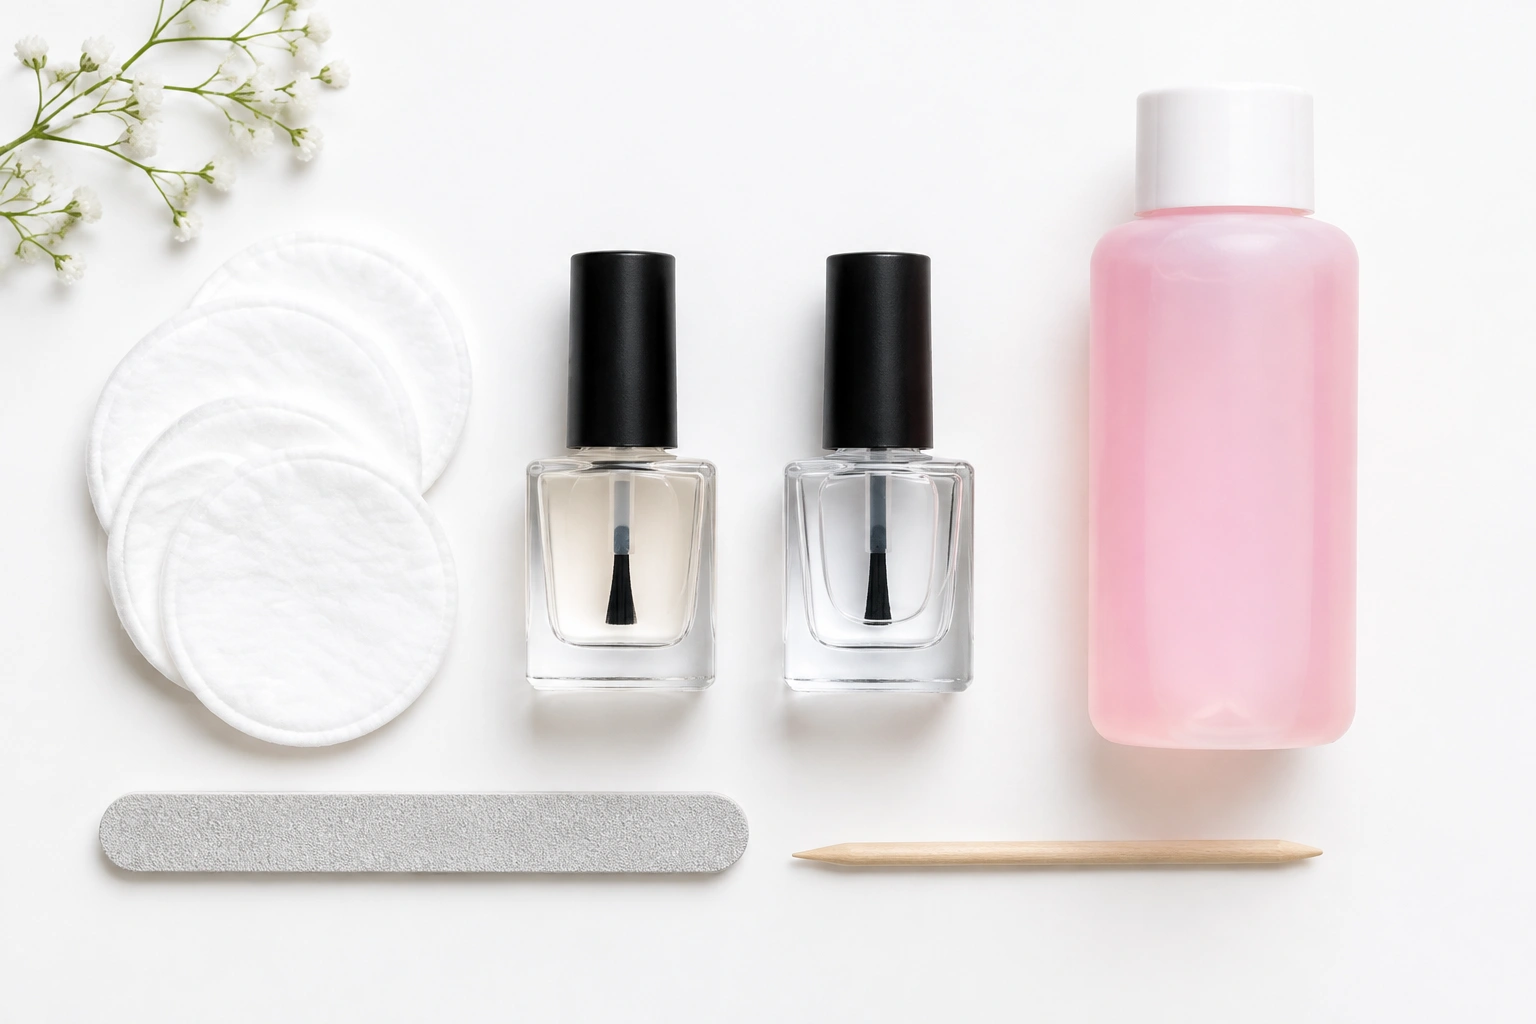
Why Nail Polish Can Stain Natural Nails
Natural nails can take on visible color from strong pigments, especially when there is no protective layer underneath. Dark reds, blues, purples, greens, and black shades are more likely to show this because their color is intense and highly concentrated.
Staining is more likely when polish sits on the nail for a long time, chips and is left to wear unevenly, or is peeled off instead of removed properly. The nail surface can also look more yellow or dull if residue is left behind between manicures.
It helps to think of staining as a surface problem first. In many cases, the color is sitting in or on the upper layers of the nail, not permanently changing the nail itself. That is why prevention matters so much.
If you want a broader overview of how polish can affect nail appearance, you may also find NailPrime’s guides on why nail polish turns nails yellow and whether nail polish can make nails yellow helpful.
The Easiest Way to Prevent Staining: Use a Base Coat Every Time
If you wear colored polish, especially anything dark or highly pigmented, use a base coat every time. That is the simplest beginner rule for reducing staining risk.
A base coat forms a barrier between the polish pigments and the natural nail plate. Without that barrier, color has a more direct path to the nail surface. With it, pigment is less likely to transfer.
For beginners, the simplest rule is this:
No base coat, no colored polish.
Exception: if you are using a clear polish or a nail strengthener on its own, you do not need a separate base coat because there is no colored pigment to block. If you are applying color, though, a base coat is the safer default.
That rule is especially useful for reds, navy, black, jewel tones, and long-wear formulas. Even if a polish claims to be gentle or easy to remove, I still recommend a base coat because the nail itself is what you are trying to protect.
Which Base Coat Helps Most Against Staining
Not every base coat does the same job. If you are choosing one mainly to help reduce discoloration, here is the practical breakdown.
| Base coat type | Best for | Stain protection | Trade-off |
|---|---|---|---|
| Protective or stain-resistant base coat | Frequent polish wear, dark colors | Strongest choice for most beginners | May need to be paired with careful removal |
| General base coat | Everyday polish wear | Helpful, but may not be the best for very pigmented shades | Less targeted protection |
| Ridge-filling base coat | Uneven nails or visible ridges | Can improve smoothness and give some barrier support | Not always the best choice if staining is your main concern |
| Strengthening base coat | Nails that feel soft or bendy | Can support the nail feel | Not automatically better at blocking pigment |
If staining is your main concern, choose a base coat that is specifically described as protective or stain-resistant. If your nails are also ridged, a ridge-filling formula can be useful, but I would not pick it over a more protective base coat unless you need the smoothing effect.
A simple decision rule:
– Mostly wear light shades? A general base coat is usually fine.
– Wear dark, bold, or long-wear polish often? Choose a protective or stain-resistant base coat.
– Have visible ridges and want smoother color? A ridge-filling base coat can be added, but protection still comes first.
How to Prep Nails Without Overdoing It
Good prep helps polish adhere, but too much prep can make nails more vulnerable. Keep it minimal.
Use this simple routine:
1. Wash and dry your hands.
2. Remove old polish completely.
3. Gently push back the cuticle area if needed.
4. Lightly smooth the nail surface only if it is very uneven.
5. Wipe away dust before applying base coat.
That is enough for most beginners.
For stain prevention, the most important prep steps are removing old polish fully and starting with a clean, dry nail. Light surface smoothing can help polish apply evenly, but it is not the main stain-prevention step.
Do this:
– Clean the nail plate before applying base coat.
– Use only light buffing if the surface is rough.
– Let each layer dry as directed.
Don’t do this:
– Over-buff the nail until it feels thin or warm.
– Scrape at the nail surface.
– Apply color over leftover residue or old pigment.
The main mistake to avoid is over-buffing. A nail buffer can help remove shine, but if you use it too often or too aggressively, you can thin the nail plate. A thinner nail can look dull or damaged more easily, which may make staining appear worse. If your nails already feel fragile, skip heavy buffing and rely on proper base coat and careful removal instead.
How to Apply Pigmented or Dark Polish More Safely
Dark polish does not have to be off-limits. It just needs a little more care.
Apply your base coat first and let it dry fully. Then use thin, even coats of color rather than one thick coat. Thin layers are less likely to flood the nail and leave heavy pigment behind.
Try this approach:
– Apply one thin coat of color.
– Let it dry before adding the next coat.
– Use a top coat to seal the color.
– Cap the free edge if you are comfortable doing so, because that can help reduce chipping and early wear.
If polish starts to chip quickly, resist the urge to peel it. Chipping plus peeling is one of the fastest ways to end up with uneven tinting and rough nail surfaces.
A helpful example: if you wear red polish for a week, a base coat and two thin color coats will usually be kinder to the nail than one thick coat applied over bare nails.
Do Dark, Gel, and Long-Wear Polishes Stain More?
In general, darker and more pigmented shades are more likely to leave visible color behind than light or sheer shades. That does not mean they are bad choices; it just means they deserve better prep and removal.
Regular polish vs. gel polish vs. long-wear polish
- Regular polish: Usually easiest to remove, so it may be the simplest option if you are worried about staining.
- Gel polish: Usually does not stain more during wear just because it is gel. The bigger issue is removal; if gel is peeled, scraped, or removed too aggressively, the nail surface can become damaged or look discolored.
- Long-wear polish: Often lasts longer, but that does not automatically mean it stains more. Like gel, the main risk is poor removal or repeated wear that leaves residue and dryness behind.
The trade-off is straightforward: longer wear often means more careful removal later. If you choose gel or long-wear polish, plan for gentle removal when the time comes. That matters as much as the application itself.
How Long Can You Leave Polish On Before Staining Becomes More Likely?
There is no single safe number that fits every polish and every nail. Still, the longer a pigmented polish stays on, the more opportunity it has to leave visible discoloration, especially if it chips or wears unevenly.
A practical habit is to refresh or remove polish once it starts looking worn, rather than waiting until it is badly chipped. If you regularly wear dark polish, changing it before it has a chance to break down can reduce buildup at the nail surface.
If you like to wear polish back-to-back, consider giving your nails a short break now and then. NailPrime’s guide on whether you should give your nails a break from polish can help you decide how often that makes sense for your routine.
The Safest Way to Remove Polish Without Discoloring Nails
Good removal is just as important as good application. If you want to avoid staining, remove polish fully and gently.
Use this beginner-friendly method:
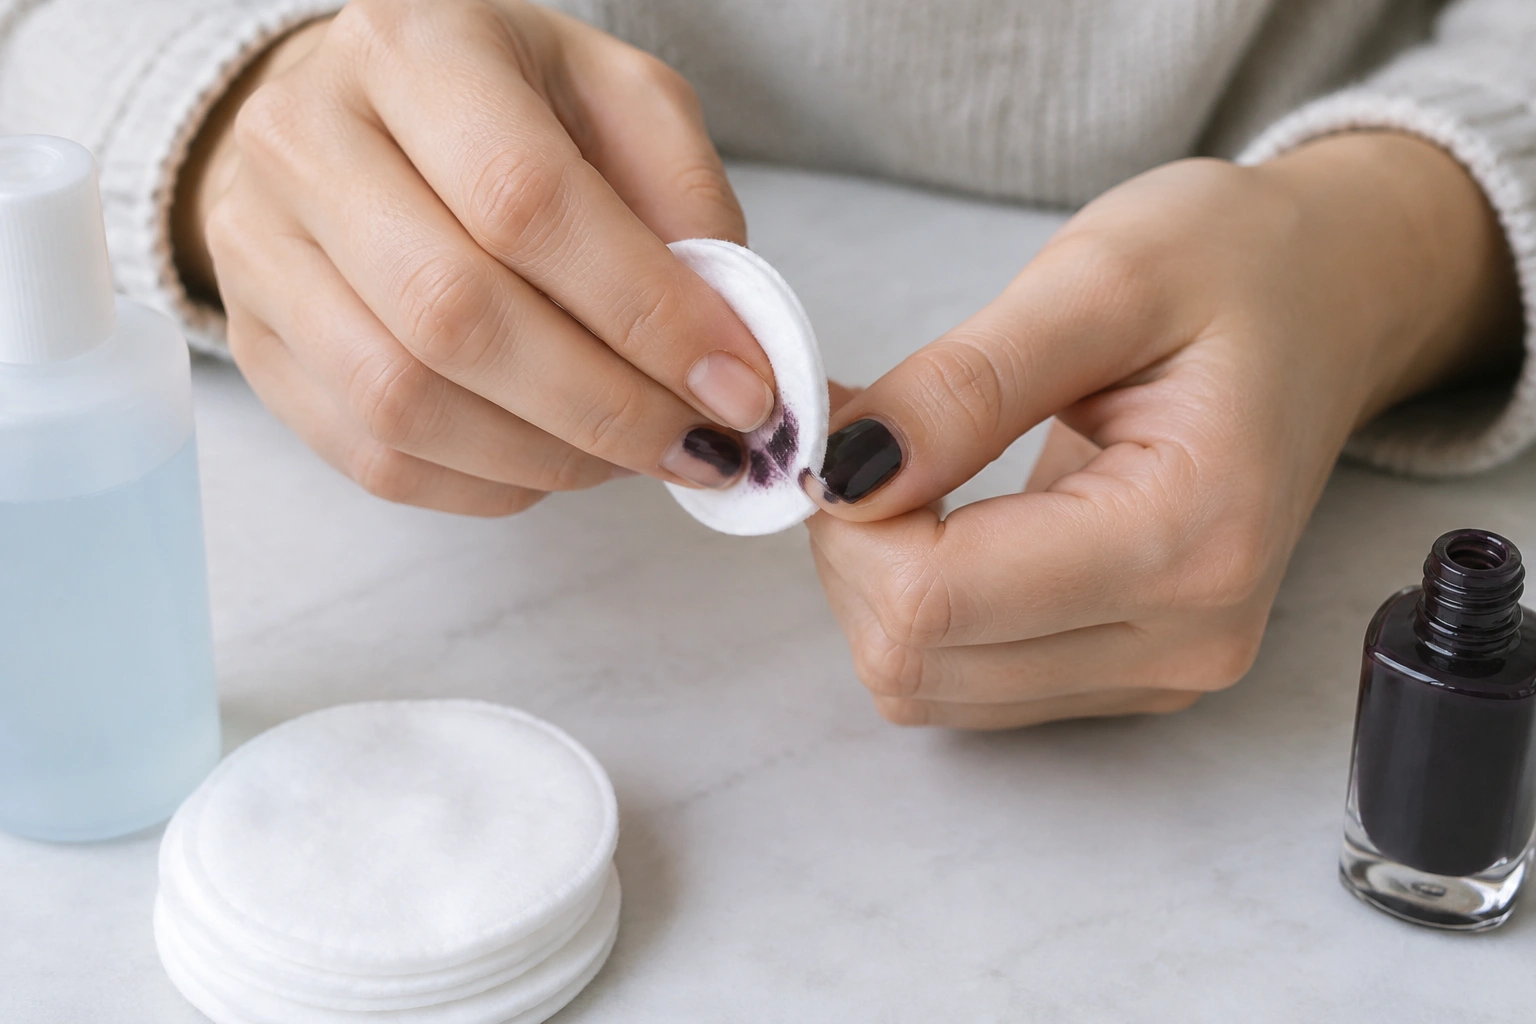
1. Soak a cotton pad with remover.
2. Hold it on the nail for a few seconds to soften the polish.
3. Wipe in one direction rather than scrubbing back and forth.
4. Repeat with fresh cotton if needed.
5. Clean around the edges so no residue remains.
6. Wash hands and apply moisturizer afterward.
What to avoid:
– Peeling polish off
– Scraping with tools
– Rubbing hard until the nail feels raw
– Leaving glitter or dark pigment behind because it “mostly came off”
Residue matters. If you put fresh polish over old color, you can trap tint and make future staining more noticeable.
Acetone vs. Non-Acetone Remover
Both removers can work, but they are not equally effective for every polish.
Acetone
Acetone usually removes stubborn, dark, glittery, or long-wear polish more efficiently. That can be a real advantage because less rubbing often means less wear on the nail surface.
The trade-off is dryness. Acetone can be more drying to nails and surrounding skin, so follow up with hand cream or nail oil if your skin feels tight.
Non-acetone remover
Non-acetone remover is often gentler in feel, which some beginners prefer for light polish or quick cleanup. The downside is that it may require more rubbing or multiple passes, especially with darker shades.
A simple rule:
– Use acetone for stubborn, dark, or long-wear polish.
– Use non-acetone for lighter polish when you want a gentler option.
If you are dealing with glitter or a formula that seems stuck, acetone is usually the more practical choice because it can reduce the temptation to scrub.
For general nail-safety context, the FDA’s cosmetic safety information is a useful place to start when you want to understand product use and ingredient caution.
What To Do If Your Nails Are Already Stained
If your nails already look yellow or tinted, the main job is to stop adding more pigment and let the stain grow out gradually.
Here is the safest home approach:
– Remove any polish fully.
– Stop using dark polish for a little while.
– Keep nails clean and dry.
– Use a base coat before your next manicure.
– Avoid aggressive buffing meant to “whiten” the nail.
That last point matters. Buffing can make the nail thinner and may not solve the discoloration. Whitening tricks can also be too harsh for a beginner if they rely on repeated abrasion, strong scrubbing, or products that dry out the nail plate.
Safer ways to improve the look while you wait:
– Keep nails trimmed shorter so the stained portion is less visible.
– Use a clear top coat or sheer nude polish to even out the appearance.
– Moisturize nails and cuticles regularly so the nail looks healthier overall.
– Gently remove surface residue with normal remover, not abrasive tools.
If the stain is cosmetic, it usually improves as the nail grows out. Fingernails typically take about 4 to 6 months to fully grow out from base to tip, so deeper discoloration can take several months to disappear. If only the tips are stained, you may notice improvement sooner as the nail is trimmed. If the discoloration reaches closer to the base, it will take longer to disappear completely.
For more on related nail appearance issues, you may also want to read is wearing nail polish bad for nails or does nail polish damage nails.
How to Tell Polish Staining From Nail Damage or a Medical Problem
Polish staining is usually fairly uniform and often matches the area that was covered by color. It may look yellow, orange, or slightly tinted, but the nail still feels and grows normally.
Other common causes of yellowing can include smoking, residue from remover or polish, natural nail changes with age, and minor trauma to the nail. Those causes may look more patchy, dull, or uneven than simple polish staining.
Be more cautious if you notice:
– Thickening
– Crumbling
– Lifting from the nail bed
– Pain or tenderness
– Patchy discoloration that does not match polish wear
– Changes in several nails that keep getting worse
– Yellowing that persists even after polish has been removed and the nail has had time to grow out
Signs that may suggest a fungal infection include nail thickening, crumbling, a rough or brittle texture, lifting from the nail bed, and discoloration that slowly spreads or worsens. Fungal infections do not always hurt, so yellowing without pain can still deserve medical attention if it is persistent or changing.
Those signs may point to something other than cosmetic staining. In that case, it is better not to keep covering the nail with polish and hoping it will go away.
If the discoloration is persistent or comes with nail changes, a dermatologist is the right person to ask. For general skin and nail health guidance, the CDC’s health information resources are also a reliable place to look when you want to understand when symptoms deserve attention.
When to See a Nail Technician or Dermatologist
See a nail technician if you want help choosing a safer base coat, improving your polish routine, or learning a cleaner removal method.
See a dermatologist if the nail color change is:
– Persistent
– Getting worse
– Accompanied by thickening, pain, or lifting
– Limited to one nail in a way that seems unusual
– Not improving after the polish has been removed and the nail has had time to grow out
– Yellowing without pain that keeps returning or does not match ordinary polish wear
A technician can help with technique. A dermatologist should evaluate anything that looks like more than ordinary polish staining.
Simple Routine to Prevent Future Staining
If you want the shortest possible version, use this:
- Remove old polish fully.
- Apply a protective base coat.
- Use thin coats of color.
- Avoid peeling or scraping.
- Remove polish gently with the right remover.
- Give nails a break if discoloration keeps happening.
That routine is usually enough to keep most beginner manicures looking clean and reduce the chance of yellowing or tinting.

