
The Fastest Safe Way to Dry Nail Polish Quickly at Home

If you want the fastest safe way to dry nail polish quickly, the best all-around choice is usually thin coats plus a quick-dry top coat, then cool air if you want a little extra help. That combination speeds up drying without putting heat or pressure on fresh polish.
If speed is your top priority, quick-dry polish is the fastest option to choose before you even start painting. A fast-drying formula can save time from the first coat, while a quick-dry top coat helps regular polish dry faster after application.
The key rule is simple: don’t treat “dry to the touch” as fully hardened. Even when polish feels set, it can still dent if you rush into chores, gloves, or workouts. For a deeper timing breakdown, see how long nail polish takes to dry completely.
What You Need Before You Start
You can dry polish faster with either products or household methods. Before you paint, gather the items that are actually useful for speed:
Worth having
– Quick-dry top coat
– Drying drops if you already use them
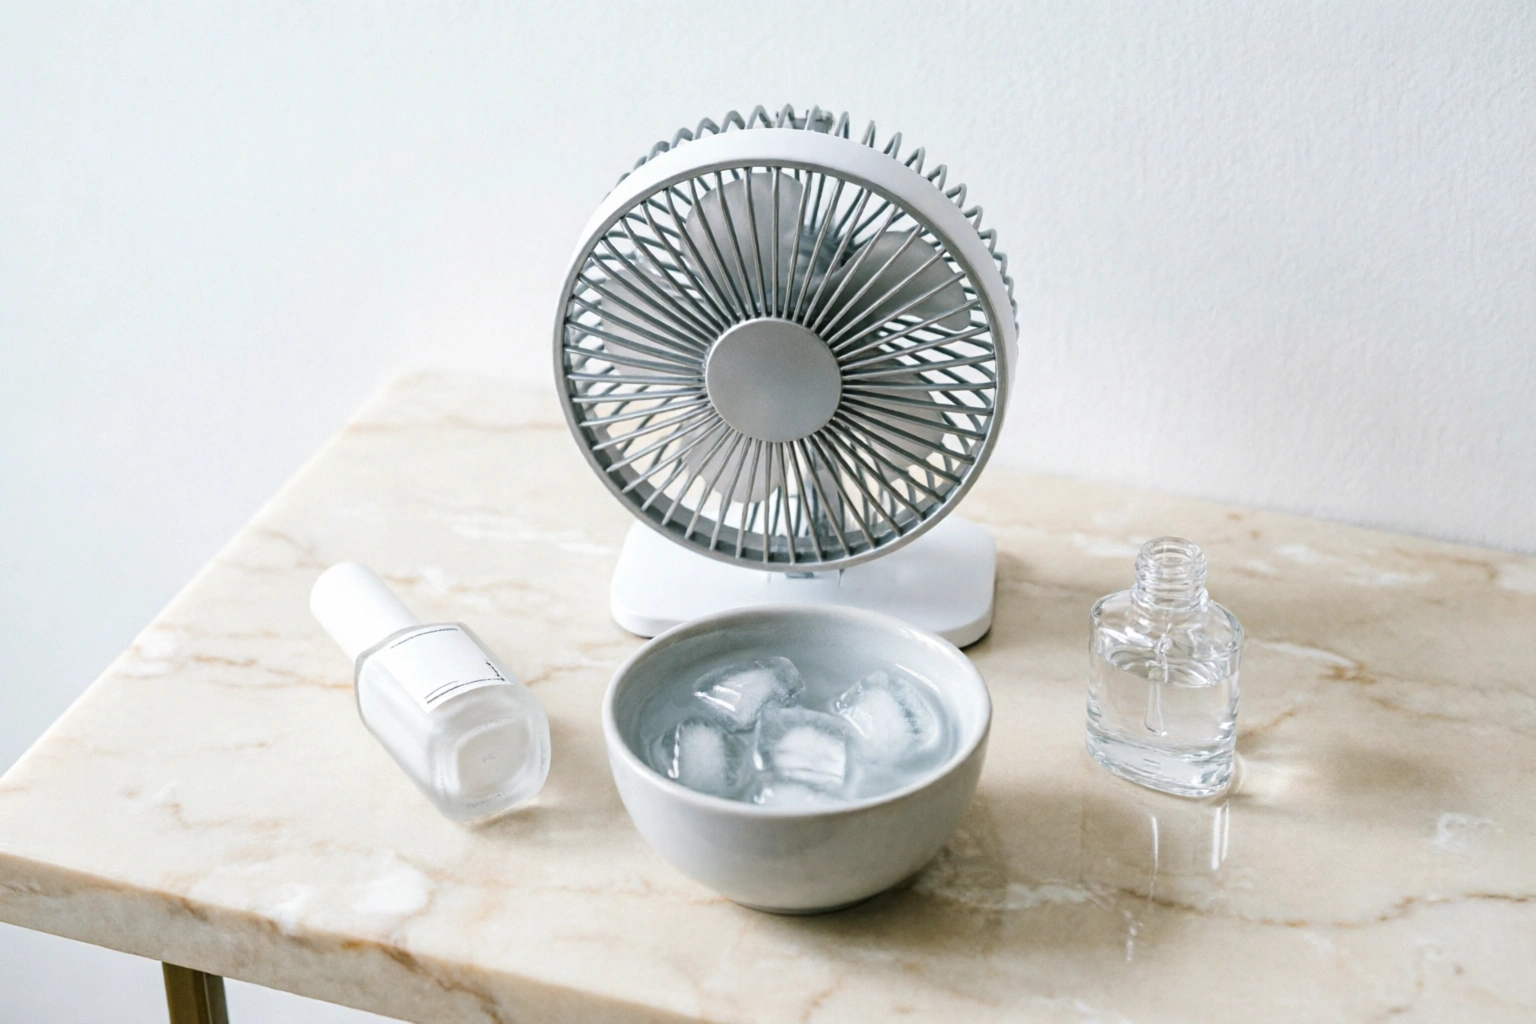
– Fan or a hair dryer with a cool setting
– Bowl of cold water with ice
– Base coat and your polish color
– Nail polish remover and cotton for cleanup
– A timer, so you do not guess between coats
Optional convenience
– Drying spray
– Extra cleanup tools, if you like a very neat finish
If you only buy one speed-up product, a quick-dry top coat is usually the most useful because it adds shine and helps seal the manicure. Drying drops are better when you already like your top coat and want a faster finish on the surface. I’ll compare those in more detail below.
Why Nail Polish Takes So Long to Dry
Nail polish does not “dry” in one step. First, the solvents evaporate from the surface. Then the film continues to harden underneath. That is why a manicure can seem fine for a few minutes and still smudge later.
Four things slow the process most:
Thick coats
Thicker layers trap more solvent. They may look opaque faster, but they stay soft longer and are more likely to wrinkle or dent.
Multiple layers without enough wait time
If you stack coat after coat before the previous layer has set, the lower layers stay wet longer. That is one reason a rushed manicure often feels tacky for hours.
Older or thicker polish
Older polish tends to be thicker and stickier. That thicker texture spreads less evenly and takes longer to settle.
Room conditions
Humidity and poor ventilation slow evaporation. A dry, well-ventilated room around normal room temperature is more manicure-friendly than a steamy bathroom.
Clean nails help the polish lay down more evenly, which supports faster, more consistent drying. For timing between layers, this guide pairs well with how long to wait between coats of nail polish.
Best Ways to Dry Nail Polish Quickly at Home
Here is the practical ranking I’d use for most DIY manicures.
1. Quick-dry polish formula
If speed is your main priority, this is the best place to start. A quick-dry polish can shorten the waiting time from the beginning, which makes it the fastest choice overall for frequent polish wearers.
Best for:
– rushed routines
– people who paint often
– anyone who wants less waiting overall
Trade-off:
– color selection may be narrower than regular polish
– you still need to apply thin coats for the best result
2. Quick-dry top coat
This is the most dependable all-around option for regular polish. It helps seal the color, protects the finish, and reduces the time your nails stay vulnerable on the surface.
Best for:
– regular at-home manicures
– anyone who wants one product to do most of the work
– people who want a glossier, more finished look
Trade-off:
– you still need to apply it carefully
– it helps a lot, but it does not make polish instantly hard
3. Drying drops
Drying drops are useful when you want to speed up the top layer without adding a thick extra coat. They are especially helpful over detailed or thicker manicures where brushing on another layer could disturb the color.
Best for:
– thick or multiple-coat manicures
– people who already use a favorite top coat
– reducing tackiness after the final layer
Trade-off:
– they are great for surface dryness, but they do not replace good application technique
4. Cool air from a fan or hair dryer
A fan is safer and simpler. A hair dryer can work too, but only on a cool setting and at a distance. A cool airflow helps the surface set without adding heat, which is why it is the better choice over warm air for fresh polish.
Best for:
– quick surface drying
– people who need a low-cost household method
Trade-off:
– airflow helps, but it is less protective than a top coat
– hot air is the wrong shortcut
5. Cold water or ice water
Cold water can help polish set faster on the surface. The main advantage is that it cools the manicure without heat, but it only works well after the polish has had a little time to settle first.
Best for:
– finishing a manicure that already looks settled
– people who want a no-product household method
Trade-off:
– if you dip too soon, you can ruin the finish
– water pressure can still dent soft polish if you are rough
Comparison table: which drying method fits your routine?
| Method | Speed | Safety for finish | Cost | Best use case |
|---|---|---|---|---|
| Quick-dry polish formula | Fastest overall | Very good | Low to moderate | Fast routine from the start |
| Quick-dry top coat | Fast | Very good | Low to moderate | Everyday manicure |
| Drying drops | Fast for surface dryness | Very good | Low to moderate | Thick or layered manicures |
| Fan / cool air | Moderate | Good | Low | Simple at-home drying |
| Cold water / ice water | Moderate | Good if timed well | Very low | No-product method |
| Hair dryer on cool | Moderate | Fair to good | Low | Only if kept cool and gentle |
Step-by-Step: How to Dry Nail Polish Faster Without Smudging
This is the routine I’d use when I want a clean, fast manicure at home.
1. Prep clean nails
Wash your hands first to remove oils. Dry them fully. Any leftover moisture or lotion can slow adhesion.
2. Apply a base coat in a thin layer
A thin base coat gives the color something smooth to grip. Thick base coats add drying time for no real benefit.
3. Paint the first color coat thinly
Use enough polish to cover the nail, but not so much that it pools near the cuticle or sidewalls. If the brush leaves ridges, you likely have too much product on the brush.
4. Wait 1 to 3 minutes before the next coat
Do not rush the second coat just because the first one looks partly set. Thin coats with a short pause between them dry more evenly than heavy coats stacked together.
5. Apply the second coat thinly
This is where many manicures get too thick. If you need more opacity, a third thin coat is better than one heavy one.
6. Seal with a quick-dry top coat
This is the best point to use your speed-up product. It helps lock the surface together and reduces the chance of dents.
7. Add drying drops if you use them
If your drops are designed for the final step, place them on top of the manicure as directed. They are especially useful on thicker polish jobs.
8. Use cool air or ice water carefully
If you want to add one more drying boost, use cool air or the ice-water method only after the polish has had a short set time. Keep airflow gentle, and do not blast nails with hot air.
9. Leave your nails alone longer than you think
Even when they feel dry, avoid anything that presses on the nail surface for the rest of the day. Avoid tight gloves, intense workouts, and nail-bending activities for the first 24 hours.
Quick-Dry Top Coat vs. Drying Drops
These two products solve slightly different problems.
Quick-dry top coat
Use this when you want:
– a smoother, glossier finish
– protection over the color
– one product that helps the manicure look complete
It is the better “all-purpose” choice.
Drying drops
Use these when you want:
– faster surface dryness after the final coat
– less risk of disturbing the polish with another brush stroke
– help with a manicure that already has several layers
They are the better “finishing assist.”
My practical rule
If you paint your nails often and want one purchase, choose a quick-dry top coat first. If your manicures are already set up with a favorite top coat and still feel tacky, add drying drops next.
Cold Water, Fan, or Hair Dryer: Which Method Is Best?
Cold water
Cold water can help set polish faster, but timing matters. Wait about 1 to 2 minutes after application, then dip gently. Do not use a strong stream of water on fresh polish.
Fan
A fan is the safest household airflow option. It gives you movement without heat, which is exactly what you want for fresh polish.
Hair dryer
A hair dryer only makes sense on cool, low airflow. Warm or hot settings are a bad idea because heat can soften the surface and create bubbles or ripples. If you use one, keep it a few inches away and use the gentlest setting possible.
Best choice overall
For most people, a fan plus a quick-dry top coat is the safest, least fussy combo. If you want a no-product trick, cold water is useful, but I would still treat it as a helper, not a miracle fix. For pure speed, a quick-dry polish formula is the better choice than relying on airflow alone.
How to Apply Thin Coats for Faster Drying
Thin coats are the biggest difference-maker in dry time. They also give you a cleaner finish.

A good coat should look even, not heavy. If polish collects at the edges or takes several passes to level out, you probably have too much on the brush. Wipe a little excess off before painting.
Use as few thin coats as you need for opacity. For some shades, two thin coats are enough. For others, a third thin coat is better than one heavy one, especially with bold colors that need more coverage.
If your polish is old and stringy, it may need replacing. Thickened polish does not spread well, and it tends to stay tacky longer.
Common Mistakes That Slow Drying or Ruin the Finish
These are the mistakes that cause most smudges:
- Painting thick coats
- Adding the next coat too soon
- Using hot air
- Dipping into water too early
- Touching the nail because the surface feels “almost dry”
- Using old, thick polish
- Shaking the bottle hard enough to create bubbles
A polish may look glossy and set on top while still being soft underneath. That is why the “just one quick test” habit often backfires. If you press too soon, you can leave a dent that does not fully disappear.
How to Tell When Nail Polish Is Dry Enough
Use these safer checks instead of guessing:
The light tap test
Gently touch the very edge of one nail with another fingertip. If it feels tacky, give it more time.
The minimum-wait test
As a practical rule, wait at least 15 to 20 minutes before light activity, even if the surface seems dry. For more confident handling, give it longer if you used thicker coats or multiple layers.
The pressure check
Do not press the center of the nail to “see if it is dry.” That is how dents happen.
The real-world test
If you can open a door, hold a phone, or slip on a loose shirt without leaving marks, the manicure is moving in the right direction. Tight gloves, heavy bags, and workout grips are still risky for much longer.
Troubleshooting: Why Your Nail Polish Stays Tacky
If polish keeps feeling sticky, look at the cause before changing methods.
The polish is too old or thick
Older polish tends to be thicker and stickier. Replace it if it no longer levels smoothly.
The coat is too heavy
One thick coat often dries worse than two or three thin ones.
The room is humid
Moist air slows evaporation. Move to a drier room with better airflow.
You skipped the top coat
A good quick-dry top coat can make a noticeable difference in the finish and feel.
You are expecting full cure too soon
Dry to the touch is not the same as fully hardened. Give the manicure more time before rough use.
If you want a broader overview of timing, how long does nail polish take to dry is a helpful companion guide.
Practical Examples for Fast-Drying Manicures
If you need to leave soon
Use thin coats, then a quick-dry top coat. Skip extra layers that are not necessary for opacity. A fan can help while you get dressed, but avoid rushing into tight shoes, gloves, or bags that press on the nails.
If you are painting before bed
Use a fast-drying formula or quick-dry top coat, then keep your hands flat and away from fabric. Even a manicure that feels dry can pick up pillow marks if you roll over too soon.
If the weather is humid
Focus on airflow and thin coats first. Cold water helps only after the polish has set a bit, so do not use it as your first move.
If your polish is a deep red or dark shade
These shades often need more careful layering for even coverage. Resist the urge to apply one heavy coat to make the color look rich faster. Thin coats will save you more time in the long run.
When to Ask a Nail Technician
If your polish stays sticky no matter what you try, or if you regularly get bubbling, wrinkling, or denting even with thin coats, a nail technician can help you troubleshoot the formula and application. Sometimes the issue is not the drying method at all—it is the polish type, the brush load, or how the layers are being built.
For most at-home manicures, though, the formula is simple: prep clean nails, apply thin coats, seal with a quick-dry top coat, and protect the manicure for the rest of the day. That is the most reliable path to faster drying without wrecking the finish.
