
How to Apply Nail Polish Without Streaks: A Beginner’s Step-by-Step Guide

If your polish keeps showing brush marks, patchy spots, or uneven color, the problem is usually not your hands — it’s the process. The good news is that streak-free polish is very achievable at home once you understand a few basics: clean nails, thin coats, the right brush load, and enough drying time between layers.
In this guide, I’ll walk you through the simplest way to get a smoother finish without overcomplicating the process. I’m Ella Hart, and I’ll keep this practical so you can follow it at your own pace.
Why Nail Polish Looks Streaky
Streaks usually happen when polish goes on too thick, dries too fast, or gets brushed over again after it has started to set. A first coat can also look uneven simply because it is meant to be thin. That patchy look is normal; it often evens out on the second coat.
A few common causes show up again and again:
- too much polish on the brush
- old or thickened polish
- oily or dusty nails
- pressing the brush too hard
- going back over semi-dry polish
Polish formula matters too. Cream formulas are often easier for beginners because they usually cover more evenly than very sheer or jelly finishes. If you want a deeper look at the differences between polish types, this guide on nail polish vs. nail lacquer can help.
Prep Your Nails for a Smoother Finish
A clean nail plate gives polish a better surface to grip. It also helps the color spread more evenly instead of slipping around.
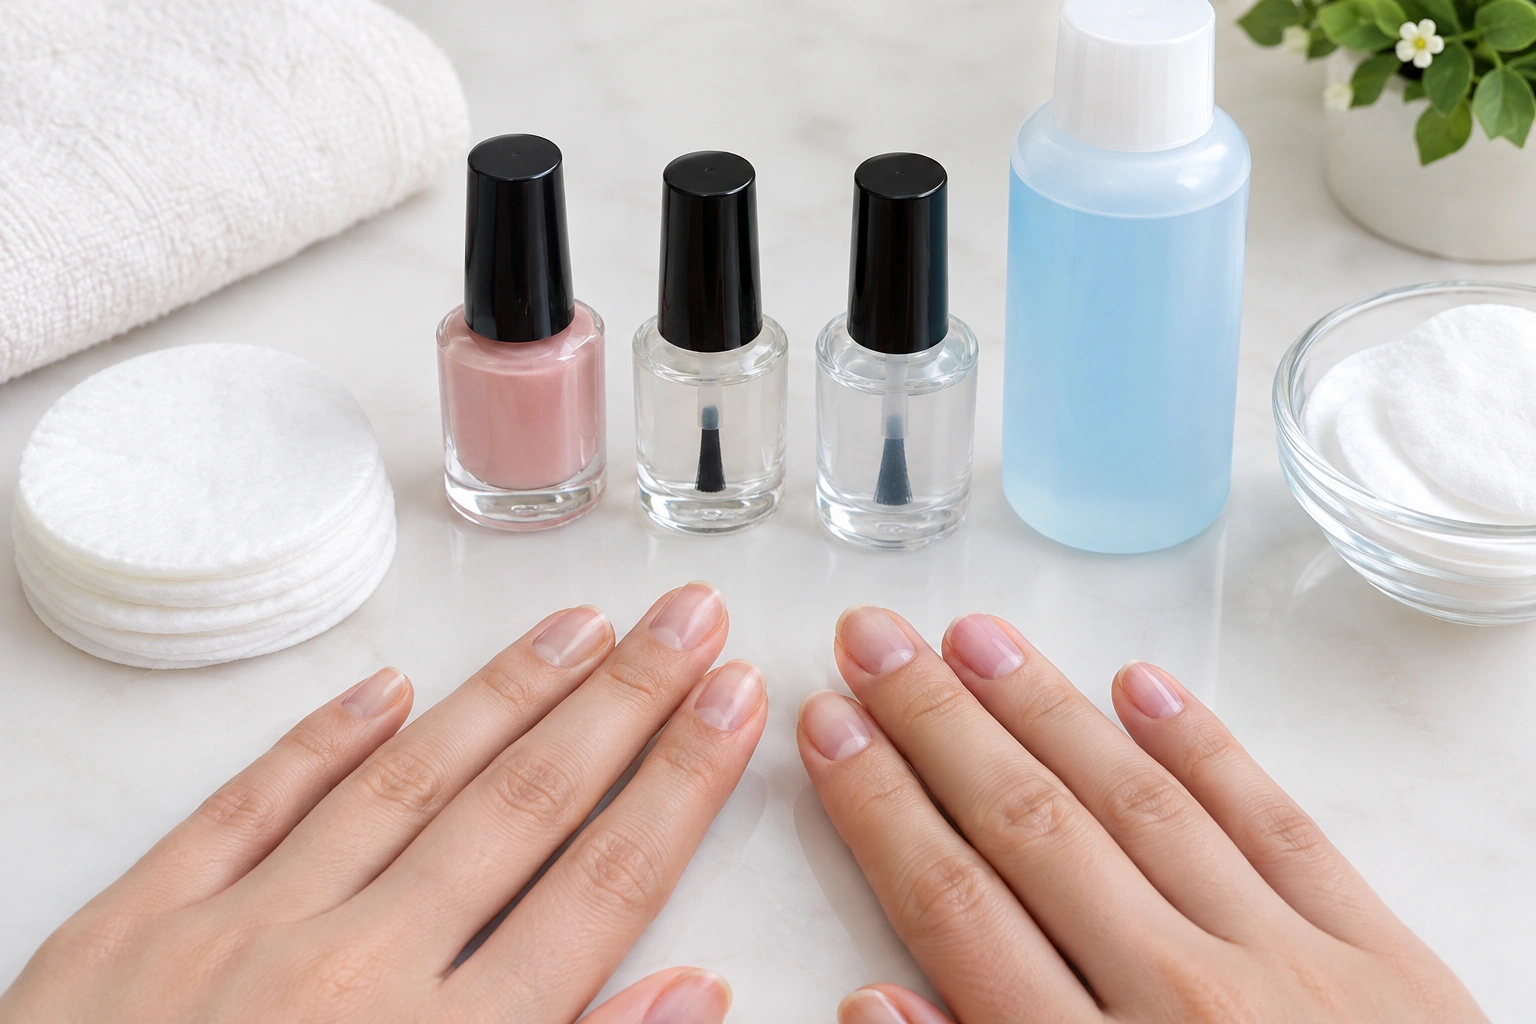
Here is the basic prep I recommend:
- Remove old polish completely.
- Wash your hands and dry them well.
- Push back the cuticle gently if needed.
- Lightly smooth any rough edges.
- Wipe each nail with remover or nail cleanser to remove oil.
That last step matters more than many beginners realize. Even a little lotion or natural oil can make polish slide and separate. If your polish often feels tacky or seems to dry oddly, you may also find it useful to read why nail polish stays tacky after drying.
Choose a Beginner-Friendly Polish Formula
Not every polish behaves the same way. If your goal is a smoother finish with less effort, choose a formula that levels well and is not too thick.
| Formula type | Beginner-friendliness | What to expect |
|---|---|---|
| Self-leveling polish | Very beginner-friendly | Spreads more evenly and can soften minor brush marks |
| Cream polish | Beginner-friendly | Usually gives solid color with fewer coats |
| Sheer or jelly polish | Less forgiving | Can look patchy and may need extra coats |
| Thickened or older polish | Harder to apply | More likely to drag and leave streaks |
For most beginners, a self-leveling cream polish is the easiest place to start because it tends to spread more evenly and usually gives solid color without a lot of extra effort. Sheer and jelly formulas are more likely to streak because they are translucent, so uneven brush strokes and patchy coverage show through more easily.
If the bottle feels gummy or the polish pulls in strings when you lift the brush, it may be too thick to apply neatly. If it is only slightly old but still usable, try warming it gently in your hands and using very thin coats; if it still drags or looks stringy, replacing it is often the better option.
How to Load the Brush Without Flooding the Nail
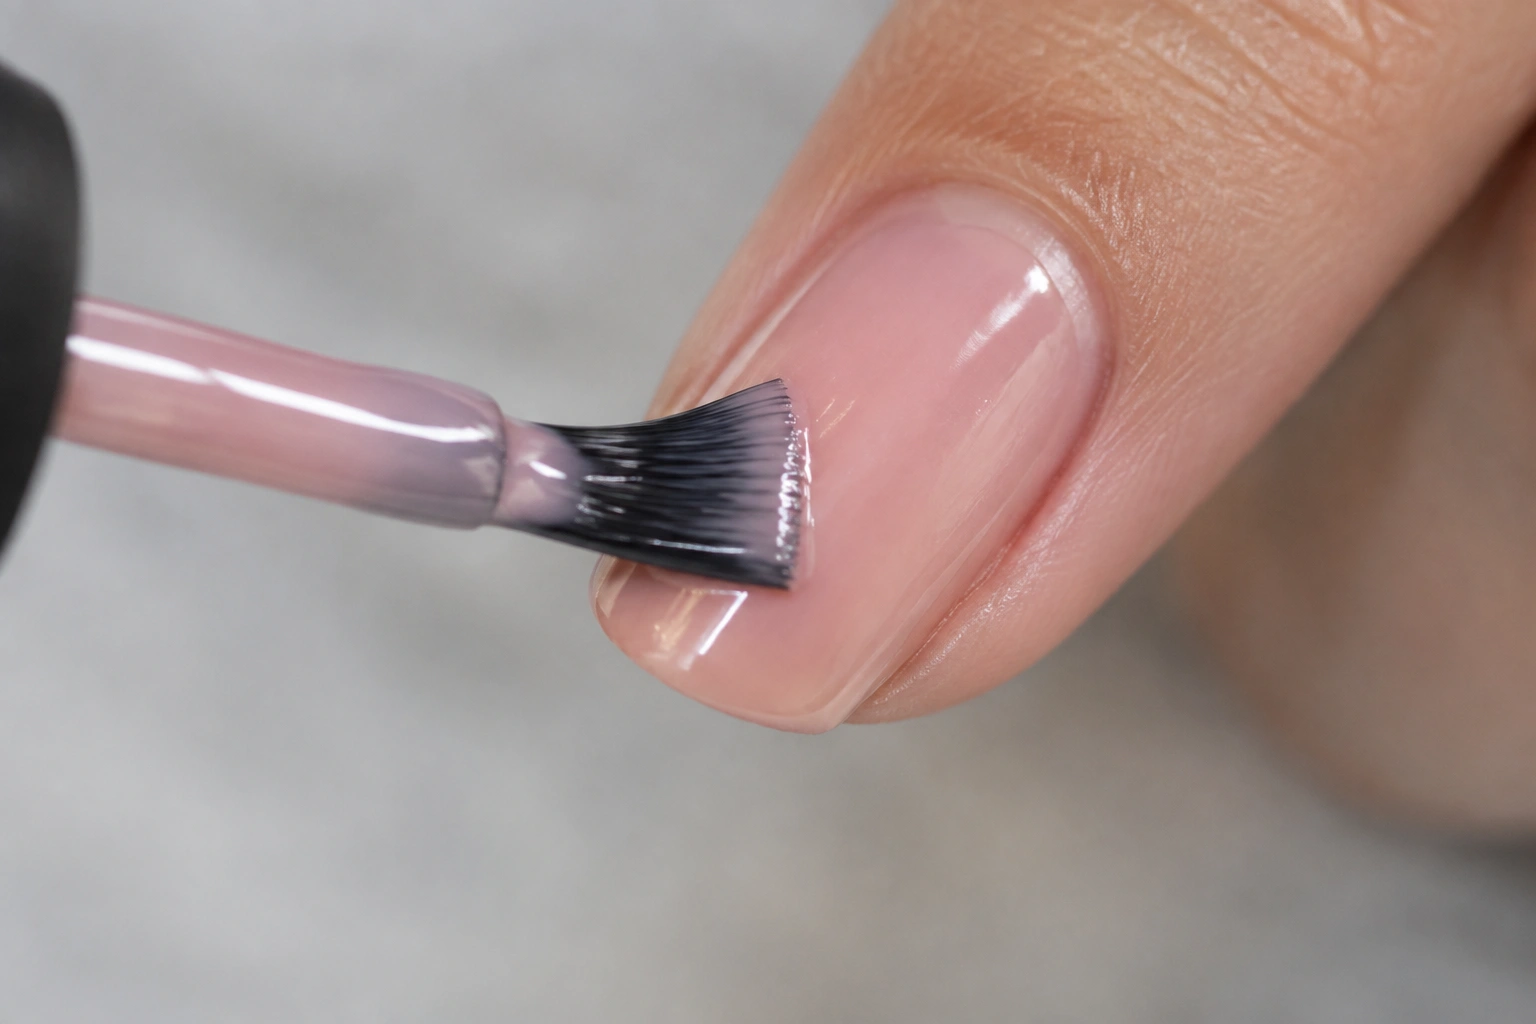
This step makes a bigger difference than most beginners expect. Too much polish on the brush can pool near the cuticle and leave uneven ridges. Too little polish can drag and create dry, striped strokes.
Here’s the simple method:
- Pull the brush out slowly.
- Wipe one side lightly on the bottle neck.
- Leave a small amount of polish on the other side.
- Aim for a bead of polish that covers the nail without dripping.
You want enough product to move smoothly, but not so much that it runs. If the polish starts to touch the skin or cuticle line on its own, there is too much on the brush.
The Best Brush Stroke Pattern for Even Coverage
Use a calm, controlled pattern instead of scrubbing the nail back and forth.
A simple method:
- Place the brush near the cuticle, not on it.
- Push the polish gently forward.
- Pull the brush straight toward the tip.
- Repeat once on the left side and once on the right side if needed.
- Leave the polish alone after the final stroke.
The goal is to cover the nail in a few smooth passes. The more you keep brushing, the more likely you are to create lines or disturb the layer underneath.
If your brush is wide, it may cover the nail faster, which can be helpful on larger nails. A narrower brush can feel easier to control, especially on smaller nails or if you want more precision near the edges. Either way, the same rule applies: use steady strokes and avoid overworking the polish.
How Many Coats to Apply
For most beginners, two thin coats are the sweet spot. If the polish is very sheer, three very thin coats may look better than trying to force full coverage in two thicker layers.
The first coat often looks patchy. That does not mean you did something wrong. It is supposed to be thin enough to stick evenly and create a base for the next layer. The second coat usually fills in the gaps and gives you the color you expected.
A good rule:
- if the first coat looks sheer or uneven, that is normal
- if the second coat still looks streaky, the coats may be too thin or the polish may be too old
- if the polish starts looking thick or bumpy, stop adding layers
More coats do not always fix the problem. After a point, extra layers can make the finish heavier and less smooth.
How Long to Wait Between Coats
For beginners, a simple rule of thumb is to wait about 1 to 3 minutes between thin coats. If the polish is thicker, older, or especially glossy and slow-moving, it may need longer. The next coat should go on when the surface looks set enough that the brush does not drag the layer underneath.
A simple test is to watch the surface. If it still looks wet and shiny in a moving, fluid way, wait a little longer. If it has settled and feels dry enough to handle lightly, it is usually ready for the next layer.
Quick-dry products can help if drying time is your biggest frustration, but they can also give you less working time. For beginners, regular polish may feel more forgiving as long as you give it enough time between coats. If drying is a constant issue, you may want to look at how to dry nail polish without smudging.
Base Coat and Top Coat: Do You Really Need Them?
A base coat is worth using if you want a cleaner surface for polish and a little extra grip. It can also help with staining on some nails. A top coat helps seal the color, add shine, and soften the look of small imperfections.
Think of them this way:
- Base coat: helps polish go on more evenly and gives it something smooth to cling to
- Top coat: helps blend minor brush marks and gives the manicure a finished look
If your nails are ridged, a ridge-filling base coat may help the color look smoother. If your polish is already a little uneven, a glossy top coat can soften the appearance of small streaks, though it will not completely hide major application problems.
For safety, use polish in a well-ventilated area and follow the product instructions on the bottle. The FDA’s cosmetic safety guidance is a good general reference if you want to understand basic product-use precautions.
Common Mistakes That Cause Brush Marks
Most streaky manicures come from a few avoidable habits.
Applying coats that are too thick
Thick layers dry unevenly and are more likely to show visible lines.
Shaking the bottle
Shaking can create air bubbles, which may show up as bumps or texture in the finish. Rolling the bottle gently between your hands is usually the safer habit if you want to mix the polish without adding extra air.
Going back over polish that is already setting
Once the polish starts to dry, brushing over it again can leave ridges and drag marks.
Using old, thickened polish
Older polish often stops flowing smoothly. If it no longer levels well, it is harder to get a clean finish.
Pressing too hard with the brush
A light touch lets the polish move across the nail. Heavy pressure can scrape the layer underneath.
Skipping cleanup around the cuticle
When polish floods the edges, it can make the whole nail look uneven even if the color itself is fine.
How to Fix Streaky Polish Without Starting Over
If the first coat looks a little patchy, that is usually normal. A thin, uneven first layer is part of the process, and the second coat often corrects it.
Try this:
- Stop brushing it immediately.
- Let the coat settle for a moment.
- Apply a thin second coat if the first one is only patchy.
- Finish with a smooth top coat once the color layer has set.
If the polish is just a little uneven, a second thin coat is usually the right fix. If the polish is dragging, pulling, or looking gummy as you work, that is a sign the application is failing rather than just patchy. In that case, it is better to remove it, start over, and use thinner coats with more drying time.
For polish that keeps behaving badly because it is sticky or slow to dry, this article on how to make sticky nail polish dry may be useful.
Quick Checklist for a Smooth, Streak-Free Manicure
Use this simple order when you paint your nails:
- clean and dry the nails
- remove oil from the nail plate
- apply a base coat if you want extra grip
- load the brush lightly
- paint in thin, controlled strokes
- let the first coat settle before adding the next
- apply a second thin coat
- finish with a top coat
- avoid brushing over polish once it starts to dry
If your polish is still giving you trouble after that, the issue is often the formula rather than your technique. In that case, trying a fresher bottle or a smoother, more self-leveling formula can make a real difference.
When to See a Nail Technician or Dermatologist
If your polish repeatedly looks uneven no matter what you do, a nail technician can help you check whether the issue is your brush, formula, or application timing. If you notice irritation, redness, or a reaction after using polish or remover, stop using the product and ask a dermatologist for advice.
FAQ: Streak-Free Nail Polish Basics
Why does my nail polish go on streaky?
Usually because the coat is too thick, the brush is overloaded, or the polish is being brushed over after it has started to dry.
Should I shake or roll nail polish before using it?
Rolling is usually the safer habit because it mixes the polish with less air. Shaking can create bubbles that show in the finish.
How many coats should I apply?
Most beginners do best with two thin coats. The first coat may look patchy, and that can be normal.
Do I need a base coat to prevent streaks?
A base coat is not mandatory, but it can help polish spread more evenly and give you a smoother surface to work on.
What if the first coat looks uneven?
Leave it alone and let it dry enough for the next coat. A patchy first layer is often part of the process.
Can I fix streaks without removing the polish?
Yes, if the streaks are minor. A thin second coat or a smooth top coat can often improve the look.
How do I keep from dragging the polish?
Use thin coats, wait long enough between layers, and avoid brushing back over areas that are already setting.
What polish formula is easiest for beginners?
A self-leveling cream formula is usually the most forgiving choice for a smooth, even finish.
How do I know if the polish is too old?
If it feels thick, strings off the brush, or no longer spreads smoothly, it may be past its easy-to-use stage.
Is it okay to thin polish with remover?
Some people try it, but it is not the best first fix. If polish has thickened a lot, replacing it is often the cleaner solution.
