
How to Dry Nail Polish Quickly Without Smudging Your Manicure

If you want the fastest safe result for regular polish, use thin coats + a quick-dry top coat. That combination gives you the best balance of speed and a clean finish. If you don’t have one, a fan on cool, low airflow is the next safest household option. Cold water can help once the polish has had a moment to set, but it’s more of a finishing step than a magic shortcut.

Here’s the simple decision rule I use with clients:
– Need the fastest, most reliable option? Use a quick-dry top coat.
– Already polished and need help right now? Use cool air or drying drops/spray if you have them.
– Trying a no-buy method? Use a fan; use cold water only after the surface is no longer wet enough to smear.
– Using gel polish? Stop here and follow gel curing instructions instead of air-drying methods.
Best Method by Situation
| Situation | Best method | Speed | Safety for finish | Cost |
|---|---|---|---|---|
| Fastest overall for regular polish | Quick-dry top coat | Fastest | High if applied thinly | Low to moderate |
| Need a boost after painting | Drying drops | Fast | High | Moderate |
| Prefer a spray option | Drying spray | Fast | High if used as directed | Moderate |
| No extra products | Fan on cool, low airflow | Moderate | High | Low |
| Want to try cold water | Cold water after the surface starts to set | Moderate | Medium | Very low |
For a broader timing reference, see how long nail polish takes to dry completely and this guide on how to wait between coats of nail polish.
What You Need Before You Start
A faster-drying manicure begins before the color goes on. The main goal is to reduce the amount of solvent trapped in each layer and give it room to escape.
Gather these basics:
– Base coat
– Nail polish
– Quick-dry top coat
– Drying drops or drying spray if you already own them
– A small fan or a hair dryer with a cool setting
– A bowl of cold water with ice, if you want that method
– Lint-free wipes or a clean towel
– Nail polish thinner for older, thickened polish
If your polish has gotten thick in the bottle, it will usually go on heavier and dry more slowly. That’s one reason old polish often feels sticky and frustrating. A few drops of proper nail polish thinner can improve flow; avoid improvised additives, which can ruin the formula.
A clean nail plate also matters. Essie notes that washing your hands before application can remove oils that interfere with proper adhesion. That does not make polish “dry” faster on its own, but it can help the manicure set more evenly and reduce early peeling.
For a second timing-focused resource, you can also read how long to wait between coats of nail polish.
How Nail Polish Dries and Why Timing Matters
Nail polish dries in stages. That’s the part many people miss.
First, the surface becomes dry enough that it no longer looks wet. Next, it becomes smudge-resistant, meaning light contact is less likely to leave a mark, but pressure can still dent it. Later, the layer underneath hardens more fully. That final stage is what protects the manicure from fabric, shoes, sheets, and daily use.
A practical way to think about it:
– Dry to the touch: the surface no longer feels wet or tacky
– Smudge-resistant: light contact is less likely to ruin it
– Fully hardened: safer for normal activity and pressure
That gap is why a manicure can seem fine and still dent when you grab a bag, zip jeans, or press your nails into something hard.
Three things affect drying speed most:
1. Coat thickness
Thin coats dry faster because there is less solvent to evaporate. Thick coats trap more liquid underneath, so the top can look set while the lower layer stays soft. That’s why a single heavy coat often causes more smudges than two or three thinner ones.
A good rule: if the polish looks opaque but still level and not streaky, you’re usually in the right range. If it looks gloopy, ridged, or pools at the cuticle, it’s too thick.
2. Airflow and humidity
A dry, well-ventilated room helps solvent escape. You do not need to chase an exact number at home, but a steamy bathroom is a bad place for a fresh manicure.
3. Formula and age
Older polish tends to be thicker and stickier, which slows application and drying. Quick-dry formulas are built differently and can set much faster than standard polish. Some quick-dry products may feel ready much sooner than regular polish, but exact timing varies by formula and brand.
Step-by-Step: How to Dry Nail Polish Quickly at Home
1. Prep the nail properly
Wash your hands, remove surface oils, and make sure nails are fully clean and dry before polish goes on. If there’s lotion, cuticle oil, or soap residue on the nail plate, the polish may not level well or adhere as cleanly.
2. Apply a base coat in one thin layer
A thin base coat helps create a smooth foundation without adding unnecessary bulk. Let it set before color. You do not need to wait until it is rock hard, but it should no longer look wet or slide around.
3. Paint thin color coats
This is the biggest drying-time decision you control. Two or three thin coats usually dry better than one or two thick ones. Use just enough polish to cover the nail without flooding the cuticle or sidewalls.
A simple thin-coat rule: each coat should look even, not chunky. If you can still see the brush texture but the layer is smooth and controlled, that is usually better than trying to force full opacity in one pass.
If you’re tempted to “fix” patchiness with a heavy second coat, resist it. A thin third coat is often faster and cleaner than a thick second one.
4. Give each coat a practical pause
A short pause between coats helps each layer lose some solvent before the next one goes on. The exact wait depends on formula, but a useful checkpoint is this: the layer should look mostly settled, not glossy-wet, and it should not shift if you lightly move your hand.
As a general guide:
– Base coat: wait until it looks set and no longer wet, usually a few minutes
– Between color coats: wait until the surface looks duller and stable, often about 1 to 3 minutes for thinner formulas
– Before top coat: make sure the color layer is no longer soft enough to drag
5. Finish with a quick-dry top coat
If speed matters, this is the product that usually gives the best return. Quick-dry top coats are designed to help the manicure set faster and can be especially useful when you want a more polished finish than household methods can give.
6. Keep your hands still for the first few minutes
This is the part that saves the manicure. After the final coat, hold your hands out, relax your fingers, and do not test the surface by tapping nails together. The polish may look dry before it is resilient.
A practical checkpoint after the final coat:
– First 5 minutes: avoid touching anything
– 5 to 15 minutes: light movement is safer, but still avoid pressure
– 15 to 30 minutes: many manicures are more smudge-resistant, but not ready for hard use
7. Use a cool-air helper if you need extra speed
A fan or hair dryer on a cool, low setting can help move solvent away from the surface. Keep the airflow gentle. Strong air too close to the nail can ripple the top layer before it sets.
8. Use cold water only after the polish has set a little
Cold water can help polish harden faster, but timing matters. Let the polish sit until the surface is no longer wet enough to smear before trying an ice-water dip. If you rush it, you can create dents or drag marks instead of speeding things up.
Best Quick-Drying Methods Compared
| Method | Speed | Safety for finish | Cost | Best use case |
|---|---|---|---|---|
| Quick-dry top coat | Fastest for most regular manicures | High when applied thinly | Low to moderate | Best all-around choice for regular polish |
| Drying drops | Fast | High | Moderate | Good when polish is already on and you want a cleaner finish |
| Drying spray | Fast | High if used as directed | Moderate | Useful for people who want a spray-and-wait solution |
| Fan drying | Moderate | High | Low | Best budget option and good for sensitive, thin coats |
| Cold-water method | Moderate | Medium | Very low | Helpful as a final set step after the surface starts to dull |
Quick-dry top coat vs. drying drops vs. drying spray
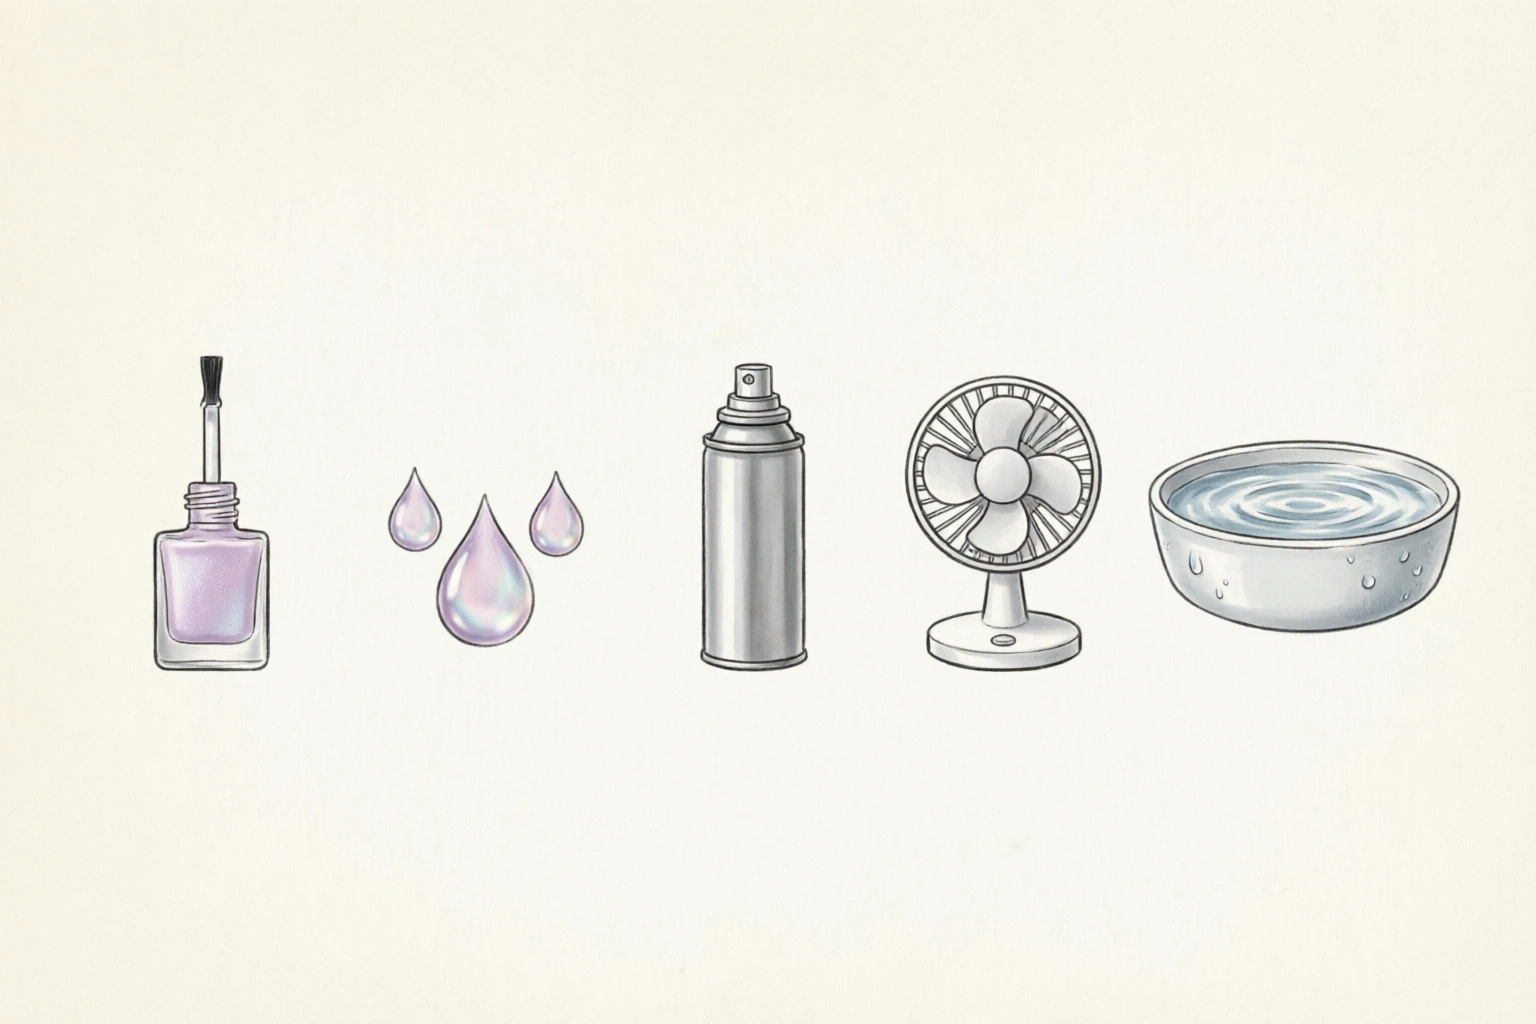
If you want the most predictable result, choose a quick-dry top coat. It becomes part of the manicure structure and usually gives the best balance of speed and shine.
Drying drops are convenient if you’re already at the end of the manicure and want a targeted boost. They work well when you want minimal disruption to the finish.
Drying spray is similar in purpose and can be handy for people who prefer a mist rather than a liquid. It’s a practical option, but you still need to follow the directions carefully and avoid overapplying.
Air drying vs. fan drying vs. cold water
Plain air drying is the slowest. A fan improves airflow without directly stressing the polish. Cold water can help harden the surface, but only after the polish has had time to settle. If you put your nails into water too soon, you risk dents or drag marks.
Regular polish vs. gel polish
Regular polish dries by solvent evaporation and hardening over time. Gel polish is different: it needs curing under a lamp. If your manicure is gel, household drying hacks are the wrong tool.
For readers comparing speed expectations, the article on how to make nail polish dry faster is a useful companion.
How to Dry Thick Coats or Multiple Layers Faster
If your manicure is already thick, the best move is not to pile on more products. That usually makes the problem worse.
Here’s the safer recovery plan:
1. Stop adding heavy layers.
2. Use cool airflow from a fan or hair dryer on low.
3. Wait longer between activities than you would with thin coats.
4. Avoid cold water until the surface no longer feels soft or glossy.
5. Apply a quick-dry top coat only if the surface is still workable and not dragging.
If the polish is already extremely thick, it may never behave like a thin, well-applied manicure. You can still improve the result, but expectations matter. A thick manicure often needs more time to become resistant to dents even if the top feels dry.
If the bottle itself is thick, use nail polish thinner instead of trying to “fix” it with extra thinner-like products from the medicine cabinet. That keeps the formula closer to how it was intended to work.
Common Mistakes That Make Polish Dry Slower or Smudge
Using thick coats
This is the number-one drying mistake. Thick coats trap solvent and stay soft underneath long after the surface seems ready.
Rushing with hot air
Heat too close to the nail can create bubbles, ripples, or a tacky finish. A cool setting is safer because it moves air without softening the fresh layer.
Touching the nails too soon
The surface may feel dry before the lower layer is firm. Light contact is not the same as full durability. If you press on a nail too early, the dent may not show until later.
Skipping prep
Oily nails can make polish behave unpredictably. Clean, dry nails help the manicure lay down more evenly.
Using old, thickened polish
Older polish is often harder to apply thinly, which slows drying. If the bottle has become gummy, thinner layers are harder to achieve.
Assuming one method works the same for every formula
Glitter, quick-dry formulas, and standard cream polishes do not behave identically. Some shades and formulas set more quickly than others, so adjust your expectations.
How to Tell When Your Nails Are Dry Enough
There are two different checkpoints.
Dry enough to touch lightly
The surface no longer feels wet or tacky. You may be able to hover your fingers near things without immediate smearing, but that does not mean the manicure is ready for normal use.
Dry enough for normal activity
You can use your hands without worrying about dents from pressure, fabric, or bending. This stage takes longer and is the one that matters most if you need to put on clothes, carry bags, or type aggressively.
A practical checklist:
– Safe for light tasks: no wet shine, no tacky feel, and gentle contact doesn’t leave a mark
– Safe for normal activity: you can type, handle a phone, or move around without worrying about soft dents
– Still too soft: if sheets, shoes, or tight clothing can imprint the polish, give it more time
For a deeper timing breakdown, see how long nail polish takes to dry.
Practical Examples: Which Method to Use in Real Situations
You have 10 minutes before leaving
Use thin coats, a quick-dry top coat, and cool airflow. Skip the cold-water dip until the polish has had a brief set time.
You already painted thickly and need to reduce the risk of dents
Do not add more polish. Use a fan on low and give the manicure extra time before handling anything that presses on the nails.
You’re standing in a drugstore deciding what to buy
If you only buy one thing, choose a quick-dry top coat. If you already own one, drying drops are a good second purchase because they’re easy to use at the end of a manicure.
You want the cheapest no-buy method
A fan is the simplest low-cost option. It won’t beat a good quick-dry top coat, but it can help more than passive air alone.
You used gel polish by mistake
Do not use air-drying tricks and expect them to work. Gel needs proper curing. Switch to the correct gel process instead of trying to rescue it with household methods.
When to Ask a Nail Technician
If your polish stays soft for a very long time, repeatedly wrinkles, or bubbles even when you apply thin coats, a nail technician can help you troubleshoot formula, application, and product compatibility. That is especially useful if you’re unsure whether the issue is the polish itself, the environment, or the way the layers are being built.
FAQ
What is the fastest safe way to dry nail polish?
For regular polish, a quick-dry top coat over thin color coats is usually the best combination of speed and finish quality.
Does cold water really work?
It can help once the polish surface has already started to set. It’s useful as a finishing step, but it won’t rescue a thick or freshly flooded manicure.
Is a hair dryer safe for nail polish?
Yes, if you use cool air and keep the airflow gentle. Hot air too close to the nail can create bubbles or disturb the top layer.
Are drying drops better than a fan?
Drying drops are more targeted and often faster for the final finish. A fan is lower cost and still helpful, especially if you don’t want to buy another product.
How long should I wait before using my hands normally?
Surface dryness can happen within a short time, but full hardening takes longer. Be extra careful with pressure, gloves, workouts, and anything that bends the nails until the manicure has had time to set.
Does regular polish dry like gel polish?
No. Regular polish air-dries; gel polish must be cured under a lamp. That difference changes the whole drying approach.
Why do my nails feel dry but still dent?
The top layer can set before the layers underneath. That’s normal with regular polish, especially if you applied thick coats.
If you want a more detailed timing guide, the companion article on how long does nail polish take to dry completely is a helpful next read.

