
How to Keep Nail Polish from Smudging While It Dries: A Beginner-Friendly Guide

Fresh nail polish can look perfect for a few minutes and still smudge the moment you reach for your phone, zip up jeans, or lean on a table. The good news is that most smudges are preventable with a few simple habits.
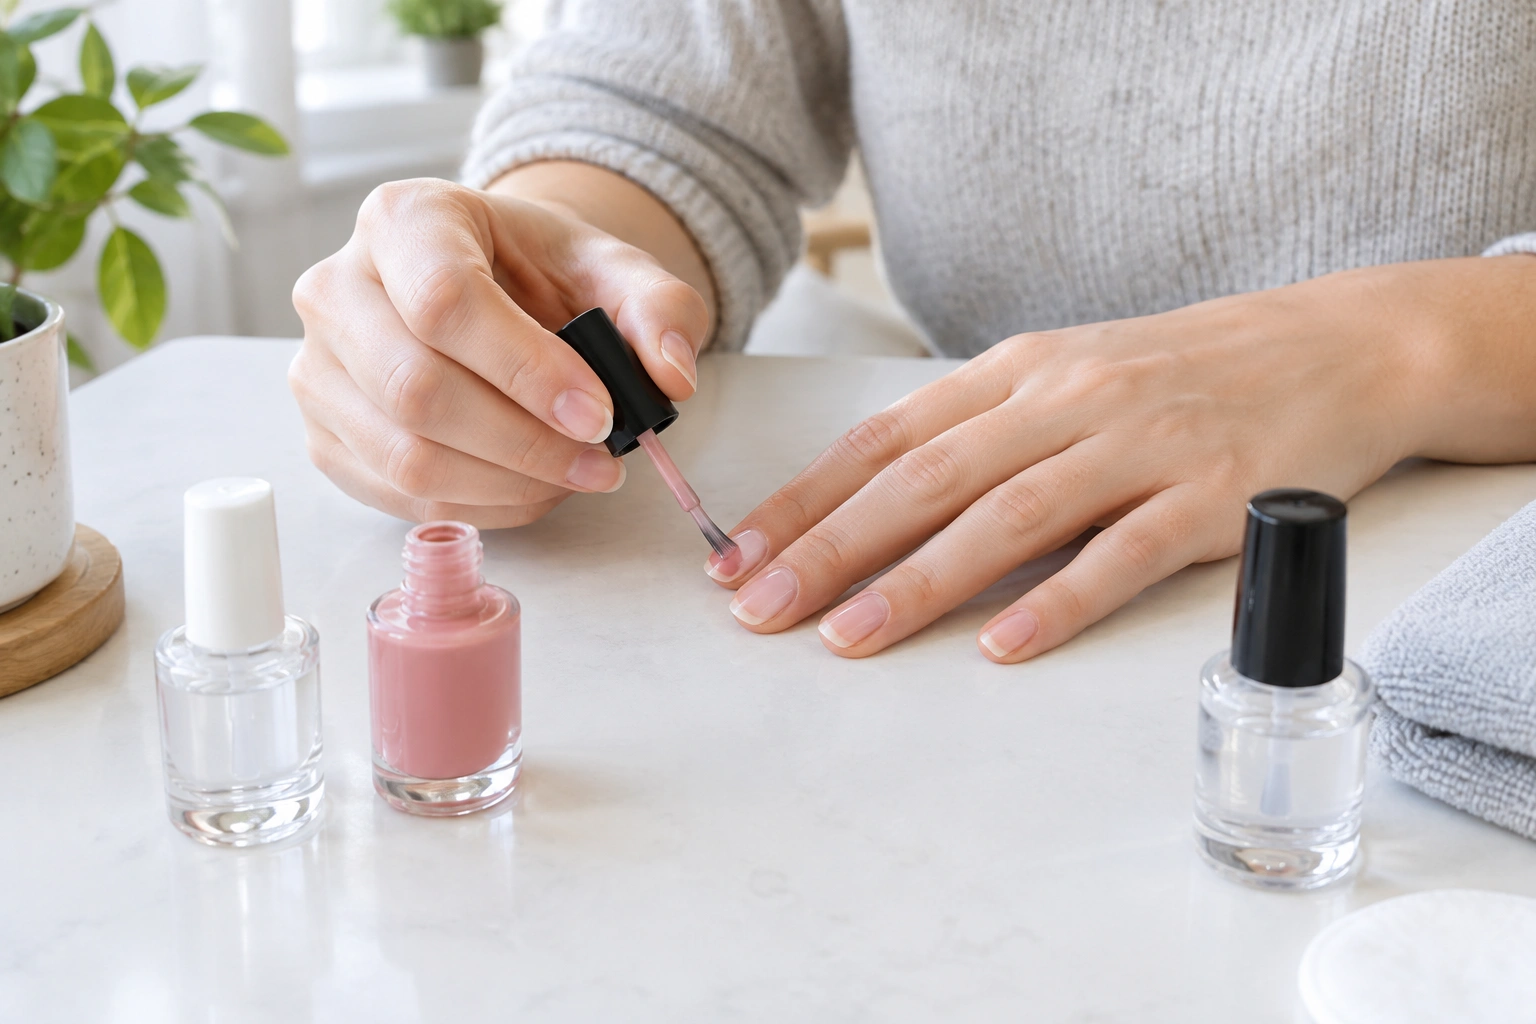
If you want the short version: apply thin coats, wait between layers, use a quick-dry top coat or drying drops if you like, and give your nails more time than “it feels dry” suggests. Fresh polish is most fragile when it still looks smooth on top but hasn’t set underneath yet.
Quick Answer: How to Keep Nail Polish from Smudging
The fastest way to reduce smudging is to:
- Use a base coat, then thin color coats
- Let each coat settle before adding the next one
- Finish with a top coat only after the color coat is no longer wet-looking
- Keep your hands still and avoid pressure on the nails while they dry
- Reach for a quick-dry top coat or drying drops if you want extra help
A beginner mistake is assuming the surface is ready just because it no longer looks shiny and wet. Nail polish often feels dry on top while still being soft underneath. That soft layer is what dents, drags, and leaves sheet marks.
For a deeper look at why polish behaves this way, see how nail polish works and dries and why polish sometimes stays tacky longer than expected.
Why Nail Polish Smudges While It’s Drying
Nail polish smudges when something touches it before the layers have settled enough to resist pressure. That can happen from a fingertip, a blanket, a door handle, or even the edge of a sleeve.
The biggest reason is simple: polish dries from the outside in. The top layer may seem firm first, but the lower part can still move around. If you press on it too soon, the polish shifts instead of holding its shape.
Thicker coats make this worse. They hold more liquid, so they take longer to set. That is why a heavy first coat often causes more dents than two thinner coats applied with patience.
Drying Time vs. Curing Time: What “Dry” Actually Means
When people say polish is “dry,” they may mean different things:
- Surface-dry: The top no longer looks wet.
- Touch-safe: A very light touch is less likely to leave a mark.
- Fully set: The polish has hardened enough for normal hand use.
Those are not the same thing. A manicure can seem dry enough to admire but still be soft enough to dent if you type hard, grab fabric, or press a nail against something.
For a basic regular-polish manicure, a rough beginner-friendly expectation is:
- Base coat: often feels surface-dry in about 1 to 3 minutes, but may still be soft enough to disturb if you rush the color coat
- Each thin color coat: often needs about 5 to 10 minutes before the next coat
- Top coat: may feel touch-safe in about 10 to 20 minutes, but the manicure can still be vulnerable for longer
- Safer total wait before normal hand use: often around 30 minutes to an hour for light activity, and longer for full confidence if coats were thicker
These are only approximate ranges. Formula, room temperature, humidity, and coat thickness all matter. If your polish is still glossy and movable, it is too soon.
A simple rule for beginners: if you still feel tempted to test it by tapping the nail, wait longer instead. The more you treat the first hour like “hands off” time, the fewer surprises you’ll have.
The Best Way to Apply Polish So It Dries Faster
The easiest drying win happens before drying even starts: apply polish in thin, controlled layers.
Thin coats dry more evenly because they leave less liquid trapped on the nail. They also make it less likely that the top coat will tug at the color underneath. If you have to choose between one thick coat and two thinner ones, the thinner approach usually gives a cleaner result.
Here’s a beginner-friendly order:
- Apply a base coat in a thin layer.
- Let it settle before color.
- Brush on the first color coat lightly.
- Let that coat lose its wet shine before the next one.
- Add a second thin color coat if needed.
- Finish with a top coat once the color is no longer sliding around.
A practical timing guide for that routine is:
- Base coat: about 1 to 3 minutes before color
- First color coat: about 5 to 10 minutes before the next coat
- Second color coat: about 5 to 10 minutes before top coat
- Top coat: then give the manicure at least 10 to 20 minutes before careful use, and ideally longer before anything that presses on the nails
If you want a practical comparison of drying helpers, quick-dry top coats and drying drops are worth reading about before you buy anything extra.
How to keep the brush from dragging polish
Use fewer strokes. Long, repeated brushing can disturb the layer underneath and create streaks or ridges. Load the brush with enough polish to cover the nail, then smooth it out without overworking it.
That matters most near the cuticle and sidewalls, where polish tends to pool. Puddled polish dries slower and smudges more easily than a neat, even layer.
How Long to Wait Between Each Coat
There is no single universal drying time that fits every polish, room temperature, or coat thickness. The safer approach is to wait until each layer stops looking wet and glossy before adding the next one.
A practical beginner rhythm is:
- Base coat: wait until it is no longer slippery, usually about 1 to 3 minutes
- Color coats: wait about 5 to 10 minutes between thin coats, or until the surface looks set enough not to shift when you hover the brush nearby
- Top coat: apply after the color has had a chance to settle, then avoid pressure for at least 10 to 20 minutes
If you rush between coats, you can trap solvent underneath. That can make the manicure feel soft for longer, even if the top looks fine.
For more help with timing and common mistakes, this guide to smudge-free drying is a useful companion read.
Drying Methods That Actually Help at Home
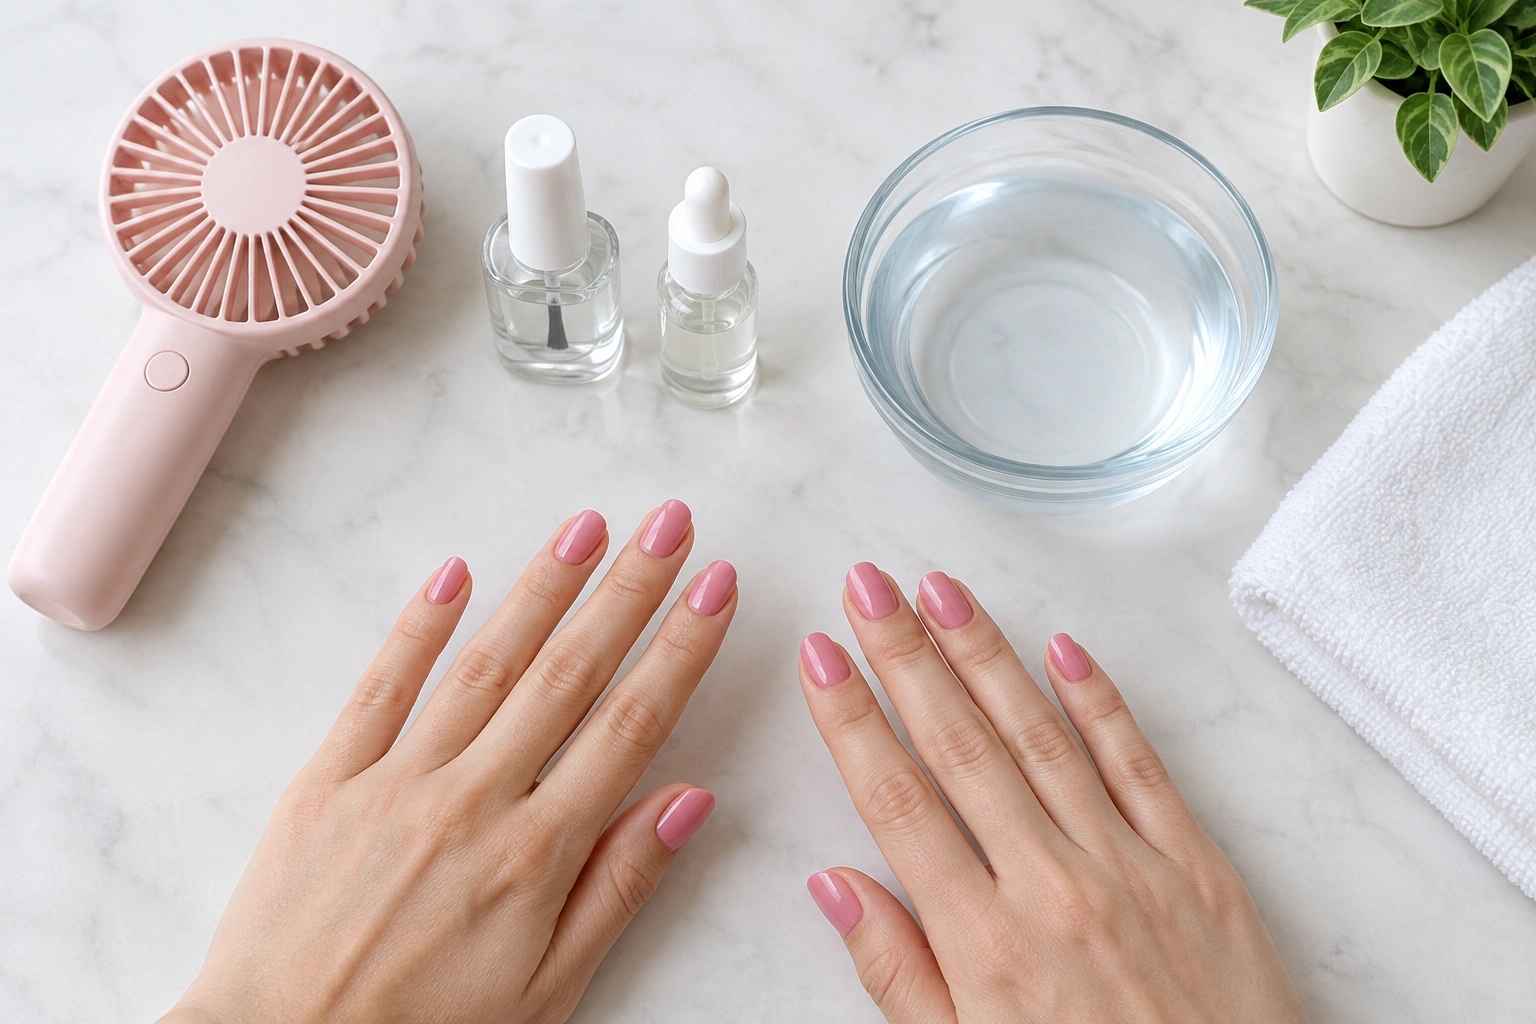
Not every “fast drying” trick works the same way. Some methods help the surface set faster, while others mainly make the polish feel less tacky.
Air drying
Air drying is the simplest option. It is low-risk and needs no extra products. The downside is that it is usually the slowest method, especially with thicker coats.
Fan drying
A fan can help by moving air across the nails. That may help the surface feel firmer sooner, which is useful if you need to sit still for a while. It is generally a safer choice than heat because it does not warm the polish.
Quick-dry top coat
A quick-dry top coat can be helpful if you want a simpler at-home routine. It adds a protective layer over the color and may lower the chance of accidental smudges while the manicure sets, but it still does not make the nails instantly ready for heavy use.
Drying drops
Drying drops are designed to help the polish set more quickly on the surface and can be useful when you want less waiting around. They may be a convenient add-on, but they still work best when the polish was applied in thin coats.
Cold water
Some people like the idea of cold water because it can help the surface feel firmer. If you try it, keep it gentle and avoid extreme temperatures. Cold water is not a substitute for real drying time, so treat it as a helper, not the main solution.
A simple comparison table
| Method | Speed | Ease for beginners | Main benefit | Main limitation |
|---|---|---|---|---|
| Air drying | Slowest | Very easy | No extra products | Takes patience |
| Fan drying | Moderate | Easy | Helps airflow | Doesn’t fully set polish instantly |
| Quick-dry top coat | Faster | Easy | Adds surface protection | Still needs careful handling |
| Drying drops | Faster | Easy | Convenient and targeted | Not a replacement for drying time |
| Cold water | Variable | Moderate | May help surface feel firmer | Not a complete drying method |
If you are choosing just one add-on, a quick-dry top coat is a practical place to start because it fits into a normal manicure routine.
Thin Coats vs. Thick Coats: Why Layering Matters
Thin coats dry faster because there is less polish sitting on the nail. They also reduce the chance of bubbles, ridges, and soft spots.
Thick coats can look convenient because they seem to give full coverage quickly, but they usually create more problems later. The surface may appear smooth while the underneath stays soft longer, which makes dents more likely.
A good rule: if the polish looks streaky after one thin coat, add another thin coat instead of trying to solve it with one heavy pass.
What Not to Do While Your Nails Are Drying
Fresh polish is easy to damage in ordinary, everyday moments. Try to avoid:
- Putting on tight clothing too soon
- Digging in a handbag or pocket
- Opening cans, packages, or zippers with the nail tips
- Typing heavily or pressing hard on keys
- Washing dishes or soaking hands right away
- Using a hair dryer on high heat
Heat is especially worth avoiding. A hot blast can soften polish or create bubbles, which makes the finish less smooth. A fan is the safer airflow choice if you want help from moving air.
During the first hour, protect fresh nails by using your fingertips instead of the nail tips whenever possible. Try to keep them away from bedding, sleeves, and other fabrics that can leave marks. If you need to do something that involves pressure or friction, wait until the polish has had more time to set.
Also, don’t keep “checking” the polish with repeated touches. Every test adds a chance to leave a mark.
How to Tell If Nail Polish Is Dry Enough
A polish surface can look finished before it is truly ready. To check more safely:
- Look for a finish that no longer appears wet or shifting
- Hold your hand still for a moment and notice whether the surface seems firm
- Gently hover a fingertip close to the nail without pressing down
- Try a very light air test, like wafting your hand through the air, rather than touching the polish
- If you are unsure, wait longer instead of testing again
Avoid pressing, tapping, or doing fingernail-to-fingernail checks. Those can leave dents even when the manicure looks close to dry.
The safest sign is not “it feels okay for a second.” It is “I can move normally without worrying about dents.”
If your nails still feel soft when you lightly brush them against each other, they are not ready for normal use yet.
What to Do If You Smudge or Dent a Nail
A small smudge does not always mean you need to start over. The right fix depends on how fresh and how deep the damage is.
1) Tiny dent or faint impression
If you catch it right away and the mark is very small, stop touching the nail and let it settle for a minute or two. Sometimes the polish levels out enough that the mark becomes less noticeable.
If the dent remains, add a very small amount of the same polish or top coat only to the damaged spot, then leave it alone. Use just enough to smooth the area. Too much product can create a thicker patch that takes longer to dry.
2) Fresh smear or dragged polish
If the polish is still soft and you’ve smeared the surface, try not to wipe it with your finger. That usually makes the mark wider.
Instead, use a small brush or cotton swab with a little nail polish remover or acetone to gently clean the damaged edge if the smear is on one side or near the skin. Then repaint the affected section with a thin coat. If the smear is across most of the nail, it is usually cleaner to remove that nail and start again.
3) Deep wrinkle, crease, or obvious gouge
If the polish has wrinkled, folded, or formed a deep groove, patching usually leaves a rough finish. In that case, the best option is to fully remove that nail and repaint it.
If you try to layer over a deep wrinkle, the new coat often traps the damage underneath and makes the nail look even thicker.
If the polish has already started to set
Once the surface has firmed up, spot-fixing becomes harder. At that point, a careful removal and repaint may give you a better result than repeated touch-ups.
For more troubleshooting, this article on polish that won’t dry properly can help you spot the cause.
Regular Polish vs. Gel Polish for Faster Drying
Regular polish is the simpler choice for most beginners. It is easier to apply, easier to remove, and forgiving if you make small mistakes. The trade-off is that it needs more patience while it dries.
Gel polish follows a different process and is designed to cure under a lamp. In practice, that usually means less waiting for the surface to become usable after curing, but it also means a more structured routine and different removal steps. It can be a good option if you want a longer-wearing manicure, but it is not automatically the easiest choice for a first-time user.
If you are just learning, regular polish is usually the easiest place to build good habits. If you often smudge because you need a manicure that sets differently, gel may be worth learning later with the proper tools and instructions.
Simple Dry-Time Checklist Before You Move On
Before you go back to normal life, check these basics:
- Thin coats were used
- Each layer had time to settle
- The top coat was not applied over a still-wet color coat
- You avoided heat and heavy contact
- You did not rush into clothes, bags, or chores
- The polish looks and feels firm enough for light movement
If you are unsure, give it more time. Waiting a little longer is usually easier than repairing a fresh smudge.
When to See a Nail Technician or Dermatologist
If your polish seems to stay soft every time no matter how carefully you apply it, a nail technician can help you review your technique and product choices. If you notice nail changes that are not just about polish, a dermatologist is the better person to ask.
That is especially true if you have persistent nail splitting, lifting, discoloration, or irritation around the nails. Those issues are separate from normal drying problems and may need professional attention.
For more beginner-friendly polish guidance, you may also want to read how to avoid smudging nail polish and how to prevent nail polish smudging while drying.

