
What Is Nail Lacquer? A Beginner’s Guide to Choosing, Applying, and Removing It

If you’ve ever stared at a bottle and wondered, what is nail lacquer?, the simple answer is this: nail lacquer is a type of nail color that dries into a hard, colored coating on the nail.
In everyday use, people often use “nail lacquer,” “nail polish,” and sometimes “nail enamel” to mean nearly the same thing. The label can vary by brand, but the product is usually a liquid color formula you brush onto natural nails, let dry in the air, and remove later with nail polish remover.
For beginners, that matters because it tells you what to expect. Nail lacquer is usually meant for easy at-home use, not a lamp-cured routine like gel polish. It gives color, shine, and coverage, but it also needs a little care in application and removal to look good and last well.
Nail Lacquer vs. Nail Polish, Nail Enamel, and Gel Polish
The names can be confusing, so here’s the plain version: in many cases, nail lacquer, nail polish, and nail enamel are just different words for a similar product. The differences are often more about branding and formula style than a completely separate category.
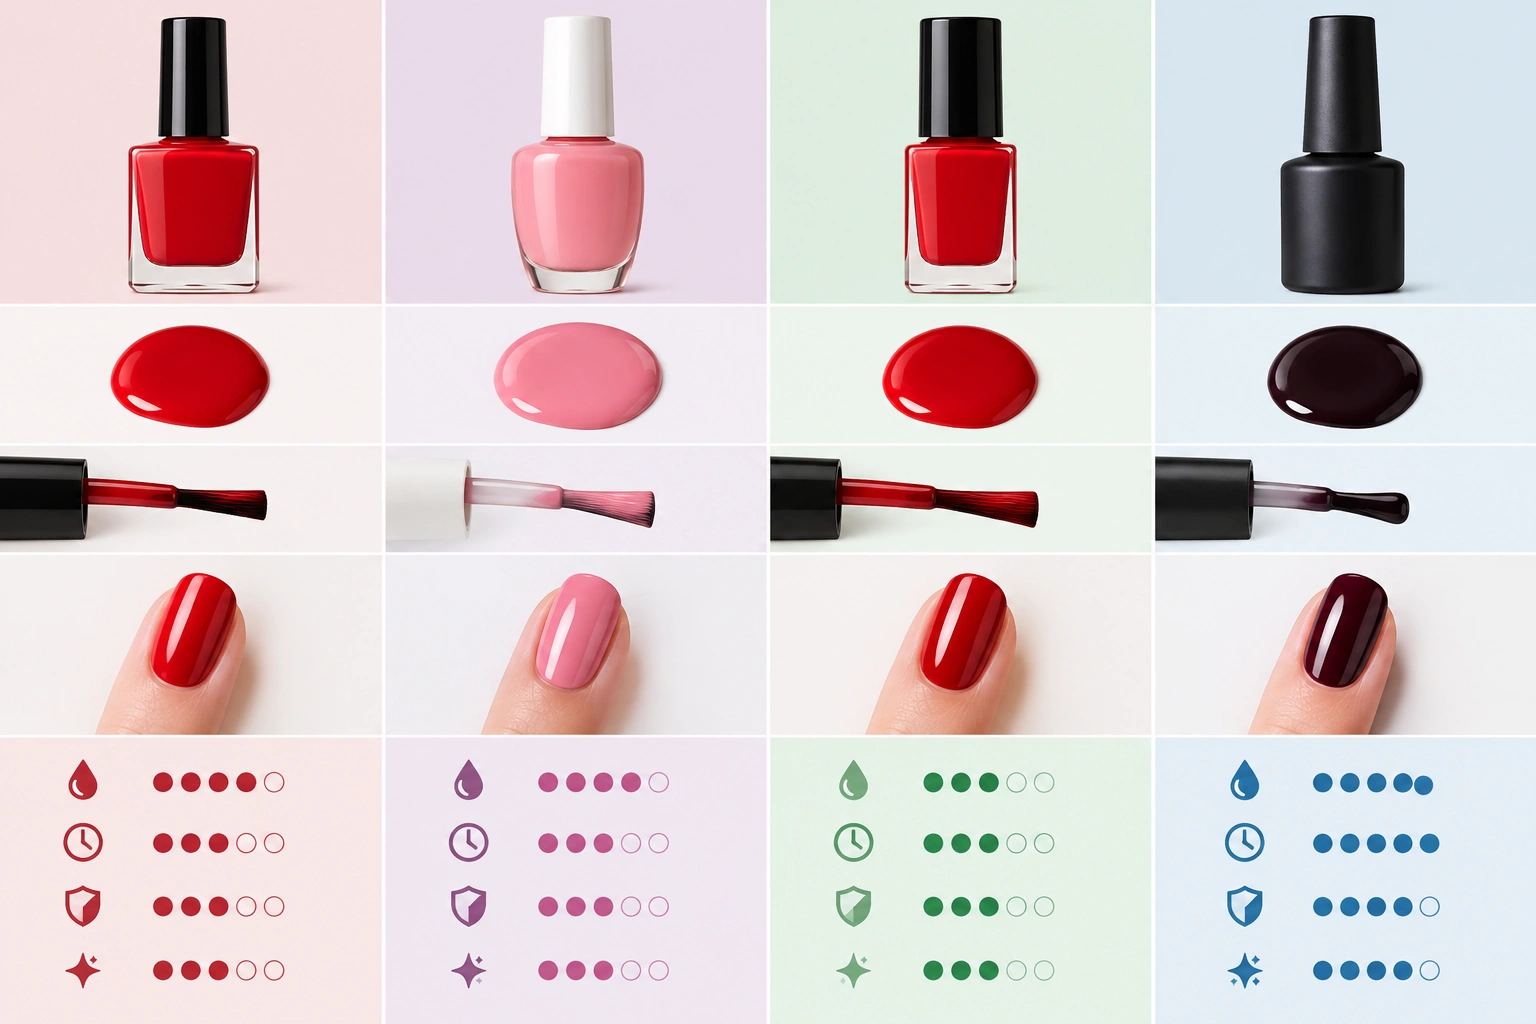
In practical buying terms, “nail enamel” usually does not mean a different kind of product from lacquer. Most of the time, it is simply another label for a regular air-drying nail color. If a brand uses “enamel,” buyers should generally expect the same basic use: brush on, air-dry, and remove with standard polish remover.
Gel polish is the clearest contrast. It usually needs curing under a lamp and is removed differently than regular lacquer. If you want a simple at-home manicure that air-dries, lacquer is usually the easier place to begin.
| Product name | What it usually means | How it dries | Typical beginner use |
|---|---|---|---|
| Nail lacquer | A liquid color coating for nails | Air-dries | Easy at-home color |
| Nail polish | Often used as a general term for lacquer | Air-dries | Everyday manicure |
| Nail enamel | Another common label for nail color | Air-dries | Similar to lacquer |
| Gel polish | A longer-wear formula | Cured under a lamp | More involved routine |
If you want a deeper breakdown of the naming issue, you may also find this guide helpful: is nail lacquer the same as nail polish.
What Nail Lacquer Is Made For
Nail lacquer is made to do a few basic jobs well:
- add color to the nail
- create a smooth finish
- give either sheer or opaque coverage
- dry without a lamp
- work with a base coat and top coat for better wear
For beginners, that usually means a classic manicure look: glossy by default, with coverage that can be sheer, semi-sheer, or fully opaque depending on the shade. Many formulas build best in two thin coats, which is a realistic expectation for at-home use.
That makes it a practical choice for people who want a normal manicure at home without extra equipment. If you want to change your nail color for the week, try a new shade, or keep your routine simple, lacquer is usually the most straightforward option.
A good way to think about it: nail lacquer is the “classic manicure” product. It is designed for convenience first, with wear time that is usually shorter than gel but easier to manage.
What Finish and Coverage Does Nail Lacquer Give?
Nail lacquer can look very different depending on the formula.
Some shades are sheer, which means you can still see part of the nail underneath. Others are opaque and cover the nail in fewer coats. Finish can also vary. Common looks include:
- glossy
- satin
- matte
- shimmer or metallic
For beginners, glossy creams are usually the easiest to use because they look neat even with a simple application. Sheer shades are forgiving if your brush strokes are not perfect. Opaque shades give stronger color payoff, but they can show mistakes more easily if you apply them too thickly.
A useful rule: if you want a clean everyday look, choose a shade that builds in two thin coats rather than one heavy coat.
What You Need to Use Nail Lacquer
You do not need a lot of tools, but a few basics make a big difference:
- nail file
- nail buffer, optional
- lint-free wipe or tissue
- base coat
- nail lacquer color
- top coat
- nail polish remover
- cotton pads or remover wraps
- cuticle oil or hand cream, after removal
The only must-haves for a very basic beginner manicure are polish, remover, and something to apply remover with, but base coat and top coat are the most useful add-ons if you want better wear and a cleaner finish. A file is helpful for shaping, but a buffer is optional.
The base coat helps create a smoother surface for color. The top coat helps add shine and can improve wear. If you skip both, the manicure may chip faster and the color may not look as even.
If speed matters to you, this drying guide may help later: how to dry nail polish instantly.
How to Apply Nail Lacquer Properly
A good manicure is usually more about thin layers than fancy technique.
1) Prep the nails
Wash and dry your hands. Remove old polish completely. Shape the nails with a file and lightly smooth the surface if needed. Make sure the nail plate is clean and free of lotion or oil before you paint.
2) Apply base coat
Use one thin layer of base coat and let it dry. This gives the color a better surface to grip and helps keep the manicure looking smoother.
3) Paint thin coats of color
Apply the first coat in thin strokes. Don’t try to get full coverage right away. Let it dry, then apply a second thin coat. If the color still looks streaky, a third thin coat is better than one thick, wet layer.
4) Seal with top coat
Finish with top coat once the color layer feels dry enough to touch lightly. This helps protect the surface and gives a more polished look.
5) Let it dry fully
Even if the top feels dry, the layers underneath may still be soft. Give your nails enough time before doing anything that presses on them, like opening cans, zipping bags, or typing heavily.
A simple beginner mistake is painting too thickly because it seems faster. In reality, thick coats take longer to dry and are more likely to smudge.
How Long Nail Lacquer Lasts and What Affects Wear Time
Nail lacquer usually lasts about 3 to 7 days for many people, though some formulas and routines can wear a little shorter or longer. Exact wear time depends on the formula, how well the nails were prepped, and how much your hands are exposed to water and friction.
What affects how long it lasts:
- whether you used base coat and top coat
- how thin the coats were
- how well the nails were cleaned before painting
- how often your hands are in water
- how much your nails rub against surfaces
- whether you chose a formula that is more chip-resistant

If you want the manicure to last longer, the biggest practical habit is keeping coats thin and finishing with top coat. That simple step often helps more than choosing a more expensive bottle.
If you’re trying to speed up the drying side of the routine, this article may also be useful: how to make nail polish dry faster.
How to Remove Nail Lacquer Without Damaging Nails
Safe removal matters just as much as application. The goal is to take the color off without scraping or peeling the nail surface.
The basic method
- Soak a cotton pad with remover.
- Hold it on the nail for a few seconds.
- Wipe the polish off in one direction.
- Repeat if needed.
- Wash your hands and apply hand cream or cuticle oil.
Acetone vs. non-acetone remover
Acetone remover usually works faster and removes polish more efficiently. Non-acetone remover is often gentler in feel, but it may take longer and need more wiping.
For beginners, the choice often comes down to this:
- choose acetone if you want faster removal or you’re dealing with stubborn, glittery, or more chip-resistant formulas
- choose non-acetone if you prefer a milder remover and are okay with slower cleanup
Soaking, foil wraps, or wiping?
For regular lacquer, wiping with remover is usually enough. If the polish is stubborn, glitter-heavy, or layered on thickly, a short soak on the nail or a foil wrap can help loosen it without extra scrubbing. Foil wraps are especially useful when you want the remover to stay in contact with the nail instead of evaporating quickly.
Whichever method you use, avoid peeling the polish off. That can take the top layer of the nail with it and leave the surface rough.
For a broader look at quick-dry routines and removal-friendly habits, see best way to dry nail polish quickly.
Is Nail Lacquer Safe for Natural Nails?
For most people, nail lacquer can be used on natural nails as part of a normal manicure routine. The main thing to watch is dryness and irritation, especially if you remove polish often or use strong remover regularly.
A few practical safety habits help:
- use polish and remover in a well-ventilated area
- avoid applying polish to irritated, broken, or freshly damaged skin
- stop using a product if it causes burning, redness, itching, swelling, or persistent soreness
- give nails a break if they feel overly dry or start peeling
- moisturize after removal
If your nails are already very dry, peeling, or sensitive, lacquer can still be an option, but gentler prep and less frequent removal are usually better than repeated heavy use. People who know they react to certain cosmetics should be extra cautious with new formulas and stop using any product that clearly irritates the skin or nail area.
For general ingredient and safety awareness around cosmetic products, the FDA’s cosmetics information is a useful place to start.
Pros and Cons of Nail Lacquer for Beginners
Pros
- easy to use at home
- air-dries without a lamp
- widely available
- comes in many colors and finishes
- simple to remove with standard remover
Cons
- usually does not last as long as gel polish
- can chip faster if applied too thickly
- may dry slowly if the coats are heavy
- frequent removal can dry out nails and skin
For a beginner, the biggest advantage is simplicity. You can practice without buying a special device or learning a more complicated removal process.
How to Choose the Right Nail Lacquer for Your Needs
Use your routine as the deciding factor.
Choose a sheer or semi-sheer lacquer if you want a forgiving, everyday look and don’t mind seeing a little of the natural nail.
Choose an opaque cream if you want stronger color payoff and a more finished look in fewer coats.
Choose a glossy finish if you want the classic manicure look. Choose matte only if you specifically want a softer, non-shiny effect, since it can show wear differently.
If your top priority is quick, easy removal, choose a regular lacquer formula and pair it with non-acetone remover. If you want faster cleanup or you often wear glitter or tougher formulas, acetone remover is usually the better fit.
If your main goal is longer wear and you do not mind a lamp and a different removal process, gel polish is the better choice. If you want the easiest possible at-home manicure, lacquer is usually the better first step.
Common Mistakes to Avoid
The most common beginner mistakes are easy to fix once you know them:
- applying thick coats instead of thin ones
- painting over oily or dirty nails
- skipping base coat or top coat
- not waiting long enough between layers
- using the wrong remover for the formula
- peeling polish off instead of dissolving it
- expecting regular lacquer to wear like gel
If your polish keeps smudging, the issue is usually too much product, not your skill. Thin layers and patience solve more problems than pressure or speed.
When to See a Nail Technician or Dermatologist
See a nail technician if you want help choosing a formula, improving your application, or learning how to remove polish without over-drying your nails.
See a dermatologist if you notice ongoing redness, swelling, pain, or repeated irritation after using nail products. That is especially important if the reaction keeps coming back even when you switch formulas.
Quick Takeaway
Nail lacquer is a basic, beginner-friendly nail color product that air-dries and gives you a classic manicure look at home. It is usually the same family of product people mean when they say nail polish or nail enamel. If you want simple color, easy application, and straightforward removal, it’s a solid place to start.

