
How to Make Nail Polish Dry Quickly Without Ruining Your Manicure

If you want your polish to dry faster at home, the biggest wins are simple: apply thin coats, use a quick-dry top coat or drops, and give the manicure gentle cool airflow instead of heat. Cold water can help set the surface, but it is not a magic instant-dry trick. And even when polish feels dry to the touch, it can still be soft underneath for hours.
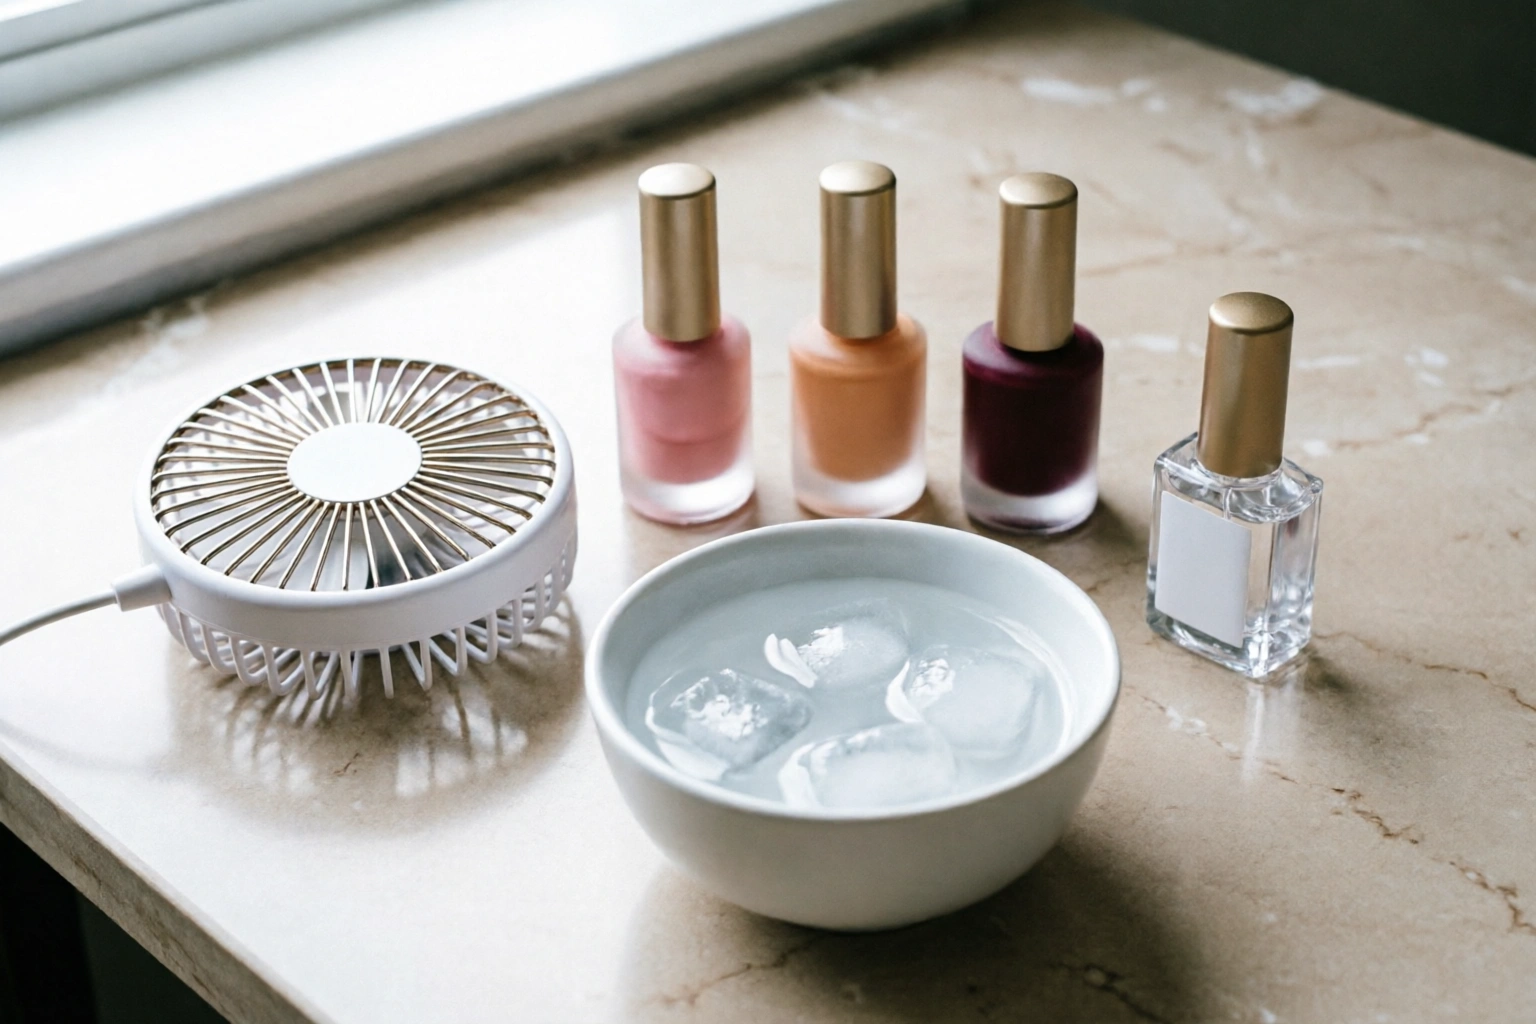
That matters because most smudges happen after the nails look ready. A manicure can feel usable within 30 to 60 minutes, yet still need much longer to fully harden. OPI notes that polish can take up to 24 hours to cure all the way through, which is why the first day still calls for care.
Quick Answer: The Fastest Safe Ways to Dry Nail Polish
If you need the shortest path to a safer, faster-drying manicure, use this order:
- Paint in thin, even coats.
- Wait a few minutes between coats.
- Finish with a quick-dry top coat or quick-dry drops.
- Use cool air from a fan or blow dryer on the cool setting.
- If you like the cold-water method, dip after the polish has sat for about a minute.
That sequence works because it reduces how much liquid is sitting on the nail in the first place, then helps the solvents leave the polish more efficiently. Thick coats trap more solvent and stay soft longer. A quick-dry top coat can speed the surface set without changing the color, and cool airflow helps without the heat problems that can cause bubbles or ripples.
If you are deciding between methods and only want one upgrade, a quick-dry top coat is usually the best first choice for most home manicures. If you already have a finished manicure and do not want to add another layer, quick-dry drops are the better pick.
If speed is your top priority overall, choose fast-drying polish instead of regular polish. It is the most direct option because the formula itself is designed to dry faster, which can save time before you even reach the top coat stage.
What You’ll Need
You do not need a full salon setup. A basic fast-drying manicure kit can be as simple as:
- Nail polish remover or cleanser
- Base coat
- Nail color
- Quick-dry top coat
- Optional quick-dry drops or drying spray
- Small bowl of cold or ice water
- A fan or hair dryer with a cool setting
- Lint-free wipes or a clean towel for prep
For a more polished result, keep the workspace dry and draft-free. A comfortable, well-ventilated room is a practical target if you are painting in a bathroom, bedroom, or at a desk.
Before you buy anything, think in terms of your bottleneck:
- If your problem is smudging right after painting, you need better application technique.
- If your problem is waiting too long, a quick-dry top coat or drops will help most.
- If your problem is denting at bedtime, you need better aftercare for the first day.
Before You Start: Set Up for Faster Drying
The drying process begins before the first brushstroke. A few prep steps make a real difference.
Clean the nail plate first
Washing hands before application helps remove oils that can interfere with adhesion. Essie specifically recommends this because oil on the nail can keep polish from gripping properly. If polish does not adhere well, it is more likely to shift, wrinkle, or wear unevenly while it is still soft.
Choose a fresher, smoother formula
Older polish tends to get thicker and stickier. That makes it harder to apply in thin layers, and thick layers take longer to dry. If a bottle drags on the nail or leaves stringy trails, it is usually working against your timing.
Plan for thin coats, not one heavy coat
This is the part that most affects drying speed. Thin, even layers dry faster because there is less polish sitting on the nail. If you need more opacity, build it with another thin coat rather than trying to cover everything in one pass. A three-stroke approach — one stroke down the center and one on each side — is a useful rule when you are trying to keep the coat light.
Pick the right room conditions
A warm, humid room is not ideal. Dry, ventilated air helps solvent evaporation, while too much heat can cause surface issues. If you are painting nails in a steamy bathroom after a shower, expect slower drying.
Step-by-Step: How to Make Nail Polish Dry Quickly
1) Prep nails so polish can stick cleanly
Remove old polish, wash hands, and make sure nails are fully dry before you start. Any leftover lotion or moisture can make the polish behave unpredictably.
2) Apply a base coat in a thin layer
A thin base coat helps create a smooth surface for color. Let it settle before adding polish. You do not need to rush this part; a clean base is easier to build on than a thick, gummy one.
3) Paint the first color coat with restraint
Use as few brush strokes as possible. Aim for thin coverage, even if the first layer looks sheer. It is better to build opacity with another thin coat than to flood the nail with one heavy pass.
4) Wait a few minutes before the next coat
The exact wait depends on the formula and room conditions, but “a few minutes” is a sensible working range for regular polish. If the nail still looks wet and glossy in a thick way, give it more time. If you can lightly tap the side of the nail without leaving a mark, you are closer to ready.
5) Repeat with a second thin coat
Most manicures need two coats, but some colors need three thinner coats for even coverage. That trade-off is worth understanding: more coats can give better opacity, but only if each layer stays thin.
6) Seal with a quick-dry top coat
This is usually the best speed booster for home manicures. Quick-dry top coats are designed to help the polish set faster. That means you get a faster surface dry without changing the look of the manicure.
If you already love your regular top coat, keep it for days when timing is not urgent. If speed matters, switch to the quick-dry version.
7) Add quick-dry drops if you want an extra boost
Drying drops are especially useful when the manicure is already built and you do not want to brush another layer over it. They are a good choice for thicker manicures or for people who want a faster finish after the top coat is already on.
8) Use cool air, not heat
A fan or blow dryer on a cool setting can help move solvent away from the nail surface. Keep the airflow gentle so it does not disturb the top layer.
Do not use high heat. Heat can create bubbles, ripples, or a soft surface that stays vulnerable longer. If you want to use a dryer, cool and low are the safer choices.
9) Try the cold-water method only after a short wait
Cold temperatures can help harden and set polish faster, which is why an ice water dip is a common trick. Let nails sit for about a minute after application before dipping them in ice water so you do not smudge the polish while it is still too wet.
After the dip, let the nails air dry briefly. Do not towel them dry afterward, because that can drag the polish.
Best Drying Methods Compared
| Method | How well it helps | Best for | Trade-off |
|---|---|---|---|
| Fast-drying polish | Strongest all-around speed choice | People who want speed from the start | Less flexible if you already own other shades |
| Quick-dry top coat | Strong, reliable speed boost | Most home manicures | Adds one more product step |
| Quick-dry drops | Helpful, especially on thicker manicures | People who already like their top coat | Less familiar to some users |
| Cold or ice water | Useful for setting the surface | Quick at-home touch-up routines | Easy to bump or dent nails while dipping |
| Fan or cool air | Gentle and practical | People who want low-risk airflow | Slower than a drying product |
| Blow dryer on cool | Effective if used carefully | When you need faster surface drying | Must stay cool and not too close |
The main decision is whether you want to speed up drying after painting or change the formula itself. If you regularly paint your nails before work, a fast-drying polish may be worth buying. If you already have a polish collection, quick-dry top coat and drops are the more practical upgrades.
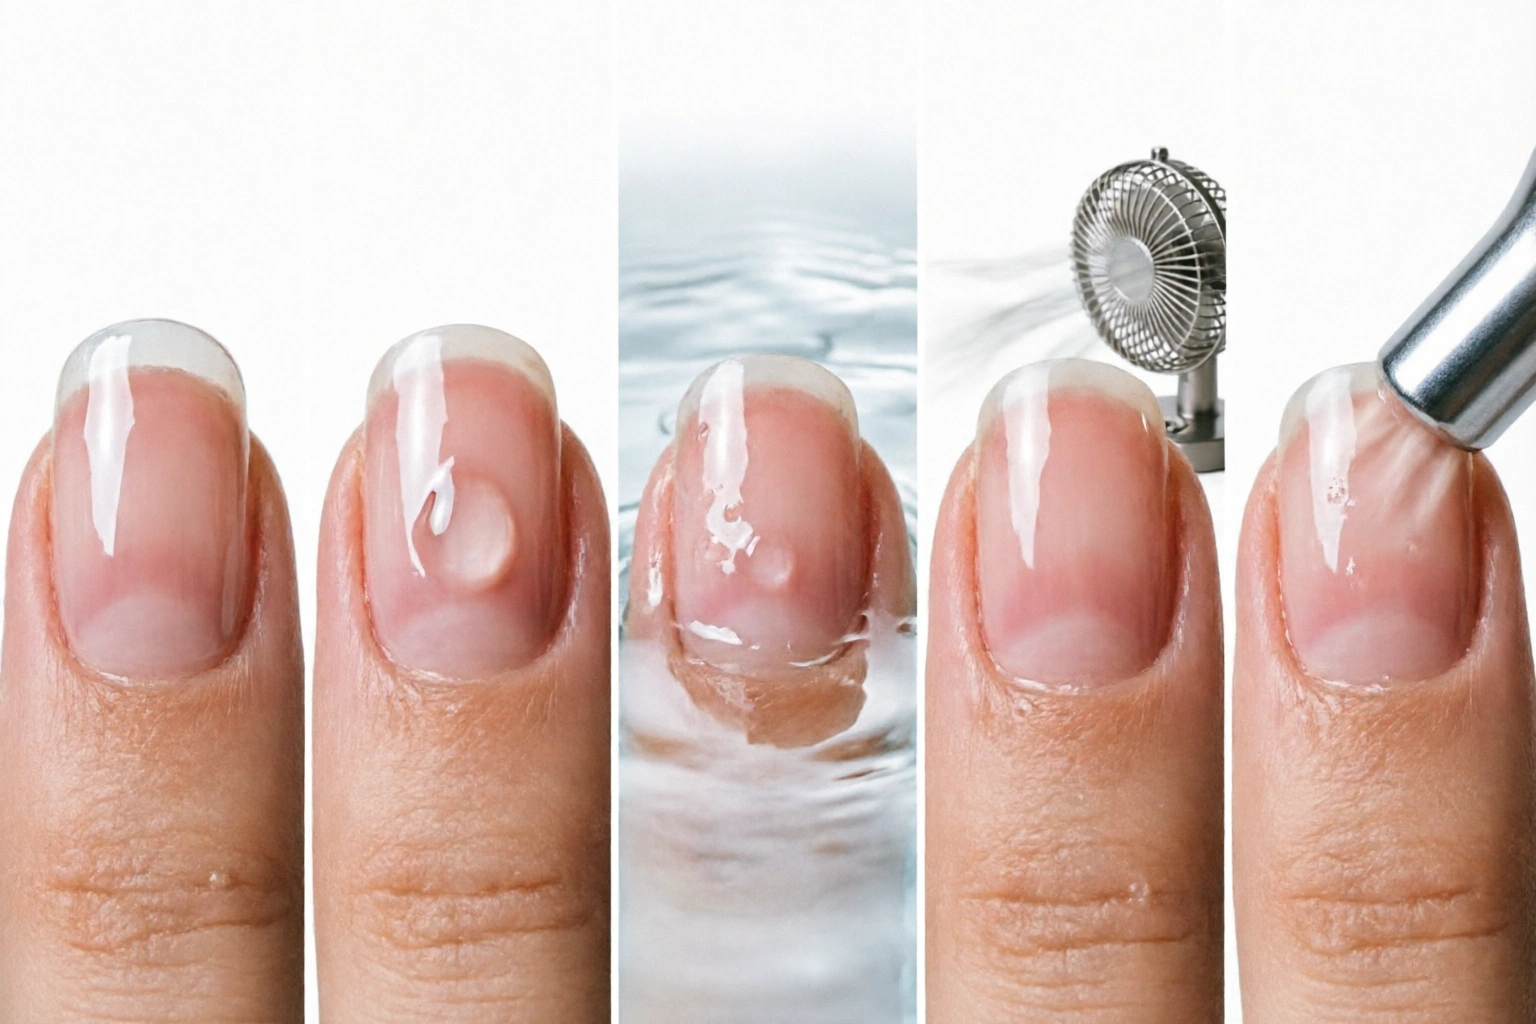
OPI says its RapiDry Quick-Dry Nail Polish can dry in as little as 60 seconds under the brand’s testing or usage conditions. That is a useful benchmark if you want a dedicated speed formula, but it should not be treated as a universal drying time for every polish.
Quick-dry top coat vs. quick-dry drops
If you are choosing between these two, the difference is simple:
- Quick-dry top coat is best when you are still building the manicure and want a fast, smooth final layer.
- Quick-dry drops are best when the manicure is already finished and you want to avoid brushing on another coat.
In practice, the top coat is usually the better all-purpose option. Drops are the more convenient add-on when you want speed without adding another visible layer.
How Long to Wait Between Coats and After the Final Coat
The safest answer is: wait until the layer is no longer visibly wet and glossy before adding the next one. For many regular polishes, that means a few minutes between coats. Thick coats need longer.
After the final coat, the manicure may feel touch-dry within 30 to 60 minutes, but that only means the surface no longer feels sticky or leaves an obvious fingerprint when you lightly touch it. It does not mean the polish is hard all the way through.
Fully cured means the polish has finished hardening underneath, so it is much less likely to dent from pressure, fabric, or repeated contact. With regular polish, that can take much longer — OPI notes that full hardening can take up to 24 hours. That is why a manicure that seems fine on the couch can still dent if you press it against a bag, blanket, or shoe later that night.
A practical rule:
- First hour: avoid anything that presses directly on the nails.
- First few hours: be careful with zippers, cans, heavy typing, and hair washing.
- First day: skip tight gloves, intense workouts, and other nail-bending activities, as OPI advises.
Common Mistakes That Slow Drying
Painting too thickly
This is the most common problem. Thick polish traps more solvent, takes longer to set, and dents more easily. If you need opacity, add another thin coat instead of loading the brush.
Overworking the polish
Going back over a section repeatedly can pull at the layer you already laid down. That creates ridges and slows drying. One or two deliberate passes are usually enough.
Using heat to “speed things up”
Heat is tempting because it feels like it should help. In practice, it can create bubbles or a soft, uneven top layer. Use cool air instead.
Assuming the shine means it is dry
Glossy polish can still be soft underneath. Surface shine is not a reliable sign that the manicure is cured.
Touching nails too soon
If you test the polish by pressing it with a fingertip, you can leave a permanent mark. If you need to check, use a very light touch on the side edge or wait longer.
Troubleshooting: If Your Polish Is Still Sticky, Bubbly, or Denting
If the manicure stays tacky for a long time, the most likely causes are thick coats, too little drying time between layers, or an older polish formula. The fix is usually not to add more product. Instead, let the nail rest longer and avoid touching it.
If you see bubbles, look at your drying method. Heat, strong airflow too close to the nail, or over-brushing can all disturb the surface. A cooler, gentler setup is safer.
If the polish dents easily hours later, the surface may be touch-dry but not fully set. That is normal with many regular formulas. Give it more time before putting on socks, gloves, or anything that presses on the nail tips.
If you are still struggling with drying, it may be worth checking whether your polish is old, too thick, or simply not the best formula for quick manicures. You can also read more about how nail dehydrator works on its own and how long nail dehydrator takes to dry if you are trying to improve the prep side of the routine.
Practical Examples for Real-Life Routines
If you need a manicure before work
Use thin coats, then finish with a quick-dry top coat. If you have time for one extra step, add cool air for a few minutes while you get dressed. That combination gives you a better chance of avoiding the “I thought it was dry” problem on the commute.
If you paint your nails at night
Your biggest risk is bedding and pressure from blankets. Keep the coats thin, use a quick-dry top coat, and avoid any nail-bending activity for the rest of the evening. Even if the manicure feels dry, resist the urge to tuck your hands under a pillow right away.
If you are choosing between a fan and a blow dryer
Pick the fan if you want the gentlest option. Pick the blow dryer only if it has a cool setting and you can keep it a few inches away. The fan is slower but lower-risk. The dryer is faster but easier to misuse.
How to Know When Your Manicure Is Fully Dry
A manicure is touch-dry when the surface no longer feels tacky and a very light touch does not leave a wet mark. It is fully cured when the polish has hardened enough that normal daily contact is much less likely to dent it.
Use these signs as a guide:
- The shine looks even, not wet.
- Light contact does not leave a mark.
- The nail edge does not feel soft when gently tapped.
- You can move around normally without worrying about every contact point.
In everyday terms, touch-dry means “I can stop worrying about accidentally smearing it with a light brush of my finger.” Fully cured means “I can use my hands more normally without the polish easily denting, printing, or flattening under pressure.” With regular polish, those two stages are not the same, and the gap between them can be hours.
Even then, treat the manicure carefully for the rest of the day. The first 24 hours are still the most vulnerable period.
When to Ask a Nail Technician
If your polish always stays sticky, bubbles no matter what you do, or dents hours later despite thin coats and careful drying, a nail technician can help you figure out whether the issue is the formula, the application, or the condition of the nail plate. That is especially useful if you are using several products and cannot tell which one is slowing the manicure down.
For most people, though, faster drying comes down to the same few habits: thinner coats, cooler airflow, and a little patience after the final layer. Once you build those into your routine, your manicure will dry faster and hold up better.
