
How Nail Polish Works: A Practical Guide to Faster, Smudge-Free Drying

If you’ve ever painted your nails, waited “long enough,” and still ended up with dents or sheet marks, the problem usually isn’t that polish is mysterious. It’s that most people are judging the wrong stage of drying.
As a licensed nail technician, I like to explain nail polish as a liquid coating that has to lose its solvents before it can become a smooth, solid-looking film. That sounds technical, but the practical takeaway is simple: polish can feel dry on top while still being soft underneath. Understanding that difference is what helps you avoid smudges and choose the fastest drying method for your routine.
What Nail Polish Actually Does on Your Nails
Regular nail polish starts as a spreadable liquid. Once you brush it onto the nail, the solvents begin to evaporate into the air, and the remaining ingredients form a film over the nail plate. That is why it dries in the air rather than under a lamp. ACS overview of gel and regular polish chemistry

That drying process is not instant. At first, the surface can seem set while the lower layers are still losing solvent. If you press too soon, the top may hold a fingerprint or the whole layer may dent. That’s why a manicure can look finished and still not be ready for normal use.
A useful way to think about it: polish “dries” in layers. The surface becomes tack-free first, then the film firms up more gradually. When people say a manicure is ruined because it “wasn’t dry,” they usually mean it was dry enough to look done, but not dry enough to resist pressure.
What’s in Nail Polish: The Ingredients That Make It Work
You do not need to memorize a chemistry chart to get better results, but knowing the ingredient roles makes the drying process easier to predict.
Solvents
Solvents are the liquids that keep polish brushable. They help the formula glide on smoothly and level out before it sets. As those solvents evaporate, the polish becomes thinner and harder.
This is why a thick coat dries so slowly: there is simply more solvent trapped in the film, so it takes longer to leave.
Film formers
Film formers are the ingredients that remain after the solvents leave and create the visible coating on the nail. They are what turn the liquid into a continuous layer instead of a puddle of color.
Pigments
Pigments give polish its color and opacity. More pigment usually means better coverage, but it can also change how the polish behaves on the nail. A highly opaque, heavily pigmented formula may need a little more care with thin application so it can dry evenly.
Plasticizers
Plasticizers help the dried film stay flexible instead of brittle. That flexibility matters because a manicure that dries too rigidly can chip or crack more easily.
In simple terms, the formula has to balance three jobs at once: spread smoothly, dry at a reasonable pace, and remain flexible enough to wear well.
What You Need Before You Start
If speed matters, set up for success before you open the bottle.
You’ll want:
- Nail polish
- Base coat
- Top coat, ideally a quick-dry one if you want faster results
- Drying drops, if you use them
- Cotton pads and remover for cleanup
- A clean, dry workspace
- Good lighting so you can see thin, even coverage
A clean prep area sounds basic, but it matters. Dust, lotion, and oily residue can interfere with how evenly polish lays down, which can leave you with ridges or patchy spots that tempt you to add a thicker second coat.
If you want a deeper breakdown of prep, this guide on nail dehydrator use helps explain why removing surface oils can improve polish performance.
How Nail Polish Dries: Evaporation, Surface Drying, and Full Hardening
Regular polish dries mainly by evaporation. The solvents leave first, and the coating becomes firmer as that happens. That is different from gel polish, which hardens through a light-triggered chemical reaction called polymerization. ACS notes that gel polish cures through light, while regular polish hardens after solvent evaporation. ACS explanation of gel polish curing
That difference matters because “dry” and “fully hardened” are not the same thing.
- Dry to the touch means the surface no longer feels wet.
- Fully hardened or fully set for wear means the film has hardened enough to resist dents, pressure, and friction.
For regular polish, the top may feel dry before the deeper layers are stable. That’s why a manicure can survive a light tap but still dent if you press a fingernail into it or snag it on fabric.
If you want a fuller timing breakdown, see how long nail polish takes to dry completely.
Step-by-Step: How to Apply Nail Polish So It Dries Faster
1) Prep the nail surface
Wash and dry your hands, then make sure the nail plate is free of lotion or oil. If your nails are especially slick, a dehydrating prep step can help polish grip better and level more evenly.
2) Apply a thin base coat
A base coat gives the color something smooth to sit on. It also helps keep the polish from staining the nail plate. A thin base coat dries faster than a thick one and gives you a better foundation for the color layer.
3) Load the brush lightly
Wipe excess polish off the brush before painting. Most drying problems begin with too much product on the brush. If the first coat looks streaky, resist the urge to “fix” it with a heavy second pass. Two thin coats dry faster and behave better than one thick coat.
4) Paint in thin layers
Apply the color in thin, even strokes. If your polish is sheer, plan on a second coat rather than trying to force opacity in one pass.
A practical rule: if the polish looks wet and glossy but also looks raised at the edges, it is probably too thick.
5) Wait long enough between coats
You do not need to wait forever, but you do need to let the previous layer lose some solvent before adding the next. If you rush, the lower layer gets trapped under the new one and the total drying time gets longer.
6) Seal with a top coat
A top coat helps smooth the surface and reduce the chance of accidental smudging. If speed is your priority, a quick-dry top coat is usually the most practical upgrade.
7) Protect the manicure while it sets
For the first part of drying, keep your hands as still as possible. Avoid reaching into pockets, making a fist, or doing anything that bends the nail tip. That small movement can create dents before the film has enough strength.
How to Make Nail Polish Dry Faster at Home
If you want the fastest result, use this order:
- Prep nails and remove oil.
- Apply a thin base coat.
- Paint two thin color coats instead of one thick one.
- Seal with a quick-dry top coat.
- Add drying drops after the final coat if you use them.
- Keep hands still while the manicure hardens.
That sequence matters because quick-dry products work by helping the polish lose solvent and form a stable film more quickly. Many quick-dry top coats and drying drops use faster-evaporating solvents and film-setting helpers, so the surface becomes safer to touch sooner. They speed the process, but they do not replace thin coats.
Choose a quick-dry top coat when time matters
A quick-dry top coat is one of the most reliable shortcuts for regular polish. It won’t make the entire manicure fully hardened instantly, but it can shorten the wait and reduce the chance of smudging.
This is the best option when you want a normal polish look but have limited time.
Use drying drops for the final layer
Drying drops are most useful after your final color coat and top coat, not between every layer. They can help the top layer set more quickly, but they are a finishing aid, not a cure-all.
Keep coats thin
This is the biggest speed lever you control. Thin coats dry faster because there is less solvent to evaporate. They also reduce wrinkling and bubbling.
If you need more opacity, add another thin coat rather than making the first one heavy.
Work in a ventilated, moderate room
Air movement helps solvent escape. A still, humid room slows that process. A well-ventilated space is usually better than a steamy bathroom or a closed room with no air exchange.
Don’t overdo the product
More top coat, more drying drops, and more layers are not always better. Extra product can flood the nail, extend drying time, or make the finish uneven.
For a more method-focused breakdown, this guide to drying nail polish faster is a useful next read.
Regular Polish vs Quick-Dry Polish: Which Works Better for You?
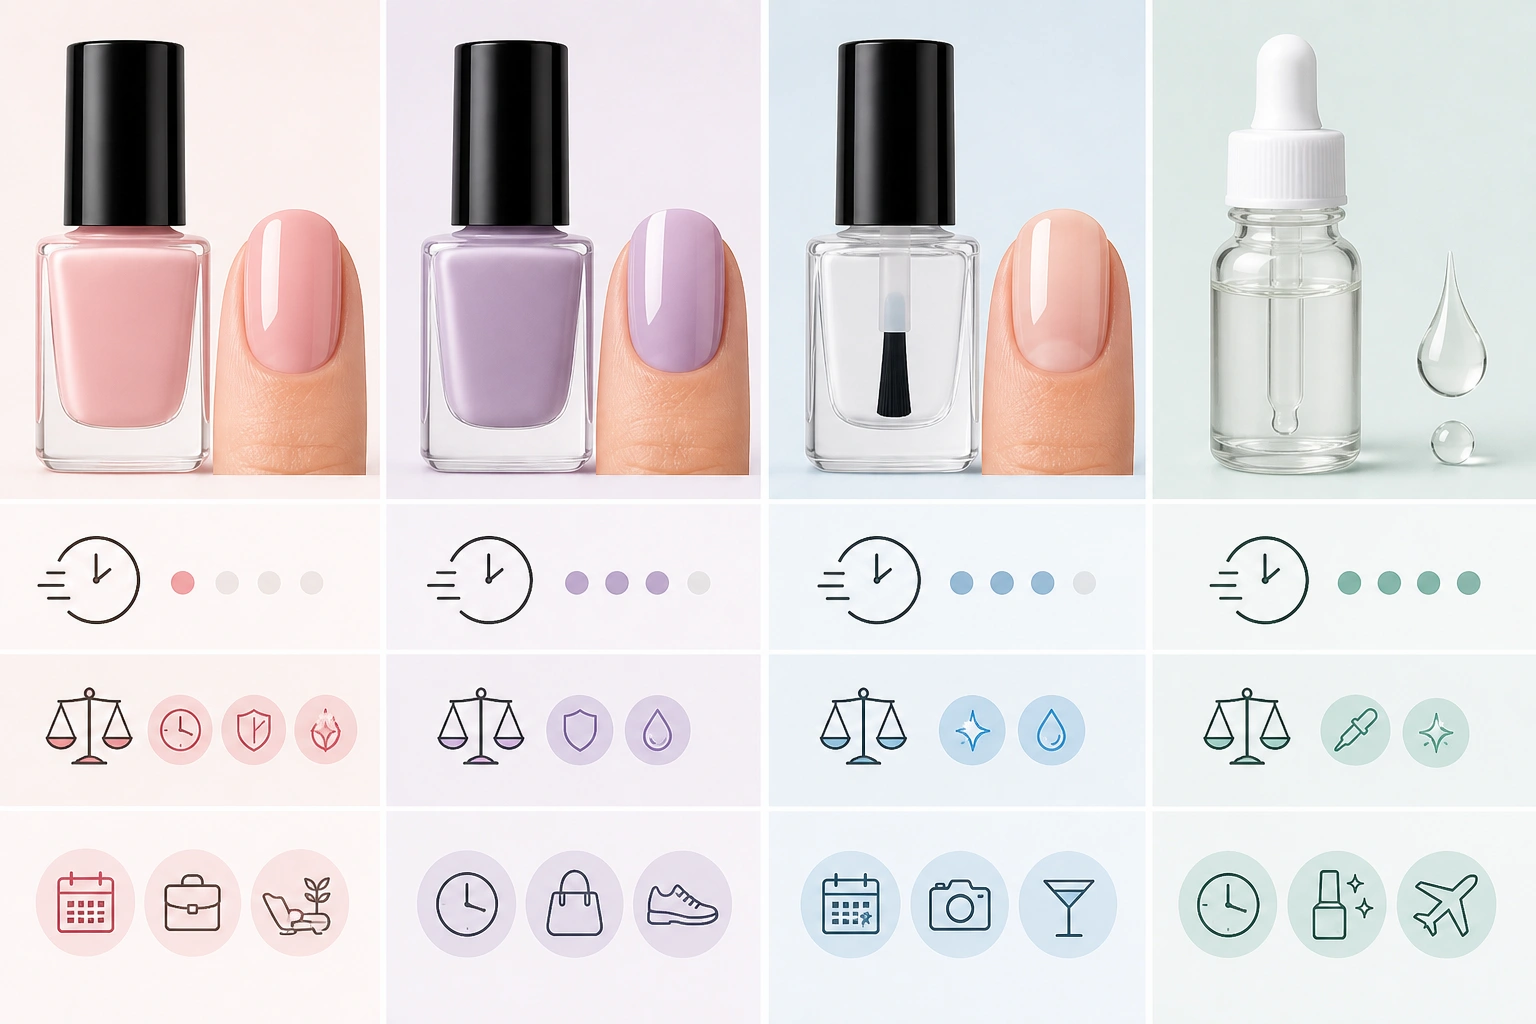
| Option | Drying Speed | Trade-Offs | Best For |
|---|---|---|---|
| Regular polish | Slowest of the four | Usually needs the most patience; finish depends heavily on application thickness | Flexible color choices and standard at-home manicures |
| Quick-dry polish | Faster than regular polish | May feel a little different in application or finish depending on formula | People who want a faster all-in-one option |
| Quick-dry top coat | Fast surface setting | Adds an extra layer; still needs careful handling underneath | Speeding up a regular manicure without changing color formula |
| Drying drops | Fastest for the final stage | Best as a finishing aid, not a cure-all | When you want to shorten the wait after the last coat |
If you mostly wear regular polish, a quick-dry top coat is the most practical upgrade. If you want the simplest routine with less waiting overall, a quick-dry polish may be worth buying instead.
What Slows Drying Time and Causes Smudges
Thick coats
This is the most common cause of slow drying. Thick coats trap more solvent, stay soft longer, and are easier to dent.
Too many layers
Every layer adds drying time. If you stack multiple thick coats, the lower layers may still be soft when the top looks finished.
Humidity
Moist air slows evaporation. That is why a manicure can feel slower to set on a rainy day or in a bathroom after a shower.
Touching the nails too soon
A polish surface can look dry and still be vulnerable to pressure. If you press a nail against fabric, hair, or a phone case too early, you can leave marks even if the manicure seemed ready.
Relying on myths
Cold water and fans can be mildly helpful in some situations because they may support evaporation or help the surface stop feeling tacky a little sooner. But they are not universal fixes, and they work best only when the polish is already applied in thin layers. Other home tricks are mostly myths and should not replace proper drying time.
Troubleshooting: Why Your Polish Stays Soft, Wrinkles, or Dents
If the polish wrinkles
Wrinkling usually means the top dried faster than the layer underneath. That often happens when the coat is too thick or when a second coat went on before the first one had set enough.
Fix: Use thinner coats and give each layer a little more time before adding the next.
If the polish dents easily
That means the manicure is dry on the surface but not hard enough underneath.
Fix: Add a quick-dry top coat next time, and leave more time before bed, showers, or chores.
If the finish looks uneven
Uneven drying often comes from inconsistent coat thickness or too much brush pressure in one area.
Fix: Load the brush lightly and use smoother, more even strokes.
If the manicure smudges overnight
The problem is usually timing, not the formula alone. Even a decent polish can smudge if you go to sleep before it has had enough time to set.
Fix: Finish earlier in the evening or use a quicker-drying top coat and thinner layers.
Practical Examples: What This Looks Like in Real Life
A two-coat manicure can feel dry after 10 minutes and still dent when you press a fingernail into it after 30 minutes. That is normal for many regular formulas. The top may feel dry, but the film is still hardening underneath.
Now compare that to a thick single coat. It may look like you saved time, but in practice it often takes longer to become usable because the trapped solvent has farther to travel.
In a humid room, even a well-applied manicure can feel sluggish. Move to a drier, better-ventilated space, and the same polish may set more predictably.
If you use a regular color plus a quick-dry top coat, the manicure usually becomes safer to handle sooner than air-drying alone. That is the kind of shortcut that makes sense because it supports the drying process instead of fighting it.
If you want a side-by-side speed comparison, this article on the best way to dry nail polish quickly is worth a look.
Safety and Best Practices
Use nail products in a well-ventilated area, since many formulas contain solvents with strong fumes. Keep them away from heat, sparks, and open flames because those solvents can be flammable.
If you use acetone-based drying aids or cleanup products, be mindful of your skin. Acetone can be drying around the nails and fingertips, especially with frequent use. That doesn’t mean you should avoid it entirely; it means you should use it with purpose and not overapply it.
For readers who want to understand ingredient concerns more broadly, the FDA’s cosmetic guidance is a useful reference point for general safety and labeling context: FDA cosmetics information.
When to Ask a Nail Technician
If your polish consistently wrinkles, peels, or never seems to harden properly even when you apply thin coats, a nail technician can help you figure out whether the issue is the formula, the application, or the condition of the nail surface.
That is especially useful if you notice repeated problems with the same brand or if your manicure seems to chip unusually fast despite careful application.
FAQ
How does nail polish work in simple terms?
It goes on as a liquid, then the solvents evaporate and leave behind a colored film on the nail. That film becomes harder as it dries.
Why does polish feel dry but still smudge?
Because the surface can dry before the layers underneath have fully firmed up. It may be tack-free but not pressure-resistant yet.
Does a top coat help nail polish dry faster?
A quick-dry top coat usually helps the surface set faster and can reduce the chance of smudging. It does not make the entire manicure fully hardened instantly.
Is quick-dry polish better than regular polish?
If speed matters most, quick-dry polish is often easier. If you already own regular polish, a quick-dry top coat may be the better upgrade because it changes less of your routine.
Do thin coats really make that much difference?
Yes. Thin coats dry faster because they contain less solvent and trap less moisture in the film. They also reduce wrinkling and uneven texture.
Why does humidity slow drying?
Moist air makes solvent evaporation less efficient. That is why polish often seems slower to set in steamy or damp rooms.
Can I use a fan to dry nail polish?
A fan can help air move around the nails, which may support evaporation. It is mildly helpful, but it is not a guarantee against smudges, and it works best when the polish is already applied in thin layers.
How long should I wait before using my hands normally?
Wait until the polish is more than just dry to the touch. If the manicure still dents under light pressure, give it more time before heavy use.
What’s the biggest mistake people make?
Applying coats too thickly. That one habit slows drying, increases smudging, and makes the finish look less smooth.
Are gel and regular polish dry the same way?
No. Regular polish dries mainly by solvent evaporation, while gel polish cures through a light-triggered chemical reaction. That is why their drying routines are different.

