
Does Gel Nail Polish Air Dry? A Beginner’s Guide to Curing Gel the Right Way

If you’re wondering whether gel nail polish air dries, the short answer is usually no. Most true gel polish needs a UV or LED lamp to cure properly. It may feel dry on the surface for a moment, but that is not the same as being fully set.
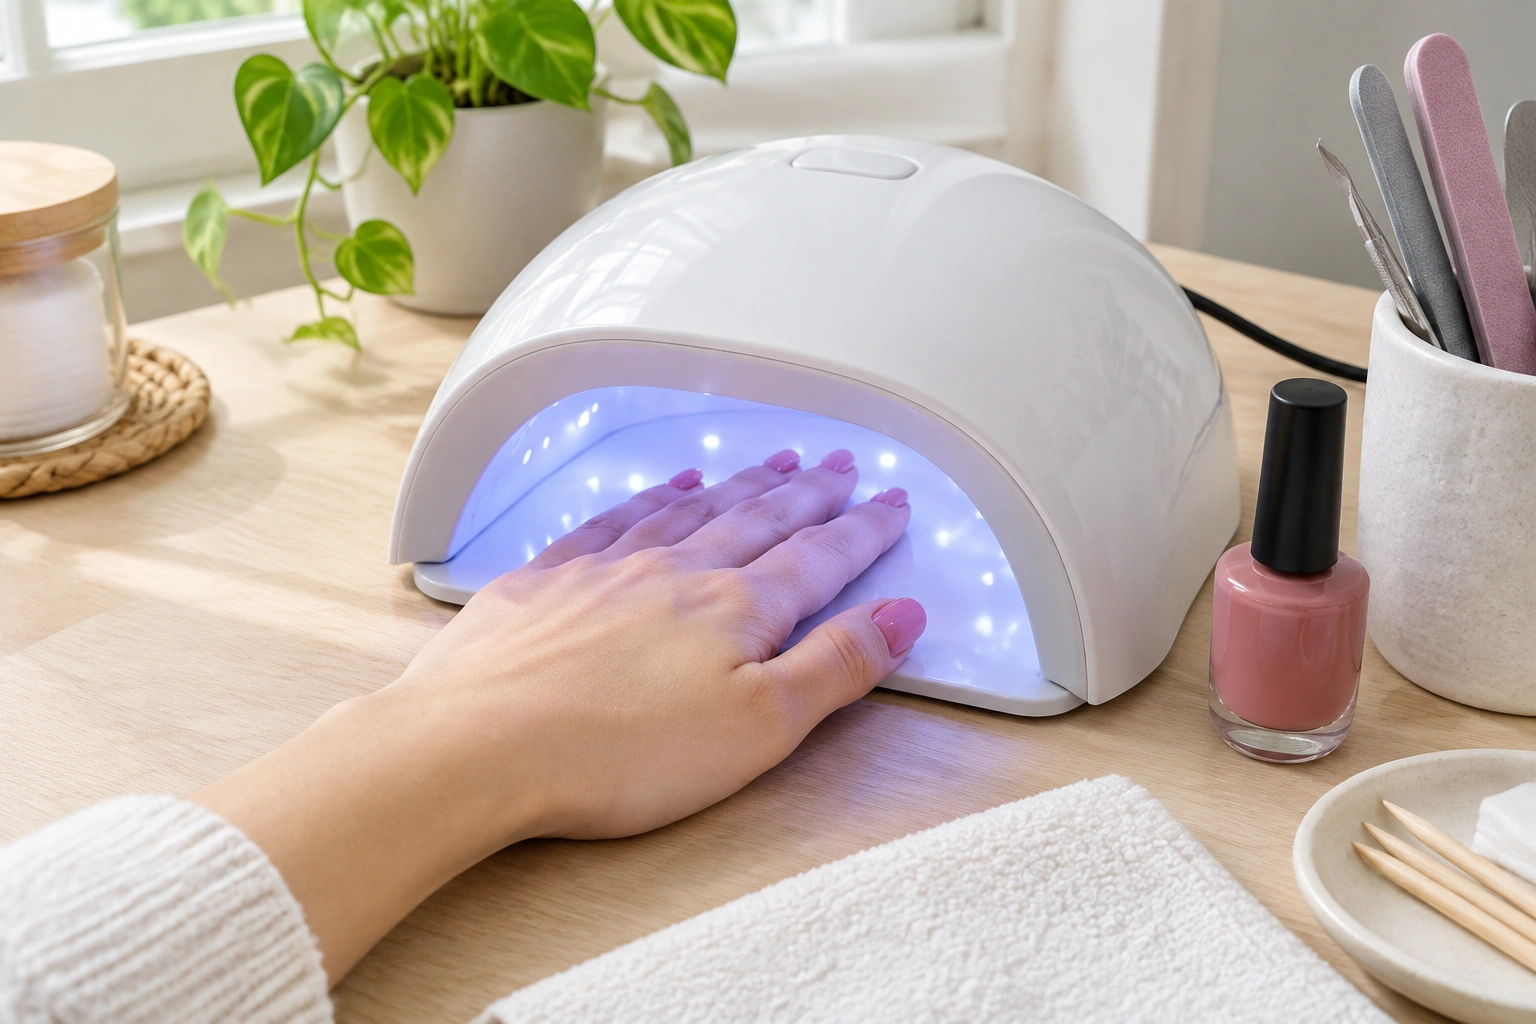
That difference matters. If gel polish is left to “dry” in open air like regular polish, it can stay tacky, smudge easily, or wear poorly. For a beginner, the safest approach is simple: check the label, use the right lamp, and follow the product’s instructions exactly.
Quick Answer: Does Gel Nail Polish Air Dry?
Traditional gel nail polish does not air dry the way regular nail polish does. It is designed to harden, or cure, under light.
That means if you apply true gel color and just wait for it to sit in the air, it usually will not finish setting correctly. The manicure might look fine at first glance, but it can still be soft underneath. That is why gel systems are paired with a lamp.
If you want the faster, longer-wear finish gel is known for, curing is part of the process. If you want a simpler manicure without a lamp, regular polish or a true no-lamp product is the better fit. For a broader look at drying basics, see our guides on how nail polish dries and how long nail polish takes to dry.
Drying vs. Curing: The Simple Difference
Drying and curing are not the same thing, and that is where a lot of beginner confusion starts.
Regular nail polish dries as solvents evaporate into the air. As the liquid leaves, the polish gets harder over time.
Gel polish works differently. It is made to cure under a compatible lamp, which triggers the product to harden. So even if the top of the polish feels less sticky after a minute, the layer underneath may still be uncured.
A simple way to remember it:
- Drying = polish sets by air exposure
- Curing = polish hardens through light
That is why a gel manicure can seem “dry” before it is actually ready.
How Gel Polish Actually Sets
Gel polish is built for a lamp-cured system. After you apply a thin coat, the UV or LED light helps the polish harden into a durable finish.
This is also why the instructions matter so much. A gel formula may be made for LED curing, UV curing, or both. Follow the specific brand’s directions rather than assuming every lamp will work the same way.
The key beginner mistake is assuming that “not sticky anymore” means finished. Gel can feel surface-dry while still being soft underneath. That hidden softness is what leads to smudges and weak wear later.
For a practical comparison, think of regular polish as something that slowly dries in open air, while gel polish is something that needs a lamp to lock in its finish.

What Happens If Gel Polish Is Left to Air Dry?
If true gel polish is left to air dry, the manicure usually does not fully set.
Here is what can happen:
- the surface may stay tacky
- the color can smudge when touched
- the finish may look uneven
- the manicure may peel or lift sooner
- the polish can feel soft even after waiting a long time
This is especially frustrating for beginners because the nails may look “done” before they are actually ready. You might finish painting, wait, and then ruin the manicure by reaching for your phone or keys too soon.
That is why gel polish is not a good product to treat like regular polish. It needs the right curing step to do its job.
Do You Need a UV Lamp or an LED Lamp?
Usually, yes — but the correct lamp depends on the product.
Some gel polishes are made for UV lamps, some for LED lamps, and some work with both. The bottle or box should tell you what to use. Do not guess based on the word “gel” alone.
A few simple buying rules help here:
- If the label says cure under LED, use an LED lamp.
- If it says cure under UV, use a UV lamp.
- If it says cure under both, either lamp may work if the product confirms it.
- If the instructions do not mention a lamp, the product may not be true gel polish.
If you are choosing between lamp types, the product instructions should make the decision for you. The lamp is not just an accessory; it is part of the system.
For general consumer safety guidance around UV exposure, it is worth checking a public health source such as the U.S. Food and Drug Administration and following the product’s directions rather than improvising.
How Long Does Gel Polish Take to Cure?
Cure times vary by brand, formula, and lamp, so the bottle instructions should always override any general estimate. That said, many gel systems cure in roughly 30 to 60 seconds under LED light and around 1 to 2 minutes under UV light, but some formulas need longer or shorter times. Always cure each layer for the exact time listed by the manufacturer.
Gel Polish vs. Gel-Effect or No-Lamp Polish
Not every product with “gel” on the label is true lamp-cured gel polish.
Some products are marketed as:
- gel-effect polish
- gel-like polish
- no-lamp gel polish
- gel finish polish
These can be confusing because the names sound similar. In many cases, they are closer to regular nail polish with a shinier or thicker-looking finish. Those products may air dry like normal polish.
Here is the simple difference:
| Product type | Does it air dry? | Needs a lamp? | Typical wear |
|---|---|---|---|
| True gel polish | No | Yes | Longer-lasting |
| Regular nail polish | Yes | No | Shorter wear |
| Gel-effect / gel-like polish | Often yes | Usually no | Varies by formula |
| No-lamp “gel” product | Sometimes yes | No | Check label carefully |
This is where packaging can be misleading. A bottle may say “gel” in large letters, but the directions tell the real story. Always read the application steps before buying or using it.
How to Tell Whether a Product Needs Curing
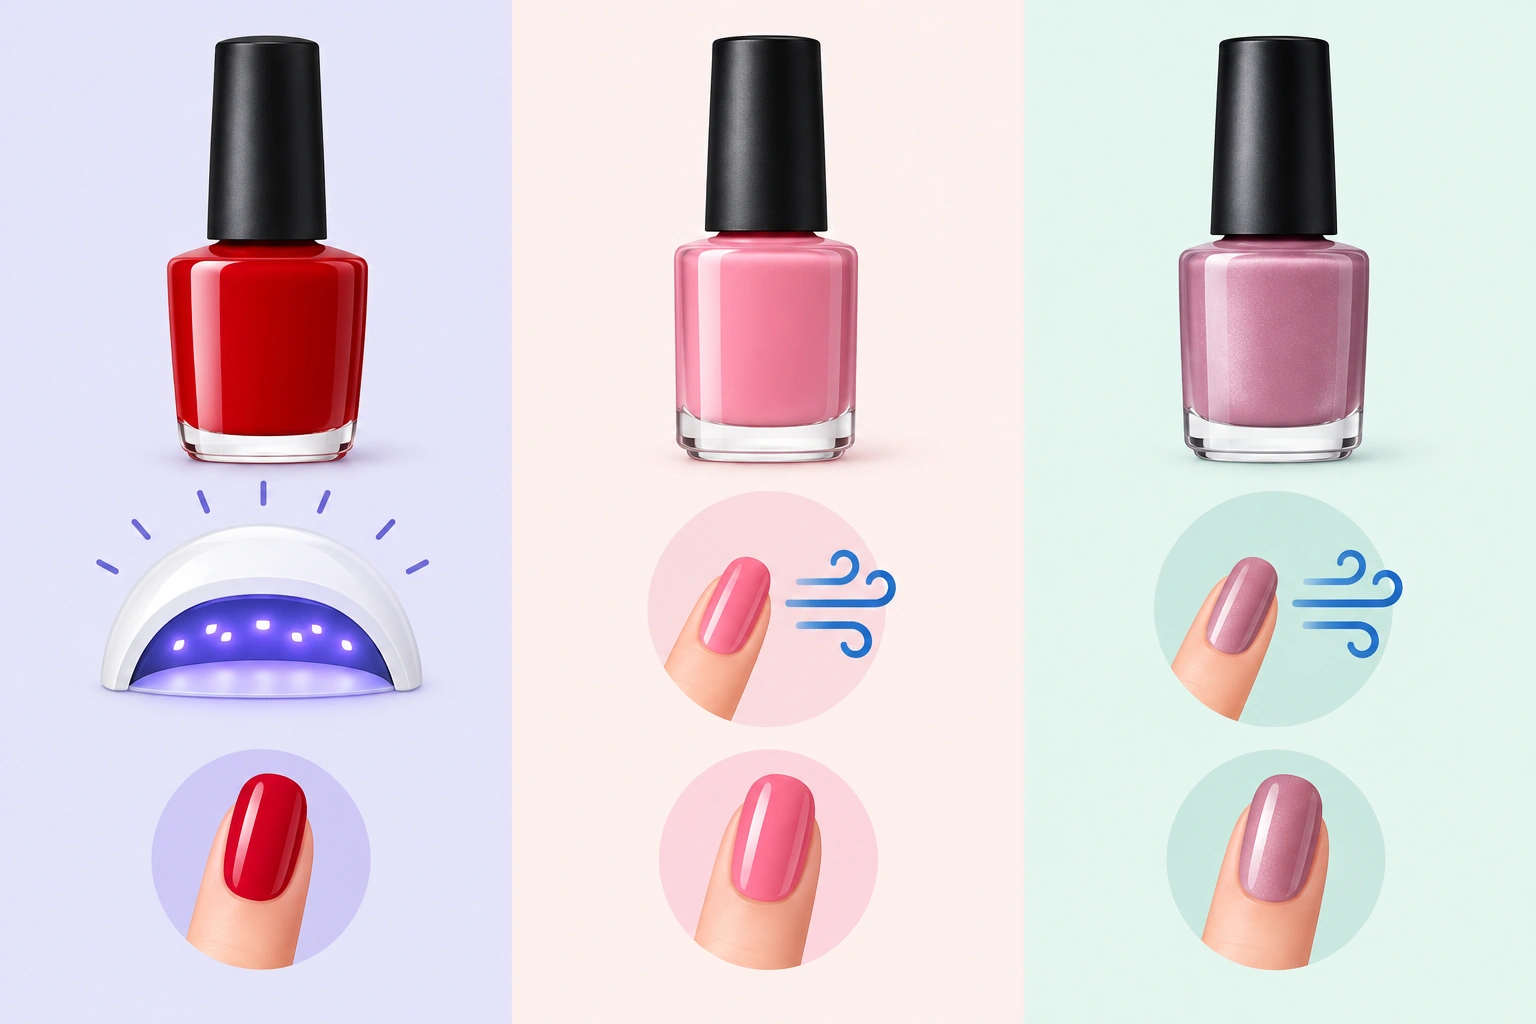
The easiest rule is this: the instructions tell you whether it is true gel polish.
Check for these clues on the bottle, box, or product page:
- mentions of UV lamp, LED lamp, or cure
- step-by-step instructions that include lamp curing
- a base coat and top coat made for a gel system
- warnings about curing time or lamp compatibility
If the product only says to apply and let it dry, it is probably not a traditional gel system.
A beginner-friendly shortcut: if the directions never mention a lamp, assume it is not true gel until you verify otherwise. That one habit can save you from a sticky, undercured manicure.
Basic At-Home Steps for Using Gel Polish Correctly
A simple gel manicure usually follows this order:
- Prep the nails.
- Apply a gel base coat in a thin layer.
- Cure it under the recommended lamp for the exact time listed by the manufacturer.
- Apply a thin coat of gel color.
- Cure again for the manufacturer’s listed time.
- Repeat for a second color coat if needed.
- Finish with a gel top coat.
- Cure the top coat as directed.
The biggest beginner tip is to keep each layer thin. Thick coats can look fine at first, but they are harder to cure properly. A thin coat gives the light a better chance to reach the whole layer.
Also, avoid getting product on the skin around the nail edges, since that can lead to lifting and a messier finish. Do not swap in a regular base coat or top coat unless the product instructions say it is compatible. Gel systems are designed to work together, and the base coat, color, and top coat should usually come from the same system unless the brand says otherwise.
If you are still learning the basics of manicure timing, our article on how long nail polish takes to dry completely can help you compare regular polish timing with gel curing.
Common Mistakes That Keep Gel Polish from Setting Properly
Most gel problems come from a few simple errors.
Applying coats too thickly
A thick layer can cure on top but stay soft underneath. That leads to dents, peeling, or lifting.
Using the wrong lamp
A product made for LED may not cure correctly under a UV-only setup, and vice versa. The lamp has to match the formula and the brand’s instructions.
Mixing systems
A regular top coat over gel color, or a random base coat under gel polish, can change how the manicure wears. The result may be shorter wear or a finish that does not hold up.
Skipping the cure step
Even one skipped cure can affect the whole manicure. If the base coat is not cured, the color may not adhere properly. If the top coat is not cured, the manicure may stay tacky or smudge.
Touching the nails too soon
Gel polish can look finished before it is fully cured. If you use your hands right away, you may leave marks or dents.
A little patience here makes a big difference. Gel polish rewards careful application more than regular polish does.
When Gel-Style Products May Air Dry Instead
There is one important exception: a product labeled “gel” may actually be a gel-effect or gel-like polish that air dries.
In that case, the word “gel” is describing the look, not the curing method. These products are often meant to give a shinier, fuller finish without a lamp.
That can be a smart choice if:
- you do not own a lamp
- you want a simpler at-home manicure
- you prefer an easier application process
The trade-off is durability. Gel-effect polish may be easier to use, but it usually does not match the wear of true lamp-cured gel.
If you want a faster-drying non-gel option, our guide to quick-dry nail polish may also help you compare your choices.
Simple Takeaway for Choosing the Right Product at Home
If you want a long-wear manicure and you are using true gel polish, plan on curing it under the lamp the product recommends. Do not expect it to air dry on its own.
If you want something easier, look for regular polish or a clearly labeled no-lamp gel-effect product. Those are better for beginners who do not want to buy a lamp yet.
A good final check before you start is this:
- Does the label mention curing?
- Does it name a UV or LED lamp?
- Are the base and top coat part of the same system?
If the answer is yes, treat it like a real gel system. If not, it may be a regular or gel-style polish that air dries instead.
For beginners, that one distinction clears up most of the confusion: true gel polish does not air dry; it cures.
When to See a Nail Technician or Dermatologist
If you are unsure whether a product is compatible with your lamp, or your manicure keeps peeling even when you follow the directions, a nail technician can help you identify the problem.
If you notice unusual nail or skin reactions after using nail products, stop using them and speak with a dermatologist. Product instructions and ingredient labels matter, but they do not replace professional advice when something seems off.

