
How to Apply Nail Polish Correctly: A Beginner-Friendly Step-by-Step Guide

If you’re learning to do your own nails, the process gets much easier once you understand the order and the reason behind each step. Good polish application is not about being fast. It’s about clean prep, thin coats, and a little patience between layers.
The goal is simple: a smooth color coat, neat edges, and a manicure that lasts as long as your nails will allow. This guide walks through the basics beginners need at home, using practical steps you can follow without overcomplicating the process.
What You Need Before You Start
Gathering your tools first saves a lot of mid-manicure scrambling. You do not need a huge kit to begin.
A simple beginner setup includes:
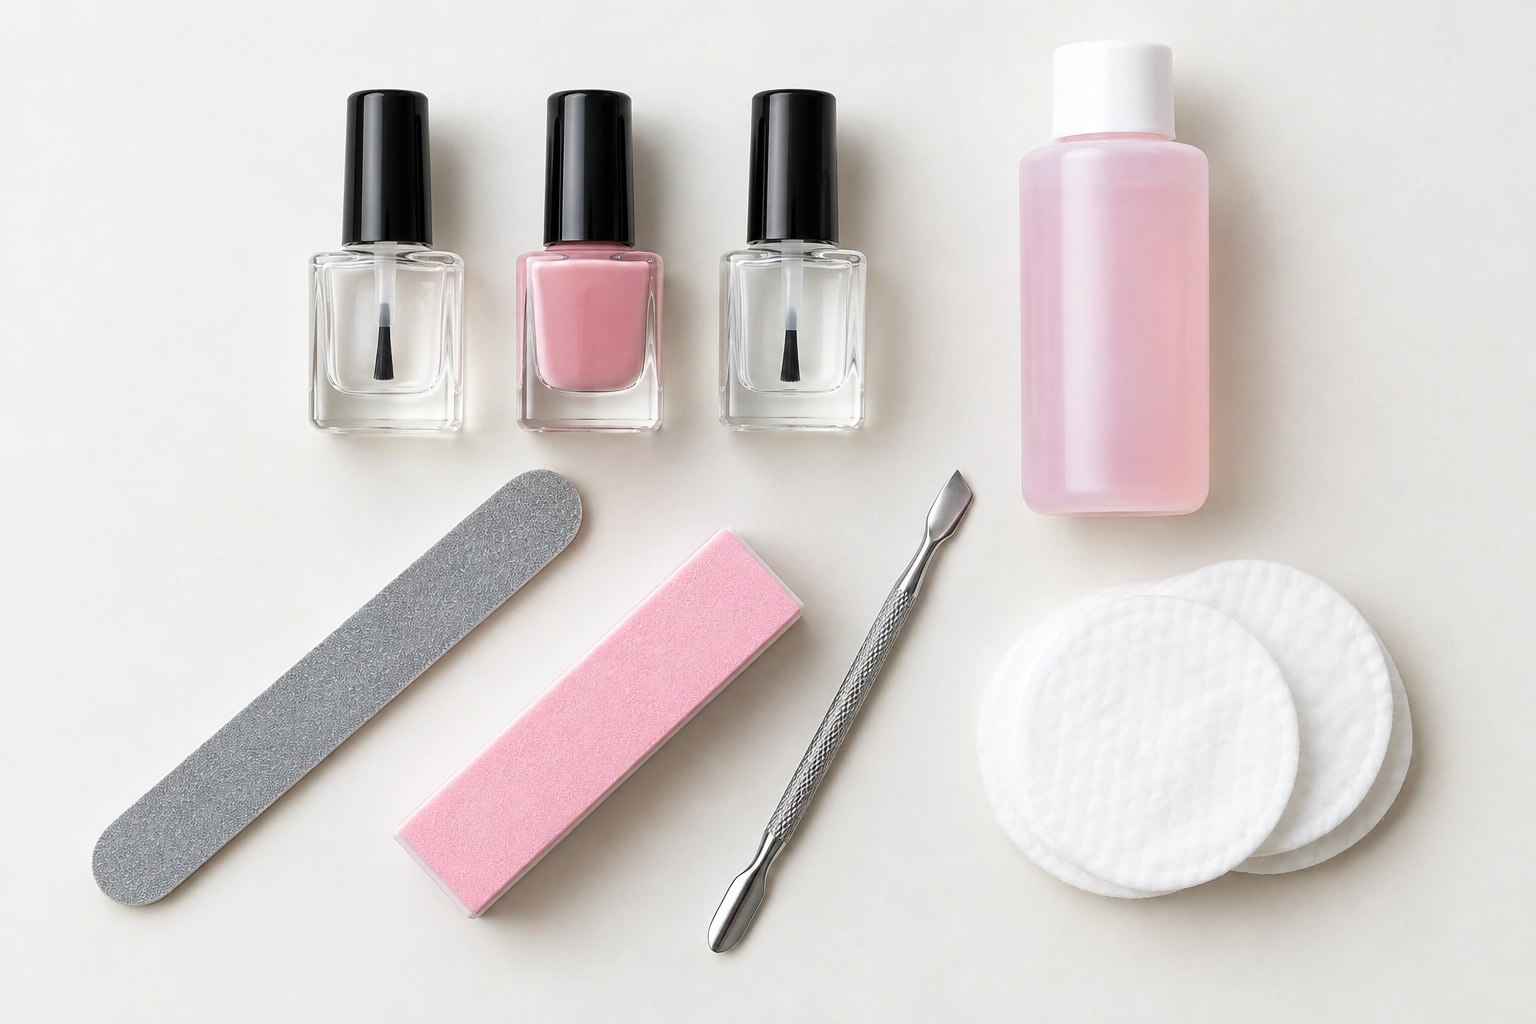
- Nail polish remover
- Cotton pads or cotton swabs
- Nail file
- Buffer
- Cuticle pusher or orangewood stick
- Hand soap and a towel
- Base coat
- Nail polish color
- Top coat
- A small cleanup brush or angled cotton swab
- Optional: quick-dry drops or spray, depending on the product instructions
If you’re choosing between products, focus on basic formulas that are easy to control. For beginners, a regular polish with a base coat and top coat is often the easiest place to start because it gives you enough working time to correct the stroke before it sets. Look for a formula that is smooth, not overly thick, and not ultra-fast-setting, since those are usually easier to apply without streaks. If you want to understand the difference between polish types, Nail Prime has a helpful guide on nail polish vs. nail lacquer.
Prep Your Nails for Better Polish Grip
Preparation matters because polish sticks better to a clean, dry nail surface. Oils, lotion, and leftover remover can make the color slide around or chip sooner.
Here’s the beginner-safe prep order:
1. Wash and dry your hands
Use soap and water, then dry thoroughly. Any moisture left around the nails can interfere with polish adhesion.
2. Shape the nails
Use a nail file to smooth the edges and make the shape even. File in one direction if you can, especially if your nails tend to split or peel.
3. Lightly buff the surface
A gentle buff can smooth ridges and help the polish lay more evenly. Keep this light. You’re not trying to thin the nail plate; you’re just removing shine.
4. Care for the cuticle area
Gently push back the cuticles if needed. Do not cut or scrape aggressively. Clean edges help polish sit on the nail instead of creeping into the skin.
5. Remove dust and oil
After filing and buffing, wipe the nails clean. If you have remover on hand, a quick swipe can help remove surface oils before base coat.
This prep routine is simple, but it makes the rest of the manicure easier to control.
Choose the Right Polish and Coats
For beginners, the order is usually: base coat, color polish, then top coat. Each layer does a different job.
Base coat vs. top coat
A base coat sits under your color. It helps create a smoother surface and can reduce staining from darker shades. A top coat goes over the color and adds shine while helping protect the finish.
If you want to understand why polish sometimes stays sticky or tacky after drying, this Nail Prime article on why nail polish stays tacky after drying is a useful companion read.
Thin coats vs. thick coats
Thin coats are easier to control, dry more evenly, and usually look smoother. Thick coats can seem faster at first, but they often streak, bubble, or dent more easily.
A beginner-friendly rule: if the polish looks heavy or gloopy on the nail, the coat is probably too thick.
Quick-dry polish vs. regular polish
Quick-dry formulas can save time, which is helpful if you struggle with smudges. Regular polish may give you more time to correct the application before it sets. If drying time is your biggest frustration, Nail Prime also has practical advice on how to make sticky nail polish dry.
Apply Nail Polish Correctly, Step by Step
This is the part most beginners want to get right. The good news: you do not need fancy technique. You just need a steady order and light pressure.
Step 1: Apply base coat
Paint a thin layer from just above the cuticle to the tip. Try to keep it even and smooth. Let it dry until it looks glossy but not wet, and it no longer feels tacky when you lightly touch the edge of the nail. If your finger leaves a mark or the polish drags, wait longer before adding color.
Step 2: Load the brush lightly
Wipe one side of the brush against the bottle neck so you’re not carrying too much polish. Too much product is one of the main reasons polish floods the cuticles.
Step 3: Place the brush near the cuticle, not on it
Set the brush a little above the cuticle line, then gently push the polish toward the base without touching skin. Pull the brush straight toward the tip in one controlled stroke, then repeat on each side of the nail.
A simple three-stroke pattern works well for many beginners:
– One stroke down the center
– One stroke on each side
– A light pass to smooth the surface if needed
Step 4: Keep the coats thin
The first coat may look sheer. That is normal. Let it dry until the surface looks uniformly matte or at least no longer wet and streaky, then apply a second thin coat. Some colors need a third coat for even coverage, but many beginner-friendly shades look best with two. If the polish still looks shiny-wet or dents when you tap it lightly, it is not ready yet.
Step 5: Seal the free edge
Run a tiny bit of polish across the tip of the nail. This is often called capping the free edge. It can help reduce tip wear and chipping.
Step 6: Finish with top coat
Once the color layer is dry enough to touch without dragging, apply a thin top coat. Cover the whole nail and lightly seal the tip again.
If you want a deeper dive into drying problems, Nail Prime’s guide on how to dry nail polish that won’t dry can help troubleshoot common issues.
How to Keep Polish Off Your Skin and Cuticles
Getting polish on the skin is common when you’re starting out. The trick is to prevent flooding before it happens, then clean up gently if it does.
Use less polish on the brush
A brush loaded with too much product spreads too quickly. If the first stroke looks thick and shiny, wipe a little more polish off before painting the nail.
Leave a tiny margin near the skin
You do not need to paint all the way into the cuticle. A narrow gap near the skin makes the manicure look cleaner and gives you room to avoid flooding. Also avoid flooding the sidewalls; if polish is pushed too far into the edges of the nail, it can smear onto the skin and make cleanup harder.
Clean up mistakes while the polish is still wet
If polish touches the cuticle or sidewalls, stop and correct it right away before it starts to set. Dip a small angled brush or cotton swab lightly in remover, then wipe the excess off the skin first. If a little polish has spread onto the nail edge, drag the brush along the outside of the polish line to pull it back into shape. Use a light touch and work from the skin outward so you do not smear wet polish across the nail.
Don’t wait too long to fix it
Once polish starts to set, touching it repeatedly can create ridges or patchy spots. Clean up early, then leave it alone.
Drying Tips That Help Prevent Smudges
Drying is where many good manicures get ruined. Even when the surface feels dry, the layers underneath may still be soft.
A few habits help:
- Keep coats thin so they set more evenly
- Wait between coats until the surface no longer looks wet or tacky and a light touch does not leave a mark
- Avoid heavy hand use right after finishing
- Skip hot water, tight gloves, or anything that can dent the polish too soon
- Use quick-dry products only as directed by the manufacturer
A useful beginner check is this: if the polish still looks glossy-wet or feels soft enough to dent, it needs more time before the next layer.
How to Make Your Manicure Last Longer
A few small choices can make a noticeable difference in wear time on natural nails.
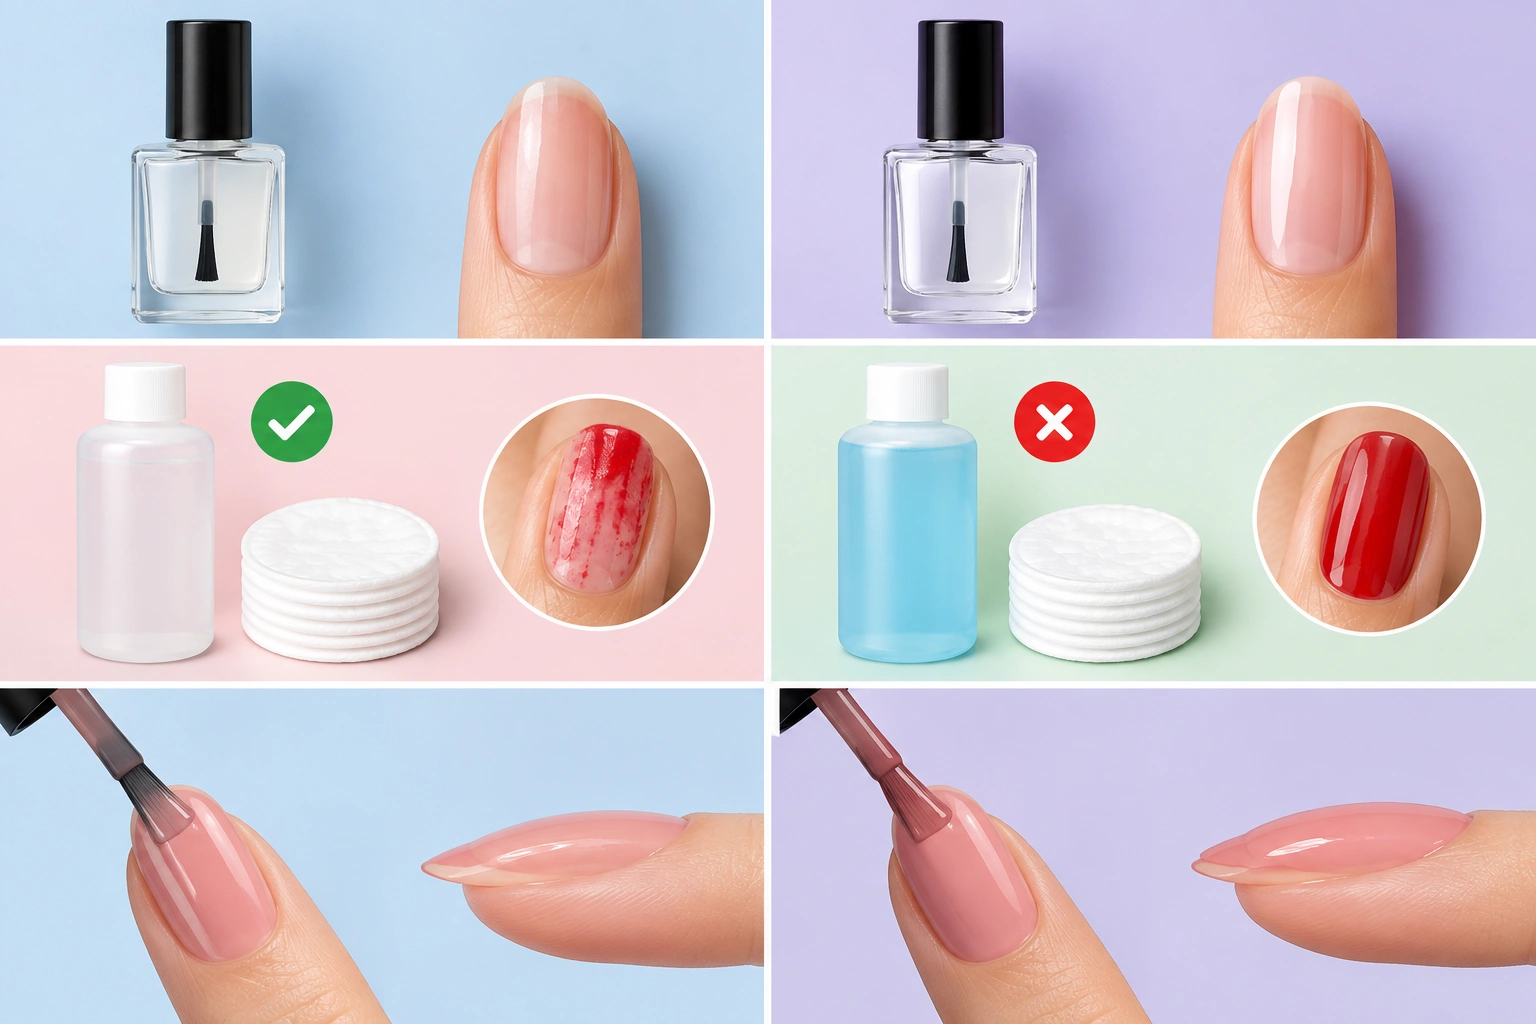
Remove oils before you start
Natural oils and hand lotion can make polish slip. Try not to apply lotion right before painting, and wipe the nail surface clean before the base coat.
Use base coat and top coat
Skipping either one may save time, but it usually shortens wear. Base coat supports adhesion; top coat protects the finish.
Cap the free edge
That little swipe across the tip helps protect the edge where chips often begin.
Avoid soaking your hands right after polishing
Long exposure to water can soften the polish before it has fully settled. If possible, give the manicure a little quiet time before washing dishes or taking a long bath.
Keep the layers thin
Thin layers tend to wear more evenly than thick ones, which can chip or peel sooner.
Common Mistakes and Easy Fixes
Most beginner problems are fixable without starting over.
Streaks
Streaks usually mean the coat was too thin in some places and too thick in others. The fix is simple: let it dry, then add another thin coat with even pressure.
Bubbles
Bubbles can happen when polish is applied too thickly or when the nail is worked over too many times. If you see bubbles forming, stop brushing over that area and let it dry. The next coat should be thinner.
Messy edges
If polish gets on the skin, clean it while wet with a remover-dipped swab or small brush. If it’s already dry, carefully tidy the edge with remover on a cotton swab, but avoid scrubbing the whole nail.
Dents and smudges
This usually means the polish needed more drying time. If a dent is small, sometimes a top coat can help smooth the surface later. If the mark is deep, you may need to gently level the area and recoat.
Comparison Table: Beginner Choices Made Simple
| Choice | Best for | Trade-off |
|---|---|---|
| Base coat | Better adhesion and less staining | Adds one more step |
| Top coat | Shine and a more protected finish | Needs a little extra drying time |
| Acetone remover | Faster, stronger removal | Can feel more drying on skin |
| Non-acetone remover | Gentler feel for frequent use | May take longer to remove polish |
| Thin coats | Smoother look and better control | May need an extra coat |
| Thick coats | Faster-looking coverage | More likely to streak, bubble, or smudge |
How to Remove Nail Polish Safely
When it’s time to take polish off, gentle removal is better than scraping.
Use the right remover
Acetone is usually the better choice for glitter polish, multiple layers, or long-wear formulas because it removes polish more efficiently. Non-acetone remover is often a better fit for regular polish if you want a gentler option for your skin and nails. If your nails and cuticles are already dry, non-acetone may feel more comfortable for routine use.
Soak, then wipe
Put remover on a cotton pad, press it against the nail for a moment, then wipe away the polish. If needed, repeat rather than rubbing hard.
Avoid scraping
Do not peel or pick at polish. That can rough up the nail surface and leave the nail looking uneven.
Moisturize after removal
After the polish is off, wash your hands, dry them well, and apply hand cream or cuticle oil if you use it. This helps counter the drying effect of remover, especially if you used acetone.
For readers who want a deeper look at removal and drying issues, Nail Prime’s guide on how to fix nail polish that won’t dry is also useful.
Nail Care After Removal
After polish comes off, your nails and skin usually appreciate a little reset.
- Wash away remover residue
- Dry your hands well
- Apply hand cream or cuticle oil if you use them
- Give nails a short break if they feel dry or rough
- Lightly file any rough edges before your next manicure
If your nails feel soft after removal, keep the next prep gentle. A calm routine usually works better than trying to “fix” everything at once.
When to See a Nail Technician or Dermatologist
Most polish issues are simple home-care problems, but some situations deserve professional attention. If your nails are painful, changing shape, lifting, or showing signs of irritation after product use, it’s a good idea to speak with a nail technician or dermatologist. That way, you can rule out a product issue or a nail concern that needs a closer look.
FAQ
How many coats of nail polish should I use?
Most beginners do well with two thin coats of color.
Do I really need a base coat and top coat?
If you want better wear and a cleaner finish, yes.
How long should I wait between coats?
Wait until the layer looks dry enough not to drag when touched lightly.
Why does my polish streak?
Streaks usually come from uneven application or coats that are too thick or too thin in spots.
What’s the easiest way to clean up polish on my skin?
Use a small brush or cotton swab dipped in remover and tidy the edge while the polish is still wet.
Is acetone or non-acetone remover better?
Acetone is usually faster for tougher polish; non-acetone is often gentler for regular use.
Why does my manicure chip so fast?
Common causes include skipped prep, thick coats, no top coat, or not sealing the tip of the nail.
Can I speed up drying with extra heat or fans?
Use only the drying method recommended by your product.
How do I know if I applied too much polish?
If the coat looks heavy, pools near the cuticle, or takes a long time to set, there’s probably too much on the brush.
What should I do if I smudge a nail?
If it’s still wet, smooth it gently and recoat if needed.

