
How Long Does Gel Nail Polish Take to Dry? A Beginner’s Guide

If you’re new to gel manicures, the short answer is this: gel nail polish does not dry the same way regular polish does. It usually needs a UV or LED lamp to cure, and the exact time depends on the polish brand, the lamp, and how thick each coat is.
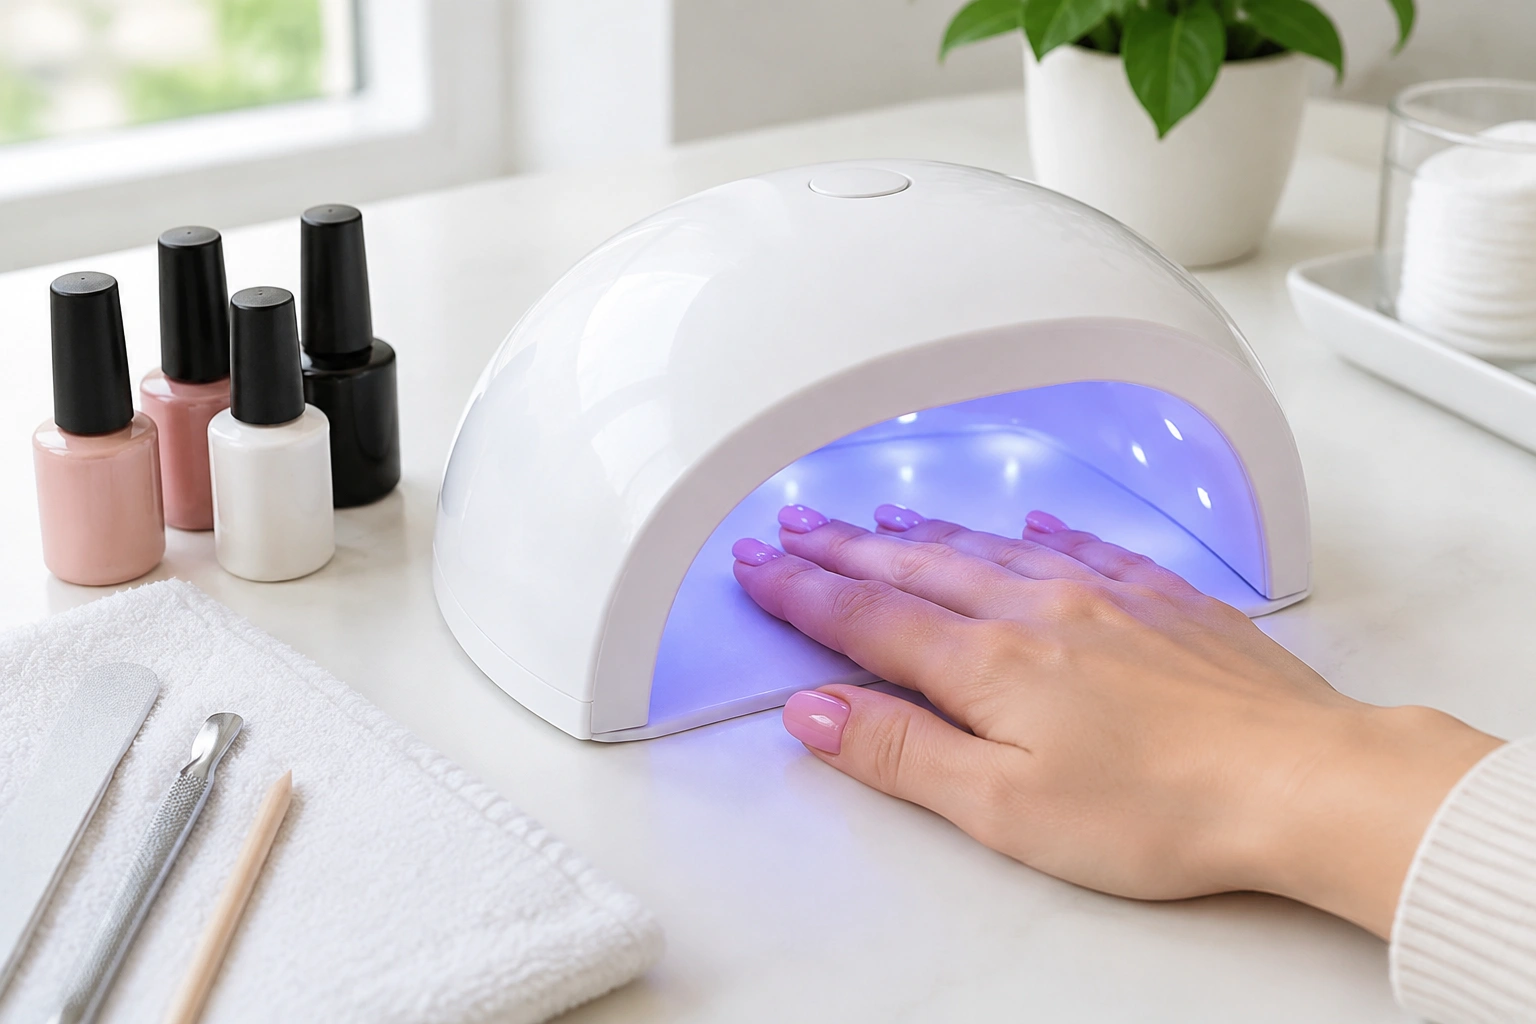
For many beginner-friendly gel systems, each layer is cured separately: base coat, color coats, and top coat. That means the full manicure can feel “done” fairly quickly, but you should still follow the instructions for your specific product. If you want a comparison with regular polish timing, you may also find our guide on how long regular nail polish takes to dry helpful.
A useful rule: if the polish is meant for gel use, don’t wait for it to air-dry. Cure it under the lamp for the amount listed by the manufacturer, then handle the nails carefully until the manicure is fully set.
Drying vs. Curing: What Gel Polish Actually Does
Regular nail polish dries as solvents evaporate into the air. Gel polish works differently. It hardens, or “cures,” when exposed to the right light. That is why gel polish usually stays soft or sticky until it has been under the lamp long enough.
This difference matters because a gel manicure can look finished before it is fully cured. The surface may seem dry, but the layers underneath may still be soft if the lamp time was too short or the coat was too thick. That is when smudges, dents, or wrinkling happen.
Think of it this way: air-drying is about waiting. Curing is about using the correct light to trigger the gel to set.
Typical Cure Times for Base Coat, Color Coat, and Top Coat
There is no single cure time that fits every gel polish system. The safest answer is always the one printed on the bottle or in the lamp instructions. Still, beginners often want a practical way to think about the process, so here’s the simplest approach: each layer usually needs its own cure cycle.

As a rough beginner estimate, many modern gel systems cure in about 30–60 seconds per layer with LED and longer with UV, but the product label always overrides general guidance. A full manicure with one base coat, two color coats, and one top coat often lands somewhere around a few minutes of total lamp time, depending on the brand and lamp.
| Layer | What to expect | What to do |
|---|---|---|
| Base coat | Cures first and helps the color grip | Apply thinly and cure according to the product instructions |
| Color coat | Often needs the same or slightly longer cure time than the base | Use thin coats so the light can reach all the way through |
| Top coat | Seals the manicure and may leave a tacky surface depending on the system | Cure fully, then follow the brand’s finish instructions |
If your polish is from a complete system, the label usually tells you how long each layer should stay under the lamp. That matters more than general advice online. A thick coat of gel can look glossy on top but still be undercured underneath.
A good beginner habit is to apply two thin color coats instead of one heavy one. Thin coats cure more evenly and are less likely to wrinkle.
UV Lamp vs. LED Lamp: Why Cure Times Can Be Different
UV and LED lamps are not interchangeable in every case. Some gel formulas are made for LED lamps, some work with UV, and some work with both. The lamp type affects how quickly the product cures and whether it cures properly at all.
LED lamps are often used for faster curing with compatible products, but that is not universal for every formula. UV lamps may work with a broader range of formulas, but they can take longer. The important part is compatibility: if the polish says it needs LED curing, a UV lamp may not give the result you want, even if you leave your nails under it longer.
Lamp wattage and output matter too, not just whether the lamp is UV or LED. Wavelength and product compatibility also affect cure speed, so a stronger lamp does not automatically mean faster or better curing for every gel polish.
If you’re buying a lamp for home use, check both the polish label and the lamp description. The lamp should match the system you plan to use. For safety information about UV exposure and skin protection, the FDA’s guidance on nail lamps is a useful place to start.
What Changes the Drying or Curing Time
Several things can make gel polish cure faster or slower:
Coat thickness
Thick coats are the biggest beginner mistake. A thick layer can cure on the outside while staying soft underneath. That creates a wrinkled finish or dents later.
Lamp strength
A stronger lamp may cure compatible gel faster, but only when the polish is designed for that lamp’s output and wavelength. More power is not a fix for the wrong product.
Brand instructions
Different formulas are made differently. One brand may need a shorter cure time than another, even if both are called “gel.”
Nail shape and application
If polish floods the sidewalls or cuticle area, the layer can cure unevenly. Thin, even coverage gives the lamp a better chance to harden the whole nail.
Number of coats
More coats usually means more total curing time. A manicure with one base coat, two color coats, and a top coat takes longer than a simple single-coat application.
Why Gel Polish Can Feel Sticky After Curing
A sticky surface after curing does not always mean something went wrong. Many gel systems leave behind a tacky layer called the inhibition layer. This is normal for some formulas and is part of how the product is designed.
The key is to know whether your system is supposed to stay tacky or not. Some top coats are meant to be wiped with cleanser after curing. Others are “no-wipe” and should feel smooth right away. The bottle or instructions should tell you which one you have.
Do not assume sticky equals uncured. If the polish is tacky but the product directions say that is normal, the top layer may be fine. If it feels soft, dents easily, or looks wrinkled, that points more toward undercuring.
How to Tell Whether Gel Polish Is Fully Cured
A fully cured gel manicure should feel firm, not soft. It should not dent easily when you lightly touch the surface, and it should hold its shape after the lamp cycle is done.
Here are simple signs to watch for:
- The surface feels hard, not rubbery
- The color looks even, not wrinkled or patchy
- The nail does not shift when you gently press the edge
- The finish matches the product’s expected feel, whether tacky or smooth
A little tackiness is not always a problem, because many gel systems leave a normal inhibition layer. True undercuring is different: the nail feels soft, dents, wrinkles, or shifts when you touch it.
If the polish is still soft, it usually needs more curing time. If you notice the polish moving when you handle the nail, stop and cure again rather than trying to “wait it out.”
For beginners, the safest decision rule is simple: when in doubt, follow the product’s full cure time again instead of guessing. That is especially important with thicker coats or a lamp you have not used before.
What Happens If Gel Polish Is Under-Cured
Undercured gel is more than a cosmetic issue. It can smudge, wrinkle, or stay soft longer than it should. You may also notice the polish lifting at the edges sooner than expected.
Common signs of undercuring include:
- A gummy or rubbery feel
- Dents from light pressure
- Wrinkling in the color layer
- A finish that looks sealed on top but soft underneath
Undercuring often happens when the layer is too thick, the lamp is too weak for the product, or the polish was removed from the lamp early. If you’re unsure whether your setup is working correctly, check the lamp and polish instructions together rather than relying on a generic timer.
If uncured product touches the skin around the nail, remove it before curing when possible. Gel that cures on the skin can make the manicure messy and may increase the chance of irritation.
Simple Tips to Avoid Smudges and Uneven Curing
A few small habits make gel polish much easier to manage at home:
Keep each coat thin
This is the biggest help. Thin coats cure more evenly and are less likely to trap uncured product underneath.
Clean up the edges before curing
If polish floods the skin or cuticle area, the manicure can cure unevenly and look bulky.
Match the lamp to the system
A lamp that is not designed for your gel formula can leave the polish partly cured even if you leave it under the light for a long time.
Don’t rush between coats
If the instructions call for curing after each layer, cure each layer fully before adding the next one.
Handle nails gently after the final cure
Even when the manicure is cured, be careful for a short while while you’re putting things away or reaching for your phone. That helps avoid accidental dents or pressure marks.
If you want a broader comparison of polish timing, our guide to how long nail polish takes to dry completely can help you compare gel with regular formulas.
Gel Polish vs. Regular Nail Polish: Which Dries Faster?
Gel polish usually feels faster because it cures under a lamp instead of waiting for air to do the work. Regular polish may seem simpler, but it often needs much more time before it is safe to use your hands normally.
Here’s the practical difference:
- Gel polish: cures under a lamp in separate steps
- Regular polish: air-dries slowly and is easier to smudge while setting
So if speed is your main goal, gel is often the quicker-feeling option. If you want a simpler process without a lamp, regular polish may be easier to manage, even if it takes longer to become fully usable.
For a deeper look at the trade-off, see our guide on how long nail polish takes to dry. It can help you decide which type fits your routine better.
Salon Gel Manicures vs. At-Home Gel Systems
Salon gel manicures and at-home gel systems both use the same basic idea: cure each layer under the right light. The difference is in consistency and convenience.
A salon service is usually the easier path if you want someone else to handle the lamp choice, coat thickness, and timing. That can be helpful for beginners who don’t want to guess.
At-home gel systems give you more control and can be more convenient once you know your products. The trade-off is that you need to match the polish and lamp correctly and follow the instructions closely.
If you’re just learning, a salon visit can be a useful reference point. You can pay attention to how the technician applies thin coats and times each cure cycle, then use that rhythm as practical guidance at home.
When to See a Nail Technician or Dermatologist
See a nail technician if your gel polish keeps wrinkling, lifting, or staying sticky even when you follow the instructions. That often points to a product-lamp mismatch or an application issue.
See a dermatologist if you notice redness, itching, swelling, or another skin reaction around the nails. Stop using the product until you get professional advice.
FAQ: Gel Polish Drying and Curing Basics
Does gel nail polish dry on its own?
No. Gel polish does not air-dry at all; it cures only under the appropriate UV or LED lamp.
Why is my gel polish still sticky after curing?
It may be the normal inhibition layer. Check whether your top coat is supposed to leave a tacky finish or be wiped clean.
How do I know if I cured it long enough?
The polish should feel firm and should not dent easily. If it still feels soft or rubbery, it likely needs more curing time.
Does lamp type change the cure time?
Yes. UV and LED lamps can cure at different speeds, and the polish must be compatible with the lamp you use.
Can I use any lamp with any gel polish?
Not safely. Always check whether the polish is made for UV, LED, or both.
Is gel polish faster than regular nail polish?
Usually, yes, because each layer cures under a lamp. Regular polish depends on air-drying and often takes longer to become fully usable.
Does a thicker coat cure faster?
No. Thick coats usually cure less evenly and may stay soft underneath.
Should I follow the bottle or the lamp instructions?
Follow both, and let the product instructions win if they differ. The brand’s guidance is the best source for that specific system.
Gel polish is easy to learn once you understand the main idea: it cures under light, and thin, even layers are what make the timing work. Once you know your lamp and your product, the process becomes much more predictable.

