
How Long Regular Nail Polish Takes to Dry: A Beginner’s Practical Guide

If you’ve ever painted your nails, waited a few minutes, and then ruined the finish with a sheet mark or a dent, you’re not alone. The short answer is that regular nail polish may feel dry on the surface fairly soon, but that does not mean it is fully dry or ready for normal use.
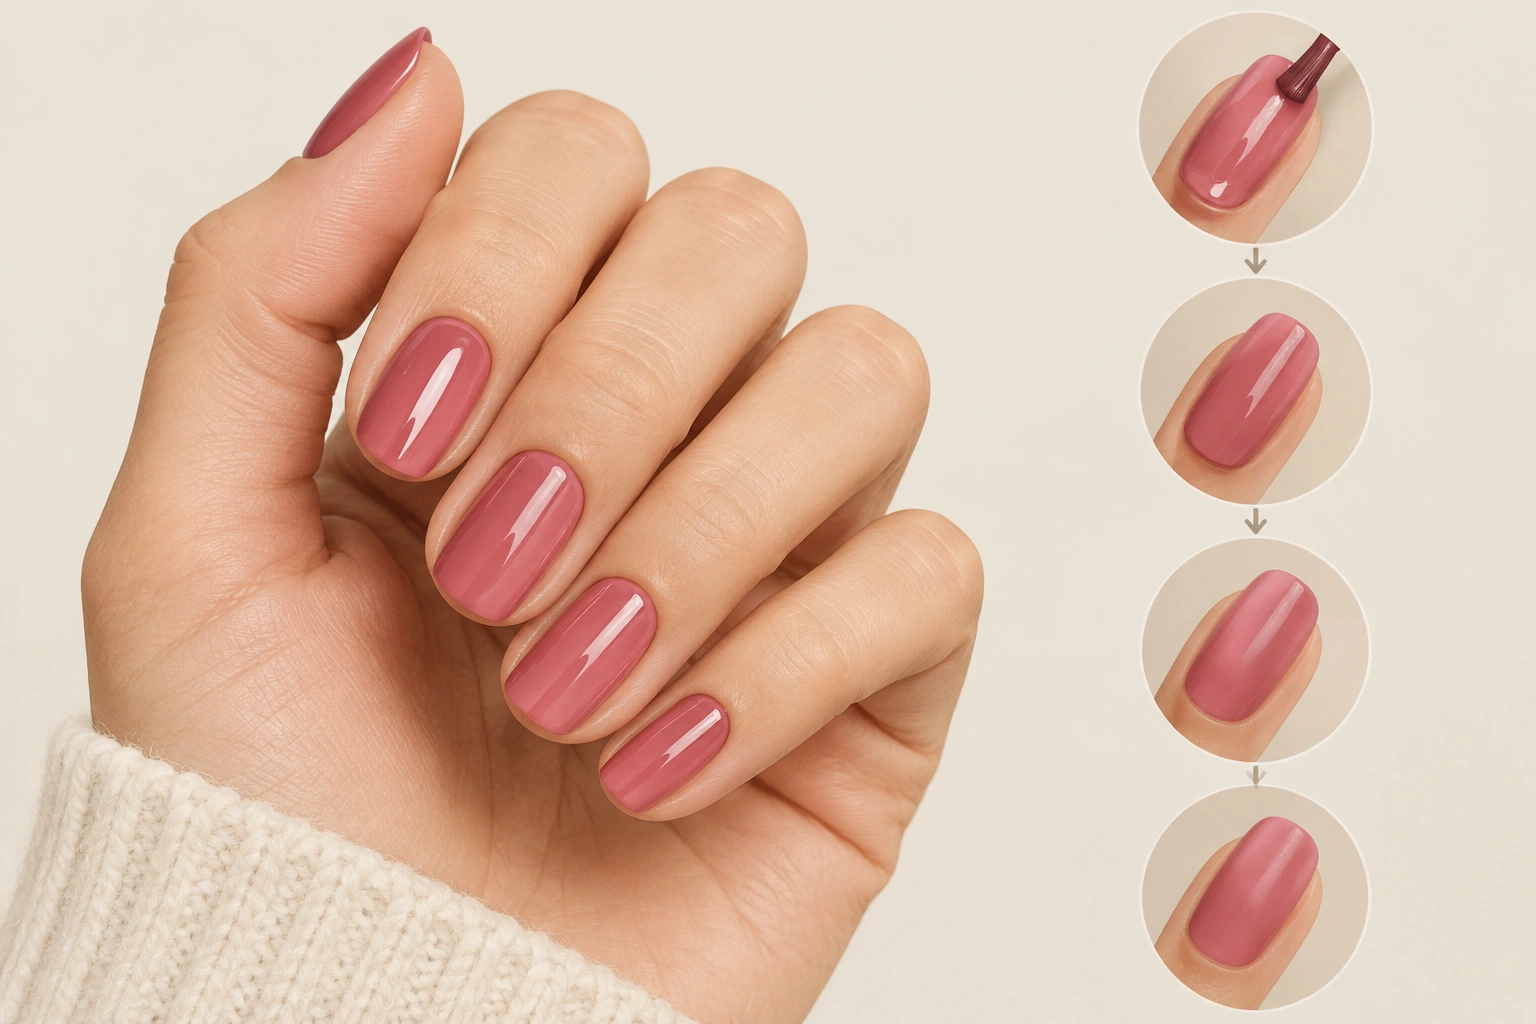
For beginners, the safest way to think about it is this: regular polish needs time in stages. It can feel dry to the touch before it is truly set, and thicker coats take longer than thin ones. If you want a cleaner manicure, plan for a little extra waiting time rather than rushing the first few minutes.
Quick Answer: How Long Regular Nail Polish Takes to Dry
For most regular nail polish, a practical beginner estimate is:
- Surface-dry: about 5 to 10 minutes
- Touch-dry: about 15 to 30 minutes
- Fully dry: about 1 to 2 hours, sometimes longer if coats are thick
That means the polish may look finished fairly quickly, but it can still be soft underneath. Thin coats dry faster than thick ones, and a full manicure usually takes longer than a single coat.
If you want a simple comparison, regular polish is usually slower to dry than gel polish, which is cured under a lamp. If that difference matters to you, this guide on whether UV light dries regular nail polish may help clear up a common misunderstanding.
What “Dry” Actually Means
A lot of smudges happen because people use the word “dry” to mean several different things. In practice, there are three stages.
Surface-dry
Surface-dry means the top layer no longer feels wet. If you lightly look at the nail, it may seem finished. But the layers underneath can still be soft.
This is the stage where people get fooled most often. The nail looks okay, but one accidental touch can leave a mark.
Touch-dry
Touch-dry means the polish can handle a very light touch without immediately moving. That sounds reassuring, but it still does not mean the manicure is ready for normal activity.
You may still dent the polish by pressing too hard, stacking items, or using your nails as tools.
Fully dry
Fully dry means the polish has set enough to handle everyday use with much less risk of smudging. Even then, a fresh manicure can still be more delicate than an older one.
A simple rule: if you would be upset by a tiny dent or imprint, give it more time.
Typical Drying Timeline for Regular Nail Polish
Drying time changes from one polish to another, so think in ranges rather than a single number. This chart gives a more practical beginner view of how drying usually progresses.
| Application | Surface-dry | Touch-dry | Safer for light tasks | Fully dry |
|---|---|---|---|---|
| One thin coat | 5–10 minutes | 10–20 minutes | 20–40 minutes | 45–90 minutes |
| Two thin coats | 10–15 minutes | 20–30 minutes | 30–60 minutes | 1–2 hours |
| Full manicure with base + color + top coat | 15–20 minutes | 30–45 minutes | 45–90 minutes | 2+ hours |
The main takeaway is simple: more layers usually mean more waiting. A thin two-coat manicure often looks better and dries more predictably than one thick coat.
If you want a more detailed breakdown of complete drying versus “looks dry,” see how long nail polish takes to dry completely.
What Changes Drying Time
Several everyday factors affect how long polish stays soft.
Coat thickness
Thick coats dry slowly because the solvent has more polish to move through before the layer sets. They also trap softness underneath the surface.
Thin coats dry more evenly. They may take a little more care to apply, but they usually give you a better result.
Number of coats
Every extra coat adds more product, which means more drying time. For most beginners, two thin coats is usually the practical limit before drying starts to become noticeably slower. If you need full opacity after that, it is often better to use a more opaque polish than to keep layering.
Formula
Some formulas are naturally faster or slower to set. A polish that goes on smoothly and evenly often dries more predictably than one that is streaky or overly thick.
Humidity and temperature
Moist, still air can slow drying. A room with better airflow is usually easier to work in than a hot, humid bathroom after a shower.
Base coat and top coat
Base coats and top coats can help the manicure look smoother and last longer, but they also add layers that need time to set. That does not mean you should skip them; it just means you should plan for the extra step.
For a related timing question, you may also want to read about how long nail dehydrator takes to dry if you use prep products before polish.
How to Make Regular Nail Polish Dry Faster
You can’t force polish to harden instantly, but you can make the process smoother and less frustrating.
Use thin coats
This is the biggest beginner-friendly improvement. Thin coats dry faster and are less likely to wrinkle or dent.
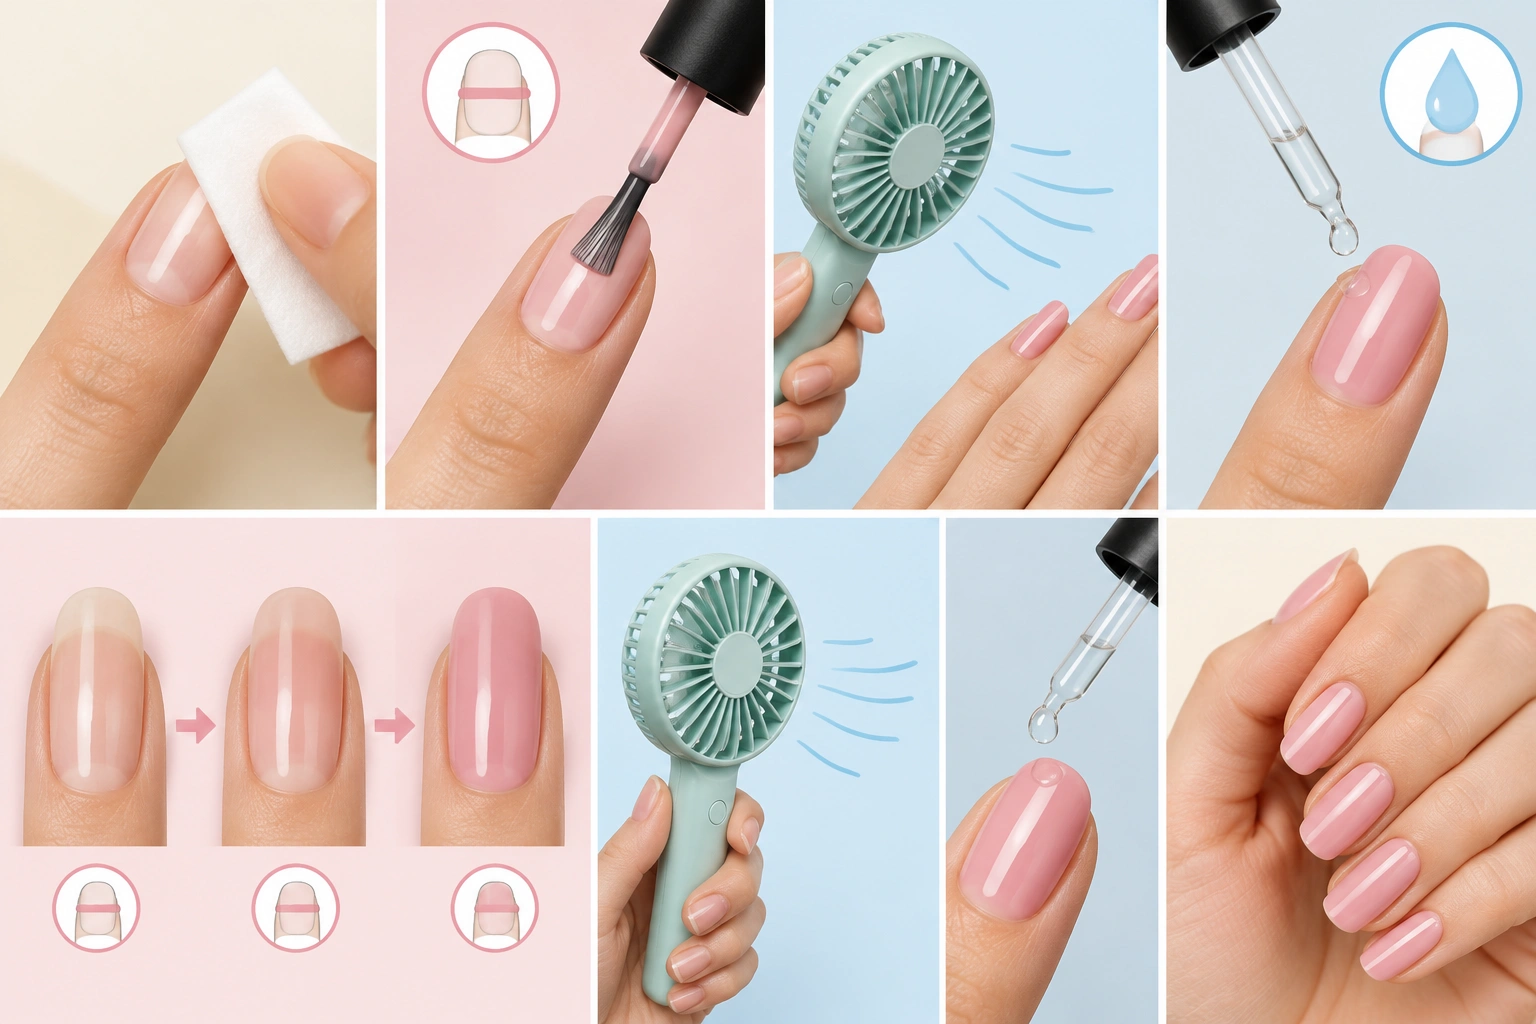
If your first coat looks a little sheer, that’s normal. Two thin coats usually work better than one thick, opaque coat.
Wait briefly between coats
Give each layer a little time before adding the next one. If the first coat is still very wet, the second coat can drag it around and make the manicure softer overall.
Try quick-dry products
Quick-dry drops or a quick-dry spray can reduce waiting time. They are useful when you need your manicure to set more quickly, but they should still be used according to the directions.
Use gentle airflow
A fan can help air move around your nails. Keep it gentle. The goal is to help the surface set, not to blast the polish around.
Keep the room comfortable
A normal indoor room with decent airflow is usually better than a steamy space. If you just washed dishes, showered, or sat in a humid bathroom, your polish may take longer to settle.
For more on the difference between regular and cured finishes, see how UV light works with regular nail polish.
What to Avoid While Polish Is Drying
The first 10 to 30 minutes matter a lot. That’s when many smudges and dents happen.
Beginner checklist for the first 10 to 30 minutes
Do:
– Keep your hands still as much as possible
– Use thin coats from the start
– Let each coat sit before adding the next one
– Resume very light tasks first, like careful typing, once the polish is touch-dry
– Wait longer before anything that presses on the nail
Don’t:
– Press on the nail to “test” it too soon
– Use thick coats because they look faster
– Blow on nails, which can introduce moisture and uneven airflow
– Rush straight into chores
– Open tight lids, bags, or drawers with fresh polish
– Go to bed too soon after painting
A classic beginner mistake is painting nails before sleep and assuming they are fine by morning. If the layers were thick, sheet marks can still show up.
Regular Nail Polish vs. Gel Polish: Drying Time Difference
If drying time is your biggest concern, regular polish and gel polish behave very differently.
Regular polish dries by air and needs patience. Gel polish is designed to cure under a lamp, which is why it often feels like a faster, more controlled finish once the curing step is done.
That said, regular polish is easier for many beginners because it does not require special equipment. It’s a good choice if you want simple at-home application and can give it enough time to set.
If you’re comparing product types, it helps to think about your real routine:
– Choose regular polish if you want simple application and don’t mind waiting
– Choose gel if drying time is a major frustration and you want a cured finish
How to Tell When It Is Safe to Use Your Hands Normally
This is the question most beginners really need answered.
A practical rule is: if the manicure still dents when you press lightly, it is not ready for normal use.
Use this simple check:
– If you only need to sit still, you may be okay sooner
– If you plan to type lightly, wait until the polish is at least touch-dry and be gentle
– If you need to grab bags, clean up, shower, or do dishes, wait until it is fully dry
Simple low-risk checks:
– Look for any shine that still looks wet or uneven
– Gently bring two nails close together without pressing them hard; if they feel tacky, wait longer
– Try one very light fingertip touch on a corner only after enough time has passed; if it leaves a mark, it is not fully dry yet
Think of fresh polish as fragile for a while, even when it no longer looks wet. If you must do something with your hands, use your fingertips gently and avoid pressure on the nail surface.
Common Mistakes That Make Polish Stay Soft
A few habits make drying feel much slower than it needs to be.
Applying too much product
This is the biggest one. Thick polish looks efficient, but it can stay soft underneath for much longer.
Not giving layers time to settle
If you apply coat after coat too quickly, the manicure can feel gummy longer than expected.
Touching the nails to check them
Every test risks leaving a mark. If you want to check, use the lightest possible contact and only after some waiting time.
Using the nails as tools
Fresh polish and opening cans, peeling labels, or digging in a bag do not mix well.
Final Beginner Takeaway
Regular nail polish does not dry all at once. It moves through stages, and the surface can feel ready before the manicure is truly set. Thin coats, patience between layers, and a little airflow make the biggest difference. If you remember only one thing, let it be this: dry to the touch is not the same as fully dry.

