
How to Apply Nail Polish Correctly for a Smooth, Salon-Neat Finish at Home

If you want neat color that looks intentional instead of rushed, the result usually comes down to three things: prep, thin coats, and patience between steps. As Ella Hart, I tell beginners to think less about “painting” and more about building a clean surface in layers. That approach gives you better control at the cuticle, fewer streaks, and a finish that wears more evenly.
What You’ll Need Before You Start
Gather everything first so you are not hunting for tools with wet polish on your hands.
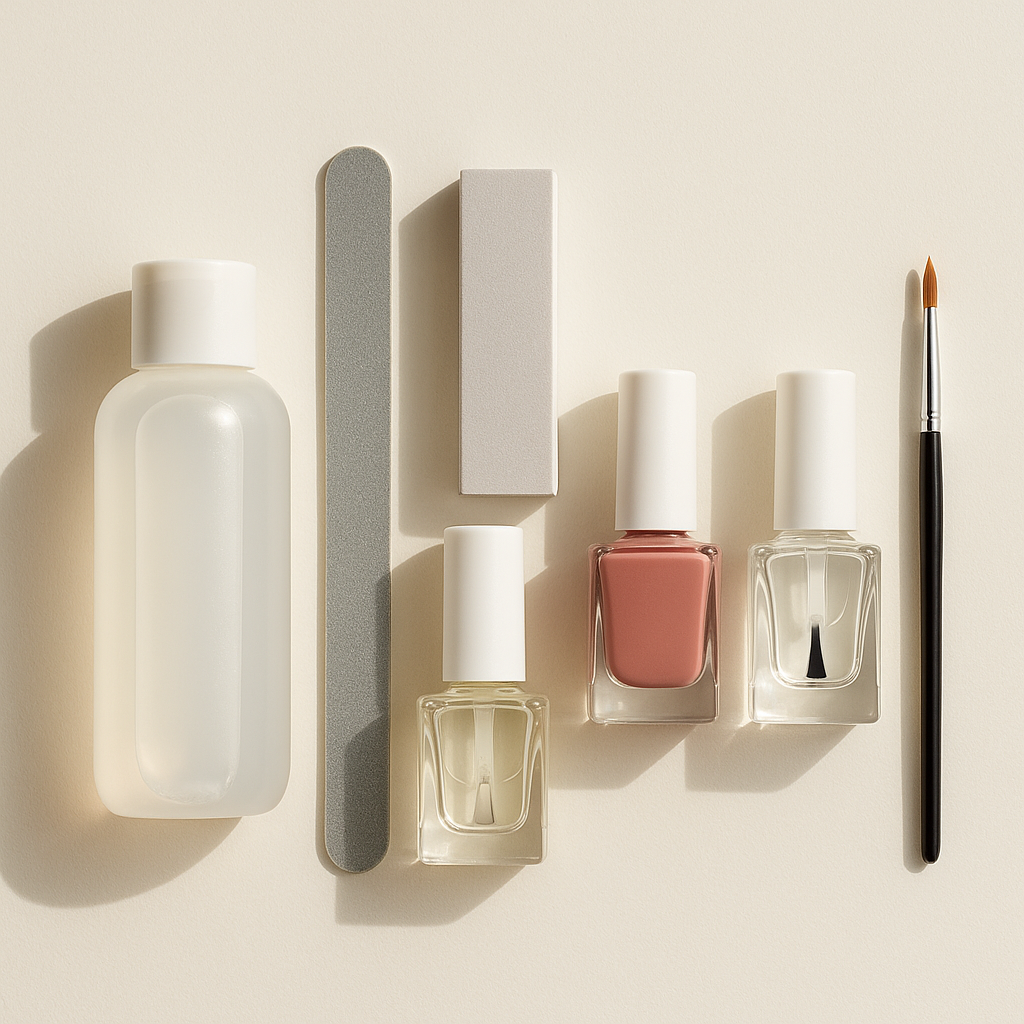
You only need a small kit:
- Nail polish remover
- Cotton pads or lint-free wipes
- Nail file
- Buffer
- Base coat
- Nail polish color
- Top coat
- Cleanup brush or cotton swab
- A small cleanup bottle of remover, if you use one
A remover and lint-free wipe are especially useful during prep because natural oils can sometimes affect how polish sits on the nail. If your polish has thickened in the bottle, a proper nail polish thinner is the safer choice over improvised liquids.
If you are deciding whether to use every item, the short answer is yes for base coat and top coat, especially if you want cleaner application and better wear. OPI’s application guidance also recommends working in thin layers and capping the free edge, which is easier to do when your tools are ready before you begin. You can see that approach in OPI’s nail care guidance.
Prep Your Nails for Better Adhesion
Prep is not glamorous, but it is what makes polish behave.
Clean, shape, and smooth first
Wash and dry your hands, then remove any old polish completely. Shape the nails with a file, moving in one direction rather than sawing back and forth. That one-way motion helps keep the free edge smoother.
For most nails, a medium file is enough. Manucurist’s prep guidance gives example grits of 100/180 for normal nails and 180/240 for brittle nails. That does not mean you must use those exact numbers, but it does show the trade-off: coarser files shape faster, while finer grits are gentler.
Buff lightly, not aggressively
A light buff can help remove surface shine and leave the nail plate more even. The goal is not to thin the nail. You are simply creating a cleaner surface for the base coat to grip.
Remove oils before polish
After shaping and buffing, wipe each nail with remover on a lint-free pad. This step matters because even clean-looking nails can carry skin oils that make polish slide around. If you skip it, the first coat often looks patchy or starts lifting sooner at the tips.
For prep, I like to keep the skin work gentle. Manucurist recommends pushing softened cuticles back carefully rather than scrubbing or moving tools back and forth, which is a good rule for beginners to follow as well: clean edges help polish look neater without forcing product onto the skin. Their prep advice is outlined in this nail-prep guide.
Apply Base Coat the Right Way
A base coat is worth using when you want smoother color, better grip, and a cleaner surface between your nail and the pigment. It is especially useful with deeper shades that can stain the nail plate.
Apply a thin coat of base coat and let it air dry until it is no longer tacky to the touch. That wording matters: if the base is still wet, the color can drag or pool instead of sitting evenly.
The main trade-off is simple:
- With base coat: better surface control and a more polished-looking finish
- Without base coat: faster, but color may apply less evenly and can be harsher on the nail surface
For most at-home manicures, base coat is the step that makes the rest of the process easier.
How to Apply Nail Polish in Thin, Even Coats
This is the part where beginners usually overdo it. The brush should carry enough polish to cover the nail, not flood it.
1. Load the brush lightly
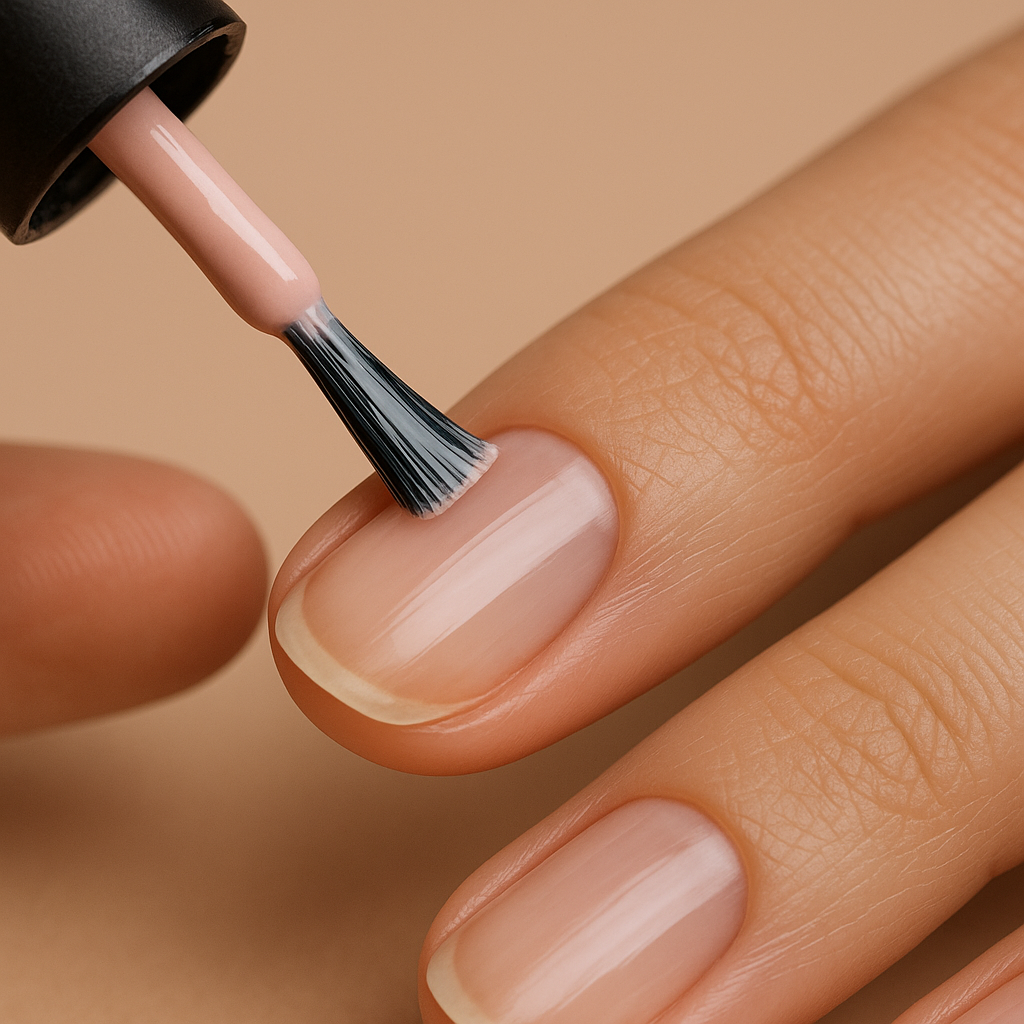
Wipe one side of the brush against the bottle neck, then let the other side keep a small amount of polish. A good beginner cue is that the brush should look coated, not dripping, and there should not be a bead of polish hanging from the tip. An overloaded brush is one of the fastest ways to get streaks, bubbles, and cuticle flooding.
2. Place the first stroke in the center
Set the brush a little below the cuticle, then glide it toward the tip in one smooth motion. Keep a narrow gap near the cuticle instead of pressing polish right into the skin.
3. Fill in the sides
Use one stroke down each side of the nail. The common three-stroke method works because it spreads product without forcing you to keep brushing over the same area. Manucurist and Ella+Mila both recommend this kind of controlled application rather than repeated brushing.
4. Finish with the free edge
Once the surface is covered, lightly sweep the brush across the tip of the nail to cap the free edge. That small step helps protect the edge from early wear.
5. Leave the skin alone
Keep polish off the surrounding skin and cuticle area. If you paint too close, the color can look messy even if the rest of the manicure is smooth. On very short nails, OPI suggests a small adjustment: pull the skin away from the edge first so you can cap the free edge cleanly before applying the rest of the polish.
If the first coat looks streaky, resist the urge to keep brushing it back and forth. Let it set, then add a second thin coat to even out the color. Overworking semi-dry polish usually makes the streaks worse, not better.
A good visual rule is this: if you can see the polish sitting on the skin before it dries, you probably used too much product or placed the brush too close to the cuticle.
How Many Coats to Use and How Long to Wait Between Them
For most colors, two thin coats is the practical standard. OPI recommends two coats of color, with drying time between them, and other nail-care sources echo the same idea: thin coats beat one thick coat.
Here is the trade-off:
- One thick coat: faster in the moment, but more likely to streak, bubble, and dry unevenly
- Two thin coats: takes longer, but usually gives a smoother and more opaque result
Sheer shades may need a third thin coat if the formula is very translucent. That is normal. A pale pink or nude often looks better with an extra thin layer than with one heavy pass.
As for drying, let each coat dry fully before the next one. I avoid giving a universal minute count because formulas vary, but a practical rule of thumb is this: the coat is ready when the surface looks smooth and no longer drags if you lightly touch the edge. If it still feels soft or dents easily, wait longer. Rushing the second coat is one of the main reasons beginners end up with dents and drag marks.
If your polish is older and thick, a few drops of nail polish thinner can help restore application. Use a product made for polish; do not substitute random liquids. A thicker formula is harder to spread evenly, so thinning it correctly can make the brush move more cleanly.
Seal the Edges with Top Coat
Top coat is the finishing layer that locks in shine and helps the manicure look complete. It also gives you a chance to smooth the surface and seal the tip.
Apply it after the color is dry enough that the brush will not pull through the polish. Then:
- Float a thin layer over the nail
- Cap the free edge again
- Avoid flooding the sides
That free-edge seal is worth the extra few seconds because the tip is the first area to show wear. If you wear your nails short or use your fingertips a lot, this step becomes even more important.
A quick-dry top coat is useful when you need to get moving soon after painting. The trade-off is convenience versus patience: air drying costs nothing and works fine if you have time, while quick-dry products reduce the chance of smudging when you need a faster finish.
Clean Up Mistakes Around the Cuticles
Cleanup is easier before the polish fully sets.
A small cleanup brush dipped in remover gives the most precise edge work. It lets you sharpen the curve around the cuticle without disturbing the color on the nail plate. A cotton swab is simpler, but it is bulkier and can leave fibers or smear wet polish if you press too hard.
Here is the practical decision rule:
- Use a cleanup brush if you want crisp edges or made a small mistake near the skin
- Use a cotton swab if you only need a quick fix and do not mind a little less precision
Work gently. The goal is to remove excess polish, not scrub the manicure. If the polish is already drying, stop and let it set rather than dragging half-dry color across the nail.
Common Nail Polish Mistakes and How to Fix Them
Streaks
Streaks usually come from one of two problems: too little polish on the brush or too much brushing after the color is placed. Keep the brush load moderate and use the three-stroke method instead of going back and forth over the same section.
Bubbles
Bubbles often happen when polish is applied too thickly or shaken too vigorously before use. Rolling the bottle gently between your hands is safer than shaking it hard.
Flooding the cuticle
Flooding usually means the brush was loaded too heavily or placed too close to the skin. Leave a small gap near the cuticle and let the brush glide forward rather than pressing product downward.
Patchy coverage
Patchiness is common with sheer shades or old, thick polish. The fix is usually another thin coat, not a heavy one. If the formula is too thick to spread well, use polish thinner.
Chipped tips
If the tips chip first, the free edge was likely not sealed well. Make capping the tip part of both your color and top coat steps.
If you want a deeper breakdown of smoothing out uneven application, our guide on how to apply nail polish without streaks is a helpful next read.
How to Make Nail Polish Last Longer
The biggest wear boosters are boring, but they work:
- Prep the nail surface so it is clean and oil-free
- Use a base coat
- Apply thin coats instead of thick ones
- Seal the free edge
- Finish with a top coat
If you already do those things, the next step is maintenance. Avoid using your nails as tools, and try not to expose fresh polish to hot water right after painting, since heat and moisture can make a new manicure more vulnerable to dents or softening. If you want the manicure to last several days, reapply a thin layer of top coat every couple of days to refresh shine and help protect the edges.
For readers who want to compare coat count more closely, this site’s guide on how many coats of nail polish you should apply goes deeper into finish and opacity choices.
Drying and Smudge-Proofing Tips
Air drying is the simplest route, but it asks for patience. Quick-dry products cost more and are less forgiving if you apply them too thickly, but they can save you from accidental dents when you need to use your hands sooner.
A few practical habits help either way:
- Keep coats thin
- Give each layer time before the next one
- Avoid touching the nail surface to “check” it too early
- Use a quick-dry top coat if you are short on time
If you are doing a manicure before leaving the house, paint earlier than you think you need to. Even polished nails that feel dry on top can still dent if you press them against a bag, phone, or zipper too soon.
When to See a Nail Technician
If your polish keeps lifting, your nails are extremely uneven, or you are unsure how to shape and prep safely, a nail technician can help you reset your technique. That is also a smart choice if you want a cleaner cuticle area than you can comfortably achieve at home.
A salon visit is not necessary for every manicure, but it can be useful when you want to see proper brush control, edge sealing, and prep in action before practicing on your own.
FAQ
What is the correct order for applying nail polish?
Prep first, then base coat, then color coats, then top coat. If you need cleanup, do it after the color is on but before everything fully sets.
Do I really need a base coat and top coat?
For most at-home manicures, yes. Base coat helps create a smoother surface under color, and top coat finishes the manicure and helps protect the edges.
How many coats of polish should I use?
Two thin coats is the usual starting point. Very sheer formulas may need a third thin coat for even coverage.
How long should I wait between coats?
Wait until the previous coat is dry enough that the brush will not drag through it. If the surface still feels tacky or soft, give it more time.
How do I keep polish from flooding the cuticles?
Use less polish on the brush, place the first stroke slightly below the cuticle, and avoid pressing product directly into the skin.
What is the best way to clean up polish around the edges?
A cleanup brush with remover gives the sharpest result. Cotton swabs are fine for quick fixes, but they are less precise.
Should I cap the free edge?
Yes. Sealing the tip is a small step that helps the manicure look more finished and can reduce early wear at the edge.
What if my polish is streaky?
Usually the fix is thinner coats and fewer brush passes. If the formula is old and thick, polish thinner may help restore a smoother application.
How do I make my manicure dry faster?
Use thin coats, let each layer set before the next, and finish with a quick-dry top coat if you need a faster, lower-smudge result.
Is it okay to paint very short nails the same way?
Mostly yes, but short nails can be easier to flood. OPI recommends adjusting by pulling the skin away from the edge first so you can cap the free edge cleanly.

