Butterfly Nails for Kids: Cute, Safe, and Easy Ideas Parents Can Do at Home

Butterfly nails for kids are a playful way to add color and personality without making the manicure feel too grown-up. The look usually stays simple: soft shades, tiny butterfly details, and kid-friendly finishes that are easy to wear for a party, school event, or weekend treat.
Butterfly nail art is usually best kept very simple for toddlers and preschoolers, who often do better with stickers or decals and a single accent nail. Older kids can usually handle a little more detail, such as painted wings, shimmer, or a few extra colors. A child’s manicure should feel fun first and fussy last, so it helps to choose designs that match the child’s age, patience level, and daily activity.
If you want to keep the nail care side just as thoughtful as the design, you may also find these guides useful: how to keep kids’ nails clean, how to keep kids’ nails healthy, and how to make kids’ nails stronger.
What Butterfly Nails for Kids Usually Look Like
In practice, butterfly nail art for children is often built from one of three things: polish, stickers or decals, or small press-on nails. The butterfly itself may be painted on, placed as a sticker, or printed on a press-on. For younger children, the design is usually kept small and simple so it looks cute without feeling crowded.
The most child-friendly version is often a soft base color with one butterfly accent on one or two nails. That gives the manicure a themed look while keeping the rest of the nails easy to maintain. If a child likes a little sparkle, a tiny glitter accent or a single shimmer top coat can add interest without making the design harder to remove.
Best Butterfly Nail Ideas for Kids
Here are the styles I recommend most often when parents want something cute but manageable.
1. Pastel polish with one butterfly accent
This is the easiest version to do at home. Paint the nails in a pale pink, lavender, mint, or baby blue, then add a butterfly sticker or decal to just the ring fingers. It looks polished, but it does not take long to apply or remove.
2. Clear base with tiny butterfly stickers
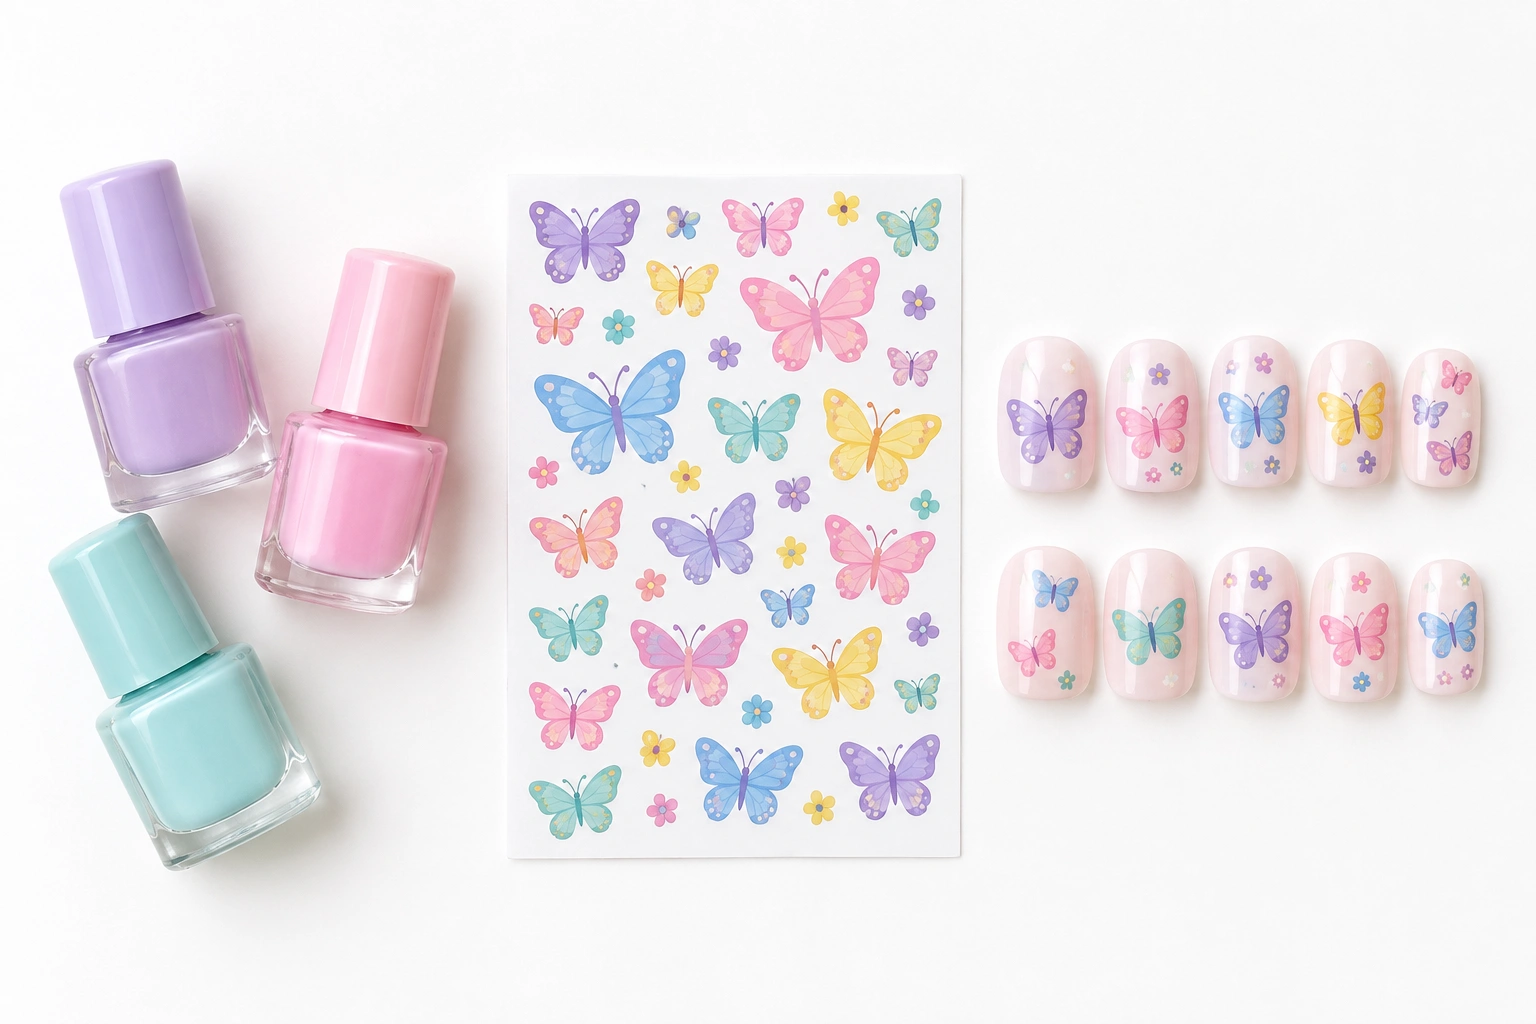
A clear or lightly tinted base keeps the manicure looking neat and understated. Tiny butterfly stickers work well here because they are fast, beginner-friendly, and less likely to overwhelm smaller nails. This is a strong choice for children who want the theme without a lot of color.
3. Rainbow butterfly tips
For a more playful look, paint each nail with a different pastel shade and place a butterfly near the tip of one or two nails. This works especially well for birthdays or spring celebrations. It also lets children choose colors they already love.
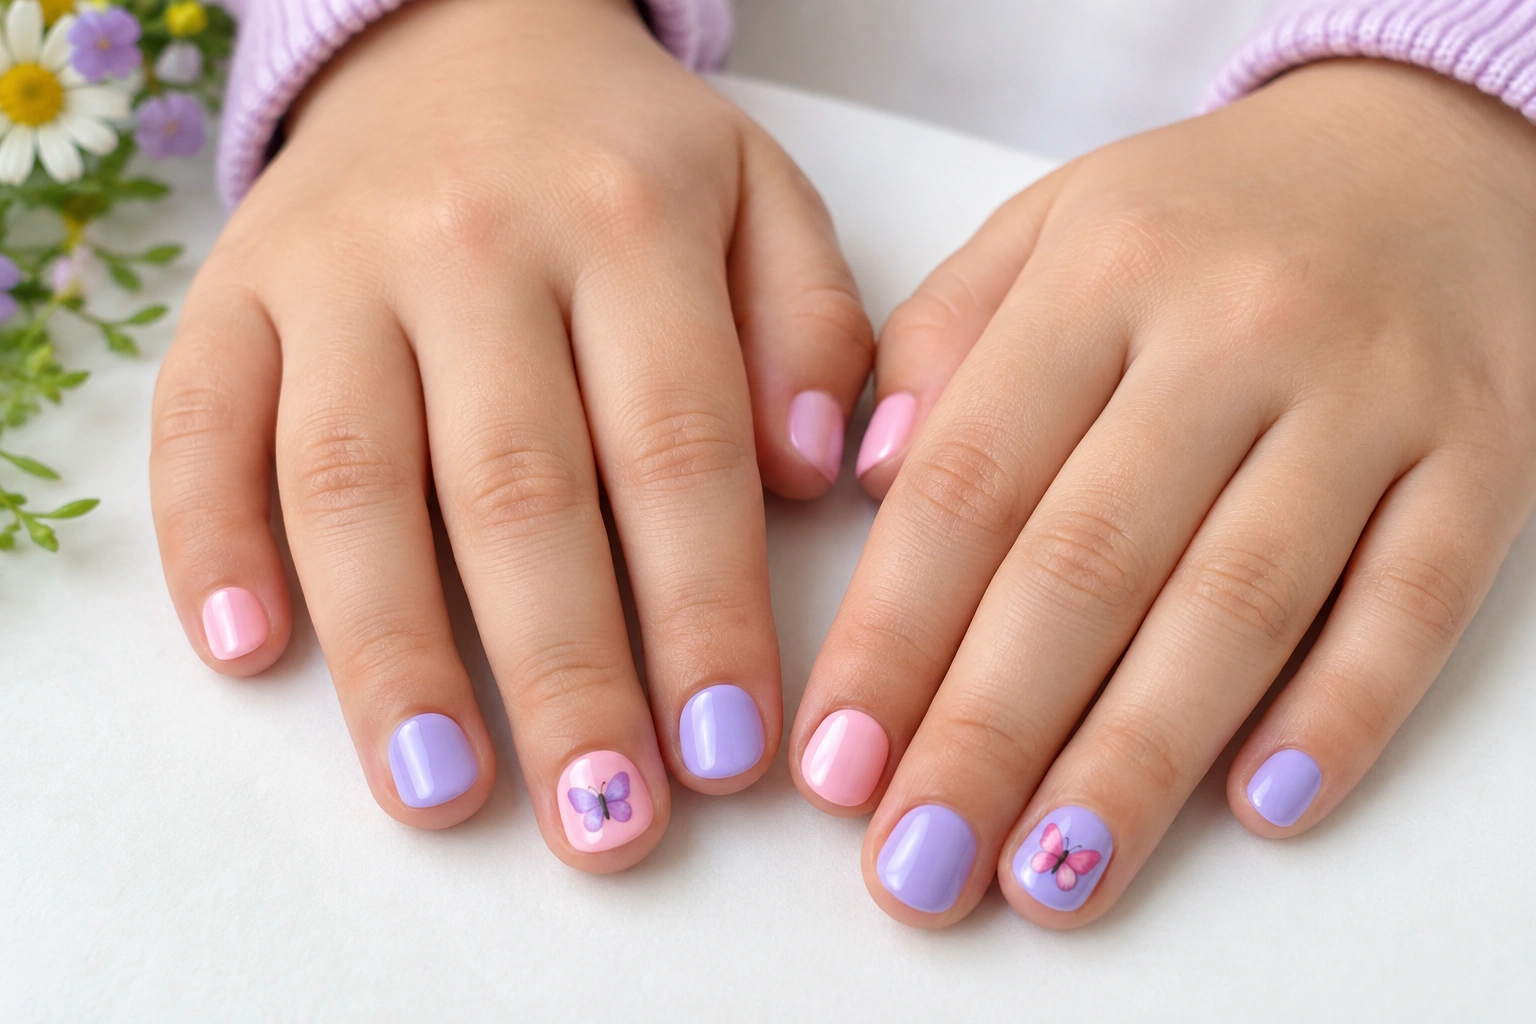
4. Butterfly decals over a pink or nude base
Decals are a nice middle ground between polish and full nail art. They usually look a little smoother than stickers and can give a more finished appearance. For kids, I would keep the background light and the butterfly design small.
5. Mini press-ons with butterfly prints
If you need a party-ready look that feels more “done,” press-ons can be useful. Choose short, rounded shapes and kid-sized options only. A tiny butterfly print on a few nails is enough; full coverage on every nail can feel heavy on small hands.
6. One butterfly nail per hand
This is a great low-maintenance idea for active kids. Paint all the nails one solid color, then make only one nail on each hand the feature nail. It gives the child a special detail without making the manicure fragile.
7. Butterfly and dot combo
If you cannot find butterfly stickers, a simple dot pattern around a butterfly accent can make the look feel complete. The dots mimic confetti or petals and are easy to place with a toothpick or the tip of a bobby pin.
How to Choose the Safest Option: Polish, Stickers, or Press-Ons
The safest choice is usually the one that fits the child’s age, patience level, and how long the manicure needs to last. Here is a quick comparison to help you decide.
| Option | Ease of use | Durability | Best for | Watch-outs |
|---|---|---|---|---|
| Nail polish | Easy to moderate | Short to moderate | Simple DIY looks, quick color changes | Can chip faster on busy hands |
| Stickers/decals | Very easy | Short | Beginners, younger children, fast application | May lift at the edges sooner |
| Press-ons | Easy if sized well | Moderate | Special events, polished finish | Must fit properly and be removed gently |
For kids, non-toxic or water-based nail polish is the better choice when it is available. It is a good fit for simple at-home manicures, especially if you want an easier cleanup and a more child-friendly product option. Stickers and decals are often the best pick for toddlers and preschoolers because they are quick to apply, easy to remove, and less likely to smudge while a child is still moving around.
Press-ons are usually better for older kids who can keep their hands still and tolerate a more structured fit. They are not ideal for younger children, since they can feel bulky, pop off more easily, or become uncomfortable if the size is off. If you choose press-ons, a good fit matters so they do not catch on clothing or feel awkward during play.
Kid-Friendly Colors and Styles That Look Best
Butterfly nails for kids usually look best in soft, bright, or cheerful shades. Pastels are a natural fit because they feel playful and age-appropriate. Think lavender, peach, sky blue, pale yellow, mint, and soft pink.
If the child wants something bolder, keep the butterfly design itself simple. A bright coral base with a white butterfly accent can still look sweet if the shape is small and clean. What I would avoid for most children is a heavy, dark, or overly detailed design that feels more adult than kid-like.
A helpful rule: if the manicure looks good from a short distance and still feels light and airy, you are probably on the right track. Kids’ nail art usually works best when the colors do most of the visual work and the butterfly details stay minimal.
How to Do Butterfly Nails at Home Step by Step
You do not need professional tools to create a cute butterfly manicure at home. A basic kit with child-safe polish, stickers or decals, a top coat, and cotton pads is usually enough.
1. Clean and shape the nails
Wash the hands, dry them well, and gently file the nails if needed. Keep the shape rounded or softly square so the edges do not snag. For kids, short nails are usually the most practical.
2. Apply one thin base color
Choose a light polish color and apply thin coats rather than one thick layer. Thin coats dry more evenly and are less likely to smudge. If the child is impatient, this step matters because thick polish takes longer to set. If possible, use a non-toxic or water-based polish for kids.
3. Place the butterfly detail
Apply a sticker, decal, or tiny press-on accent once the base color is dry enough to touch. If the design is painted on, keep the butterfly shape simple: two small wings, a dot body, and maybe one or two tiny accents.
4. Seal with a clear top coat
A clear top coat helps smooth the surface and can improve wear. Keep the layer light. Too much product can make the manicure feel bulky on small nails.
5. Let the nails dry fully
This is the part that saves the manicure. Children often want to use their hands right away, so build in a little drying time before snacks, toys, or shoes go back on. If a child is unlikely to sit still long enough for polish to dry, stickers or decals are usually the easier choice.
For a very beginner-friendly version, a simple formula works best: one base color, one butterfly sticker on each ring finger, and one clear top coat. It is simple, cute, and easy to repeat.
How to Make the Design Last Longer Without Damaging Nails
A child’s manicure usually lasts better when the design is kept simple. Heavy layering, thick top coats, and oversized decorations tend to lift faster on small nails.
A few practical ways to extend wear:
- Use thin layers of polish.
- Keep nails short before applying the design.
- Place stickers on a fully dry base.
- Avoid stacking multiple bulky decorations on one nail.
- Let the child wear gloves for messy activities like painting or water play if the manicure needs to last for an event.
The trade-off is clear: the more elaborate the design, the more likely it is to chip or peel early. For kids, a simpler manicure that stays neat for a few days is usually better than a complicated one that starts falling apart after one afternoon.
Safe Removal and Cleanup for Kids
Gentle removal matters just as much as application. Pulling stickers, peeling press-ons, or scraping polish can rough up the nail surface and irritate the skin around it.

For polish, use a child-appropriate remover method and cotton pads, then wash and moisturize the hands afterward. For stickers or decals, soften the edge first and lift slowly rather than tugging. For press-ons, remove them only when they begin to loosen and never force them off.
If the skin around the nails looks dry after removal, a tiny amount of fragrance-free hand cream or cuticle oil can help the area feel more comfortable. The goal is to leave the nails looking clean, not stripped.
Best Butterfly Nail Ideas for Different Occasions
Butterfly nails can be adapted easily depending on the event.
Birthday parties
Go for brighter pastels, a little shimmer, or a butterfly accent on every ring finger. This is the moment for the most playful version of the look.
School events
Keep it simple and neat. A clear or pale pink base with one butterfly sticker on each hand feels cheerful without being distracting.
Holidays and seasonal events
Match the colors to the season. Spring works well with mint and lavender, while summer can handle coral and yellow. The butterfly theme still fits even when the palette changes.
Casual play days
Choose the lowest-maintenance version: short nails, one solid color, and a single butterfly accent. That keeps the design cute without worrying too much about chips.
When to See a Nail Technician or Dermatologist
A nail technician can help if you want a cleaner finish, better-fitting press-ons, or a child-friendly salon application for a special occasion. For younger children, a simple DIY manicure is often easier and less stressful, while a salon visit may make more sense for older kids, birthdays, or events where you want a polished result.
If you go to a salon, ask about sanitation practices, child-friendly products, and whether they can keep the design simple. A basic butterfly accent is usually the best salon request for kids.
A dermatologist or pediatrician is the better choice if the nails are painful, swollen, persistently discolored, or show signs of infection. Decorative nail art should never be used to cover a nail problem that needs medical attention.
Final Thoughts
For most kids, the best butterfly nail choice is a simple manicure with a soft base color and one or two butterfly accents, using non-toxic or water-based polish when available. Stickers are usually easiest for younger children, while older kids can handle a little more detail or a short press-on style for special occasions.