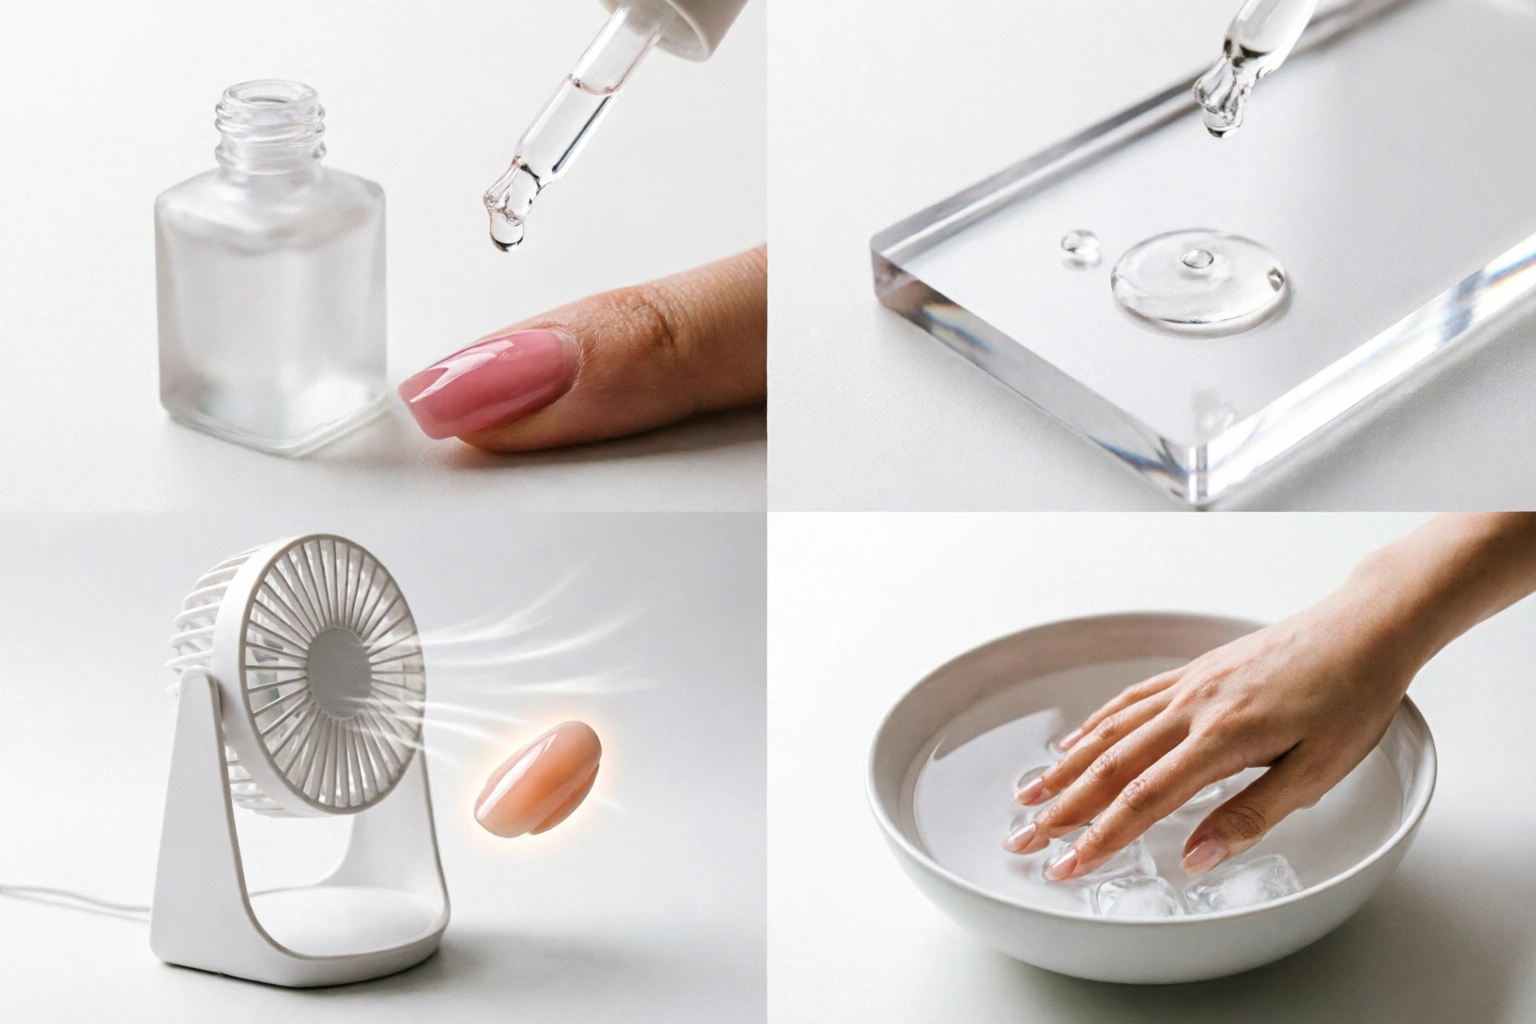
How to Dry Nail Polish Faster at Home Without Smudging Your Manicure

If you want your manicure usable sooner, the fastest practical route is usually a combination of thin coats, a quick-dry product, and cool air.

Fastest method, ranked:
1. For product users: thin coats + a quick-dry top coat is usually the best first choice.
2. If you want extra help: add drying drops after the final color coat or top coat.
3. For household-only users: use a fan or cool air from a hair dryer on a low setting.
4. Cold water or ice water can help the surface set, but it is more awkward and can disturb uncured polish if handled carelessly.
Here’s the short version:
- Paint in thin layers. Thick coats are the biggest reason polish feels dry on top but stays soft underneath.
- Use a quick-dry top coat or drying drops after the final color coat.
- Finish with cool air from a fan or a hair dryer on the cool setting.
- Avoid heat, heavy pressure, and water impact while the manicure sets.
If you need to choose only one method and you already own a product, a quick-dry top coat is usually the most convenient. If you want a simple household method, cool air from a fan is the easiest low-risk option. Some brands also suggest drying drops or cold water methods, but those work best as part of a careful routine, not as a shortcut that makes polish instantly cured.
For a more complete breakdown of drying products and prep steps, see our guide on how long nail dehydrator takes to dry and this related article on whether nail dehydrator dries on its own.
What You’ll Need
You can dry polish faster with either a product-based method or a household method. Gather what fits your routine before you paint, so you are not hunting for tools while your nails are still wet.
Product-based tools
- Quick-dry top coat
- Nail polish drying drops
- Nail polish drying spray, if you already use one
- Base coat
- Regular nail polish or quick-dry polish
Household tools
- Small fan
- Hair dryer with a cool setting
- Bowl of cold water or ice water, if you use that method
- Cotton pads or lint-free wipes
- Nail polish remover for cleanup only, if needed
Prep items that help
- Soap and water to wash hands before painting
- Nail file
- Cuticle pusher
- Nail buffer
- Dehydrator or cleansing product, if it is part of your normal routine
A clean, oil-free nail plate helps polish adhere more evenly. That does not make the polish “dry” by itself, but it can reduce the chance of early slipping, patchiness, and soft spots.
How Nail Polish Dries and Why It Still Smudges
Regular nail polish does not harden all at once. The top layer can feel dry before the layers underneath have finished releasing solvents. That is why a manicure can seem ready, then dent when you press it against a phone, sheet, zipper, or steering wheel.
There are two stages to keep in mind:
- Dry to the touch: the surface no longer feels tacky.
- Fully cured: the polish has hardened through more completely and is less likely to dent or wrinkle.
In plain terms, “dry to the touch” means you can lightly touch the surface without it feeling sticky. It does not mean the manicure is ready for normal pressure, tight shoes, bags, gloves, or chores. Fully cured takes longer and varies by formula, so the safest approach is to treat the polish gently well after it stops feeling tacky.
Thickness is the other big factor. A thick coat traps more solvent and takes longer to set. That is why one heavy coat often dries worse than two or three thinner ones. Thin coats may take a little more patience during application, but they usually give you a better finish and a lower smudge risk.
Drying time also varies by formula. Some polishes feel dry much sooner than others, and quick-dry formulas are designed to speed up the process compared with regular polish. A quick-dry top coat can also help, but it is not the same thing as the polish being fully cured underneath.
For timing expectations, some brands note that polish may feel dry to the touch within a shorter window but still need much longer to fully cure and harden. That is a useful benchmark when you are deciding whether to use a speed method or simply plan around the drying window. You can read one example of that kind of guidance on OPI’s nail care page.
Step-by-Step: How to Dry Nail Polish Faster
This is the simplest practical routine for regular polish.
1) Finish with thin, even coats
If your color looks sheer after one coat, resist the urge to pile it on. Use two or three thin coats instead of one thick one. Thin layers dry more evenly and are less likely to wrinkle.
2) Let each coat settle before the next one
Give each layer a short pause before applying the next. You do not need to wait until the nail is completely hard, but you do want the layer to stop moving when you brush the next one on. If the polish is still sliding, the next coat can drag and create a thicker, slower-drying surface. As a practical benchmark, wait until the coat looks smooth and no longer shifts easily before adding the next layer.
3) Seal with a quick-dry top coat
A quick-dry top coat is one of the most useful speed products because it locks in the manicure and helps the surface set faster. Use it as the final step after your color has been applied evenly.
4) Add drying drops if you need extra speed
Drying drops are a good choice when you want a more targeted option. They are especially useful if you already like your polish finish and just want to reduce wait time after the final coat.
5) Use cool air, not heat
A fan or cool air from a hair dryer on a low setting can help move the process along. Keep the airflow gentle so you do not disturb the surface. In general, cool air is the safer choice than heat because it is less likely to soften the polish or create bubbles.
6) Protect the manicure while it sets
For the first stretch after painting, treat your nails like they are still vulnerable. Avoid zippers, pockets, tight sleeves, typing with the tips, and anything that presses directly on the nail surface.
Best Fast-Drying Methods Compared
Here is a practical comparison to help you choose based on time, cost, and convenience.
| Method | Speed | Cost | Ease | Smudge Risk | Best For |
|---|---|---|---|---|---|
| Quick-dry top coat | Fastest for most people | Low to moderate | Very easy | Low if applied well | Most DIY manicures |
| Drying drops | Fast | Moderate | Easy | Low | People who want a targeted finish |
| Fan or cool air | Moderate | Low if you already own one | Very easy | Low | Simple at-home drying |
| Cold water / ice water | Can help the surface set, but not full dry | Very low | Easy but awkward | Moderate if handled carelessly | Short-term surface setting |
| Hair dryer on cool setting | Moderate | Low if already owned | Easy | Moderate if airflow is too strong | Quick household option |
Quick-dry top coat vs drying drops
If you want the most straightforward upgrade, a quick-dry top coat is usually the better first purchase. It adds shine and speed in one step. Drying drops are more specialized and can be great if you already have a top coat you like and just want extra help at the end.
Air drying vs fan drying
Plain air drying is the slowest option. A fan gives the polish moving air, which is more helpful than sitting still in a warm room. If you are in a hurry, a fan is a better bet than hoping the manicure sets on its own.
Cold water method vs room-temperature drying
Cold water or ice water can help the surface feel set sooner, but it does not make polish fully dry or fully cured. It is better viewed as a support method than a magic fix. It can also be awkward to use and may disturb the polish if you move your hands too quickly or bump the nails against the bowl.
How to Apply Polish So It Dries Faster
Drying speed starts before the final top coat. The way you apply polish has a big effect on how long the manicure stays soft.
Use a clean nail surface
Wash your hands first to remove oils, then make sure the nails are dry before polishing. Oils can interfere with adhesion and make the polish behave unevenly.
Keep the base coat thin
A base coat should be even, not heavy. A thick base layer slows the whole manicure because it adds more material that has to set.
Avoid overloaded brushes
If the brush is dripping, wipe off the excess before applying. A controlled amount of polish gives you a smoother coat and less pooling at the edges.
Choose coverage over thickness
If one coat looks a bit sheer, that is usually better than forcing full opacity in one pass. You can build color with another thin layer. The trade-off is a little more application time now for less drying frustration later.
Use polish that is not too old
Older polish often gets thicker and more sticky, which makes it harder to apply in thin layers. If your bottle has become gloopy, it can slow down drying simply because the coat goes on too heavy.
For more prep-related context, Manucurist’s guidance on cleansing and prep is useful reading from a technique standpoint: nail preparation and degreasing steps.
What Not to Do While Polish Is Setting
A lot of smudging happens because the manicure is treated like it is finished too soon.
Don’t use hot air
Heat can work against you. A hot blow-dryer may soften the surface or cause bubbles. If you use a dryer at all, choose cool air.
Don’t stack on thick layers
One thick coat looks efficient, but it usually creates the longest wait and the highest dent risk.
Don’t test with a hard tap
People often tap one nail against another to check dryness. That can leave a tiny mark even when the surface seems okay.
Don’t jump into chores
Washing dishes, pulling on gloves, carrying bags, folding laundry, or opening tight lids can all press or bend the nail before the polish is ready.
Don’t assume a dry-looking surface means cured polish
That is the most common mistake. A manicure can look finished while still being vulnerable underneath.
Simple 5-Minute Post-Paint Checklist
Right after you finish painting, do this:
- Hold your hands still for a minute so the surface can settle.
- Check for thick spots near the cuticle and sidewalls, and gently smooth any pooling if needed.
- Use cool air or a fan for a few minutes if you have one.
- Avoid touching your nails to anything while they are still soft.
- Keep water, clothes, and tools away from the manicure until the surface feels set.
OPI also advises avoiding tight gloves, intense workouts, and other nail-bending activities for the first day after application. That is a sensible rule if you want the finish to stay smooth.
How to Tell When Your Nails Are Really Dry
There is no perfect universal timer, so use a few practical checks.
Dry to the touch
The surface should not feel tacky when you hover or lightly touch the edge very carefully.
Ready for light use
You may be able to handle low-pressure tasks, but that does not mean the manicure is fully set.
Fully cured
This is when the polish is much less likely to dent from normal pressure. It takes longer than the point where it simply feels dry.
A useful rule: if you can still leave a mark by pressing firmly, the manicure is not ready for normal wear. That is especially true with darker colors and thicker applications, which often hide softness until you bump them.
Troubleshooting: Why Your Polish Is Still Soft or Wrinkled
If your manicure keeps smudging, the problem is usually one of these.
The coat was too thick
This is the most common reason. Fix it next time by using less polish on the brush and building coverage with another thin coat.
The polish is old or sticky
Older bottles often apply unevenly. If the formula has thickened, it is harder to get a smooth, fast-drying finish.
You layered too many wet coats too quickly
If each coat goes on before the one below has settled, the whole stack stays soft longer.
You used the wrong drying method
Heat, aggressive airflow, or rough water handling can disturb the top layer instead of helping it.
The manicure was bumped too soon
Even a small accidental knock can leave a dent that looks like a drying problem. In many cases, it is really a pressure problem.
Practical Examples for Common Situations
You painted your nails before bed
Use thin coats, a quick-dry top coat, and then keep your hands free from sheets and blankets for as long as you reasonably can. If you tend to wake up with texture marks, this is usually because the polish was still soft when you went to sleep.
You need to leave the house soon
Skip thick color layers. Use a quick-dry top coat and a fan if available. That gives you the best balance of speed and low smudge risk.
You do not own drying products
A fan or cool air is the simplest fallback. It will not be as targeted as a drying formula, but it is easy and low effort.
You are choosing between cold water and a fan
Pick the fan if you want a cleaner, less awkward routine. Use cold water only if you are comfortable handling the bowl carefully and you can avoid bumping the nails.
When to Ask a Nail Technician
If your polish keeps wrinkling, drying unevenly, or staying soft no matter what you do, a nail technician can help you troubleshoot the application pattern. Sometimes the issue is not the drying method at all. It can be the polish formula, the way layers are applied, or the prep routine before color goes on.
A technician can also help you decide whether a quick-dry polish, a different top coat, or a simpler layering routine would suit your nails better.
FAQ: How to Dry Nail Polish Faster
Does cold water really help nail polish dry faster?
It can help the surface set, but it does not guarantee full curing. Use it gently, and think of it as one tool rather than the whole answer.
Is a fan better than air drying?
Yes, usually. Moving cool air helps more than simply waiting in still air.
Can I use a hair dryer on my nails?
Use cool air only. Heat is more likely to cause problems than help.
Do quick-dry top coats actually work?
They are one of the most practical options for regular polish because they combine speed and sealing in one step.
Why does my polish look dry but still dent?
The top layer may be set while the layers underneath are still soft. That is normal with regular polish, especially if the coat was thick.
How long should I wait before doing normal activities?
There is no universal number that fits every formula, so the safest approach is to treat the manicure as delicate far longer than the point where it merely feels dry.
What is the fastest safe method overall?
For most DIY manicures, the best blend of speed and reliability is thin coats plus a quick-dry top coat, then cool air if you have it.