
Why Nail Polish Bubbles and How to Stop It

If you’ve ever finished painting your nails only to spot tiny bubbles in the color, you’re not alone. Bubbling is one of the most common beginner manicure problems, and it usually comes down to how the polish was applied, how it dried, or the condition of the product itself.
The good news: most bubbling problems are fixable. In many cases, you do not need to throw out every bottle or start over from scratch. You just need to figure out what caused the bubbles and adjust one or two steps next time.
Why Nail Polish Bubbles: The Simple Explanation
Bubbles form when air gets trapped in the polish or when the polish dries unevenly. As the surface sets, those trapped pockets can rise, expand, or stay visible under the finish. Sometimes they show up right away. Other times they appear as the manicure dries.
A bubbly finish usually means one of three things:
- the polish was applied too thickly
- air was mixed into the bottle or brush
- the layers underneath were still too wet when the next coat went on
Think of polish like a thin coating that needs time to settle. If it is disturbed too much, piled on too heavily, or forced to dry under poor conditions, the surface can trap tiny pockets that become visible bubbles.
The Most Common Causes of Bubbling
Here’s a simple breakdown of the usual suspects. If you know when the bubbles started, you can usually narrow down the cause quickly.
| Likely cause | What it usually looks like | Simplest fix |
|---|---|---|
| Shaking the bottle hard | Tiny bubbles appear in the polish before or right after application | Roll the bottle gently instead of shaking it |
| Thick coats | The surface looks smooth at first, then bubbles appear as it dries | Use thinner coats and build color gradually |
| Painting too quickly | Later coats disturb the layer underneath | Wait until each coat is more settled before adding the next |
| Humid, hot, or very cold room | Bubbles show up during drying, even if application looked fine | Move to a more moderate room with gentle airflow |
| Old or thickened polish | Polish feels stringy, clumpy, grainy, or hard to spread | Replace the bottle or use a proper nail polish thinner |
| Top coat applied too soon | The finish wrinkles or bubbles underneath the top layer | Let the color layer set more before sealing it |
Shaking the Bottle Can Add Air
It’s tempting to shake polish hard because it seems like the fastest way to mix it. But vigorous shaking can whip air into the formula. Those air pockets may show up as bubbles once the polish is on your nail.
A gentler option is to roll the bottle between your palms. That helps mix the contents without creating as many bubbles. It takes a little longer, but it usually gives a smoother result.
Thick Coats Trap More Problems

One thick coat may look easier, but it dries less evenly than several thin coats. The outside can start to set while the layer underneath is still soft. That mismatch makes bubbles more likely.
Thin coats take more patience, but they give you more control. If you want a smoother finish, apply enough polish to cover the nail, not so much that it pools near the cuticle or sidewalls.
Drying Too Fast or Too Slowly Can Both Cause Trouble
Drying conditions matter more than many beginners realize. If the room is hot or humid, polish may stay wet longer and the surface can trap bubbles as it sets. If you use a fan, heater, or other strong airflow too close to the nails, that can also disturb the surface and create texture problems.
Very slow drying usually leads to smudging, dents, or tackiness, not necessarily bubbles by itself. Bubbles are more likely when the polish is still moving or soft while the top layer starts to skin over. The goal is steady drying, not rushed drying.
A calm room with normal indoor airflow is usually a better choice than trying to speed things up aggressively.
Dust, Lint, or Water Can Also Cause Bumps That Look Like Bubbles
Not every bubbly-looking flaw is caused by the polish formula. Tiny particles of dust or lint on the nail can create little bumps under the color. Water left on the nail surface can also interfere with adhesion and leave uneven spots.
That kind of problem usually looks more like isolated bumps, specks, or rough patches than a field of round air bubbles. If you notice a few raised spots in one area, clean and dry the nail surface before repainting.
Old Polish Is More Likely to Bubble
As polish ages, solvents evaporate and the formula can thicken. Thickened polish does not spread as smoothly, which makes it easier to trap air and leave a rough surface.
If your polish pulls into strings, looks separated even after gentle rolling, or dries with a grainy finish, the bottle may no longer be worth using. Sometimes a proper nail polish thinner can help. But if the formula is badly changed, replacing it is the cleaner solution.
How to Tell Whether It’s the Polish or the Application
If you’re trying to figure out where the problem started, use this simple rule:
- Bubbles appear immediately while painting: likely shaking, brush technique, a thick formula, or dust/lint on the nail
- Bubbles appear as the nails dry: likely the coat was too wet, the room conditions were off, or the layers were applied too quickly
- The polish is thick, stringy, clumpy, separated, or grainy in the bottle: likely a product issue
- The polish looks fine in the bottle but bubbles only when you use it: more likely an application issue
- Tiny raised specks appear in only a few spots: more likely dust, lint, or leftover moisture on the nail surface
A helpful comparison is this: if the same polish bubbles only when you apply it one way, the technique is probably the problem. If multiple careful applications still bubble, the product itself may be the issue.
A fresh polish usually spreads more evenly than old polish. If you want a broader beginner-friendly comparison of polish types and formulas, you may also find nail polish vs. nail lacquer useful.
How to Fix Bubbles in an Already-Applied Manicure
If the manicure is already on your nails, your next step depends on how bad the bubbling is.
Quick decision path for beginners
- If the surface is only slightly uneven: try a thin top coat
- If the bubbles are small but the manicure is still mostly smooth: a top coat may help make it look more even
- If the bubbles are raised, widespread, or still obvious after a top coat: remove and redo the manicure
- If the polish also looks grainy, clumpy, or separated: redo it and consider replacing the bottle
If the bubbles are light and only on the surface
Try this:
- Let the nails dry a little longer before touching them.
- If the surface is only slightly uneven, apply one thin layer of top coat.
- Use a light hand so you don’t drag the color underneath.
- Let the manicure dry in a calm room.
This works best when the bubbles are small and limited. A thin top coat can sometimes help smooth the look enough to make the manicure wearable. It will not remove deep or widespread bubbles, though, and it can seal them in if the surface is already badly textured.
If the bubbles are raised or widespread
A full redo is usually the better choice. If the bubbles are visible across most of the nail, sealing them in with more product often makes the texture more obvious, not less.
In that case, remove the polish and start fresh. A clean restart saves time compared with layering more and more product over a finish that is already uneven.
If you need a refresher on dealing with polish that is not setting properly, how to fix nail polish that won’t dry and why nail polish dries slowly can help you troubleshoot related issues.
How to Prevent Nail Polish Bubbling Next Time
A smooth manicure usually comes down to a few steady habits.
Use gentle bottle mixing
Roll the bottle between your hands instead of shaking it hard. If the polish has sat for a while, give it a little time to blend before you paint.
Apply thin coats
Thin coats dry more evenly and are less likely to trap air. If the first coat looks patchy, resist the urge to pile on a thick second coat right away. Two or three thin coats are often better than one heavy one.
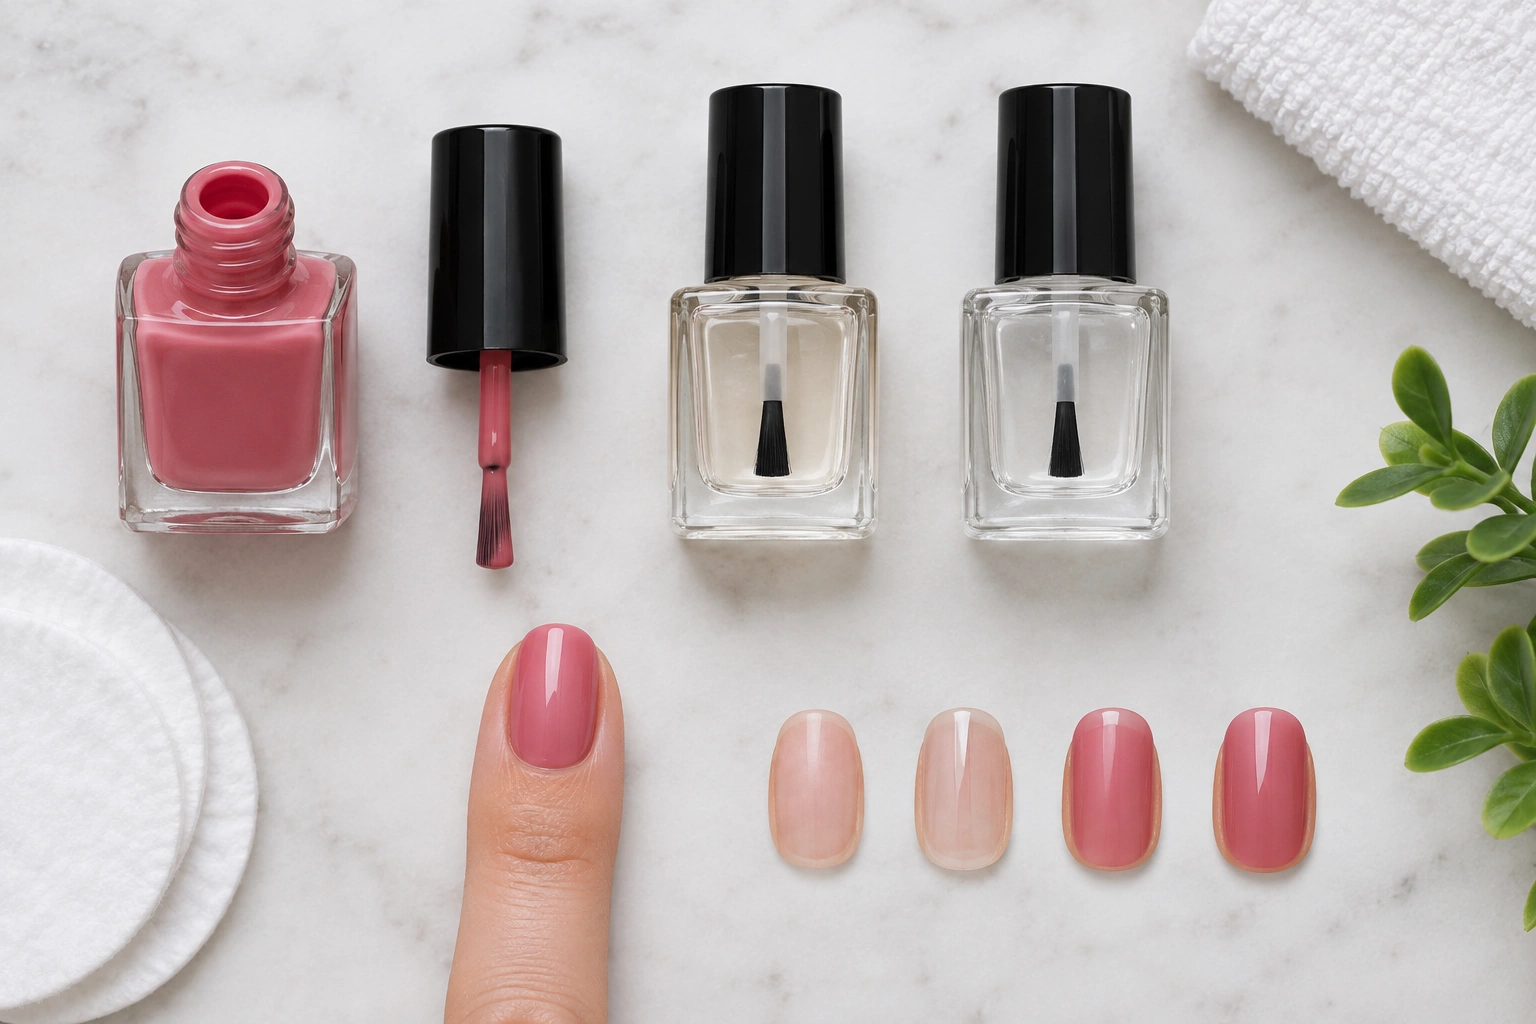
Give each layer time to settle
Even if the polish feels dry on top, it may still be soft underneath. Rushing the next coat can disturb the layer below and create bubbles. A little patience here makes a big difference.
Watch the room conditions
Avoid painting nails in a very hot, humid, or overly cold space. Those conditions can change how the polish behaves while it dries. A normal indoor room is usually the safest bet for beginners.
Be careful with top coat timing
Top coat can protect your manicure, but only if the color layer is ready for it. If the color is still too wet, the top coat can pull or trap the surface and make bubbling worse.
For a related drying issue, why nail polish stays tacky after drying explains why a manicure may feel soft or sticky even after it looks set.
When to Replace the Polish
Sometimes the bottle is the real problem.
Consider replacing the polish if:
- it has become thick and stringy
- it no longer mixes smoothly
- it dries with a grainy finish
- the formula applies unevenly no matter how carefully you paint
- bubbles happen with several different application methods
- the polish has clearly changed in texture since you bought it
A good rule: if the polish is still usable but clearly harder to work with, try a proper nail polish thinner made for cosmetic use. If the product is badly separated, clumpy, or consistently gives a rough finish, it is usually not worth fighting.
Do not add random household liquids or solvents to “fix” it. That can change the formula in ways you do not want.
When to See a Nail Technician or Dermatologist
If the bubbling seems tied to repeated nail surface changes rather than the polish itself, or if your nails are also peeling, lifting, or looking unusually damaged, it’s worth checking in with a professional. A nail technician can help you troubleshoot product and application issues, while a dermatologist can look at nail health concerns.
Quick Recap: The Easiest Way to Avoid Bubbles
If you want the shortest possible answer, here it is:
- mix polish gently, not aggressively
- use thin coats
- let each layer settle before the next one
- avoid hot, humid, or very cold rooms
- replace thickened or badly changed polish
Most bubbling comes from too much air, too much product, or too little drying time. Once you know which one is causing the issue, smoother manicures become much easier.

