
Why Nail Polish Looks Uneven — and How to Fix It at Home

Uneven nail polish usually means the color did not go on in a smooth, balanced layer. That can show up as streaks, patchy spots, bubbles, drag marks, or thick ridges. In practice, the problem is rarely just one thing. It is usually a mix of polish thickness, brush control, nail prep, and drying time.
The good news: most uneven manicures can be improved without starting from scratch. If you can tell which kind of unevenness you are seeing, you can usually choose the fastest fix instead of guessing.
Uneven Polish Symptom Checker

Use the visual clue first. The symptom often points to the cause.
| What you see | Most likely cause | Fastest fix | Salvage or redo? |
|---|---|---|---|
| Streaks or brush lines | Coat is too thin, brush is too dry, or polish is starting to set while you work | Add a smoother second coat with a better-loaded brush | Usually salvageable |
| Patchy or sheer spots | Polish is too sheer for the color, or the nail surface is oily/dusty | Clean the nail and apply another thin coat | Usually salvageable |
| Lumpy or thick ridges | Too much polish was applied at once, or the formula is old and gloopy | Remove and repaint if the surface feels raised | Often needs a redo |
| Bubbles | Bottle was shaken hard, coat was too thick, or layers were applied too quickly | Let it dry fully, then restart if bubbles are visible | Usually redo |
| Drag marks or dents | The layer was touched before it had set | Wait longer between coats and avoid overworking the surface | Sometimes salvageable |
| Uneven finish on only one or two nails | Prep issue on those nails, inconsistent brush loading, or differences in nail shape or surface texture | Reclean and repaint the problem nails | Usually salvageable |
If you want a fast rule: streaks and light patchiness often improve with one more careful coat. Bubbles, ridges, and gummy-looking layers usually do not.
Why Nail Polish Looks Uneven
The simplest answer is that polish is trying to level itself on a surface that may not be clean, smooth, or evenly coated. If the layer is too thin, you see brush marks and gaps. If it is too thick, it can pool, wrinkle, or dry unevenly. If the nail has oil, lotion, or dust on it, the polish may slide around instead of gripping evenly.
Uneven results on only some nails are not always a prep problem. Nail shape, surface texture, and how much polish the brush picked up from one stroke to the next can all change how a coat looks. One nail may also dry faster or slower than the others depending on room temperature, humidity, or how long that finger sat before the next coat went on.
Old or thickened polish is another common reason. As LondonTown notes, older nail polish can become thick and gloopy, which makes even application harder. That does not always mean the bottle is useless, but it does mean the formula may need help.
For a broader drying question, our guide on whether quick-dry nail polish really dries faster explains why some formulas feel less forgiving during application.
Most Likely Causes, From Easiest to Check First
1) The coat is too thin or too dry on the brush
A brush that is wiped too clean can leave you dragging color across the nail instead of laying it down. That creates streaks, especially with sheer, neutral, or pastel shades.
2) Too much polish was loaded at once
A heavy bead of polish may look like it covers faster, but it often leaves ridges and uneven edges. Thick coats are also more likely to dry poorly and peel.
3) The nail was not fully prepped
Oil from lotion, cuticle oil, or hand cream can make polish slide and separate. Dust from filing can do the same. If the problem happens on only a few nails, prep is often the reason.
4) The polish is old, separated, or too thick
A fresh bottle usually spreads more predictably. A bottle that has sat a long time may need nail polish thinner. If it has become stringy, clumpy, or has separated badly even after gentle mixing, it may be past saving.
5) You worked over a layer that had already started setting
Once polish starts to dry, brushing over it again can leave visible lines instead of smoothing it out. This is a common issue with quick-dry formulas, which can be less forgiving if you need extra time to adjust the coat.
6) The formula itself is naturally streaky
Some sheer and neutral shades need an extra coat or a slightly different application approach. That does not mean you are doing everything wrong. It may simply mean the polish is less opaque than you expected.
How to Fix Uneven Nail Polish Step by Step
If the finish is only lightly streaky
- Let the current coat dry enough that it will not pull.
- Apply a second thin coat, but load the brush a little more generously than before.
- Use fewer strokes. Aim to place the polish, not scrub it around.
- Finish with a top coat once the color layer is smooth enough to keep.
This works best when the problem is visual unevenness, not texture. If the nail feels bumpy, a top coat will not flatten major ridges.
If the polish looks patchy
Patchiness usually means the color is too sheer in that first pass or the nail was not clean enough.
- Wipe the nail with a lint-free wipe if there is residue.
- Make sure the base coat is dry before color goes on.
- Apply another thin coat, focusing on the center of the nail and then the sides.
A base coat can help the color spread more evenly, but it is not a miracle fix for an oily nail plate. If you want to understand drying helpers, see our guide on drying drops for nail polish.
If there are bubbles or thick ridges
At that point, I usually recommend a restart. Bubbles tend to stay visible even after top coat, and ridges often mean the surface has already dried in a bad shape.
Remove the polish, clean the nail, and repaint with:
– thinner coats
– less shaking of the bottle
– more drying time between layers
If one nail looks worse than the others
Do not assume the whole manicure is bad. One uneven nail often means one nail had more oil, more dust, a different surface texture, or a heavier brush load.
Fix just that nail:
– lightly remove the color on the problem nail
– wipe the nail clean
– repaint it using the same technique as the others, but with a slightly lighter touch
Thin Coats vs. Thick Coats: What Actually Works Better
Thin coats are usually the safer choice for even coverage. They dry more uniformly and are less likely to pool at the sidewalls or cuticle edge. The trade-off is that they may need an extra coat, especially with sheer colors.
Thick coats can seem efficient because they cover faster. In reality, they often create the problems people are trying to avoid: streaking, bubbling, and a finish that looks dry on top but soft underneath.
If you need more opacity, add a coat. Do not try to force it with one heavy pass.
Brush Technique That Makes a Noticeable Difference
The goal is to let the brush glide, not scrape.
A practical method:
– place the brush near the center of the nail
– push gently toward the cuticle without flooding it
– pull back toward the tip in one smooth stroke
– use two side strokes only if needed
If you press hard, you can leave grooves. If you press too lightly with too little polish, you get streaks. The sweet spot is enough polish on the brush to cover the nail in a few controlled strokes.
For longer nails, lightly brushing over the free edge can help seal the color. Capping the tips can help keep the polish in place. That does not fix a bad first coat, but it can help the manicure wear more evenly.
When Another Coat Is Enough vs. When to Start Over
Use this decision rule:
- Add another coat if the polish is smooth but sheer, streaky, or lightly patchy.
- Start over if the polish is bubbly, lumpy, dragging, or visibly wrinkled.
- Remove and redo immediately if the surface feels raised, gummy, or full of texture that a top coat will not hide.
Here is the trade-off. A salvage coat is faster and saves product, but it only works when the surface is already reasonably even. If the texture is wrong, every extra layer tends to make the problem more obvious.
A realistic example: a nude polish looks streaky after two coats because the brush was wiped too dry. That can often be fixed with a third thin coat. But if the same polish has raised ridges and air bubbles, a third coat will usually trap the flaw instead of hiding it.
When the Polish Formula Is the Problem
Sometimes the technique is fine and the bottle is the issue.
Signs the formula may be the real problem:
– it looks stringy when you lift the brush
– it separates quickly in the bottle
– it applies unevenly even after you prep well
– it feels unusually thick or gummy
– it leaves clumps or grainy bits on the nail
If the polish is only slightly thickened, nail polish thinner may restore a smoother consistency. Use a product made for polish, not acetone, because acetone can damage the formula. If the bottle has turned very thick, smells off, or has visible contamination, replacing it is the safer call.
Old polish is not always bad polish. But old polish is more unpredictable, and unpredictability is exactly what causes uneven coverage.
Regular polish vs. quick-dry polish
Regular polish usually gives you a little more time to smooth out streaks or even out a brush stroke. Quick-dry polish can be less forgiving, so it often needs lighter, more deliberate application from the start.
With quick-dry polish:
– work in smaller sections
– avoid going back over a spot too many times
– keep coats thin so the surface sets evenly
With regular polish:
– you may have a bit more room to adjust, but the same rule still applies: overworking the coat usually makes it worse, not better
How to Prevent Uneven Polish on Future Manicures
Prep the nail properly
Before color goes on, remove lotion, dust, and oil. A lint-free wipe helps more than a cotton ball because it leaves less fuzz behind. If you use a nail dehydrator, follow the product directions and do not overdo it.
Use a base coat
A base coat gives the color a more even surface to grip. It also helps reduce the “grabby” feeling that can make polish drag in spots.
Keep the layers thin and even
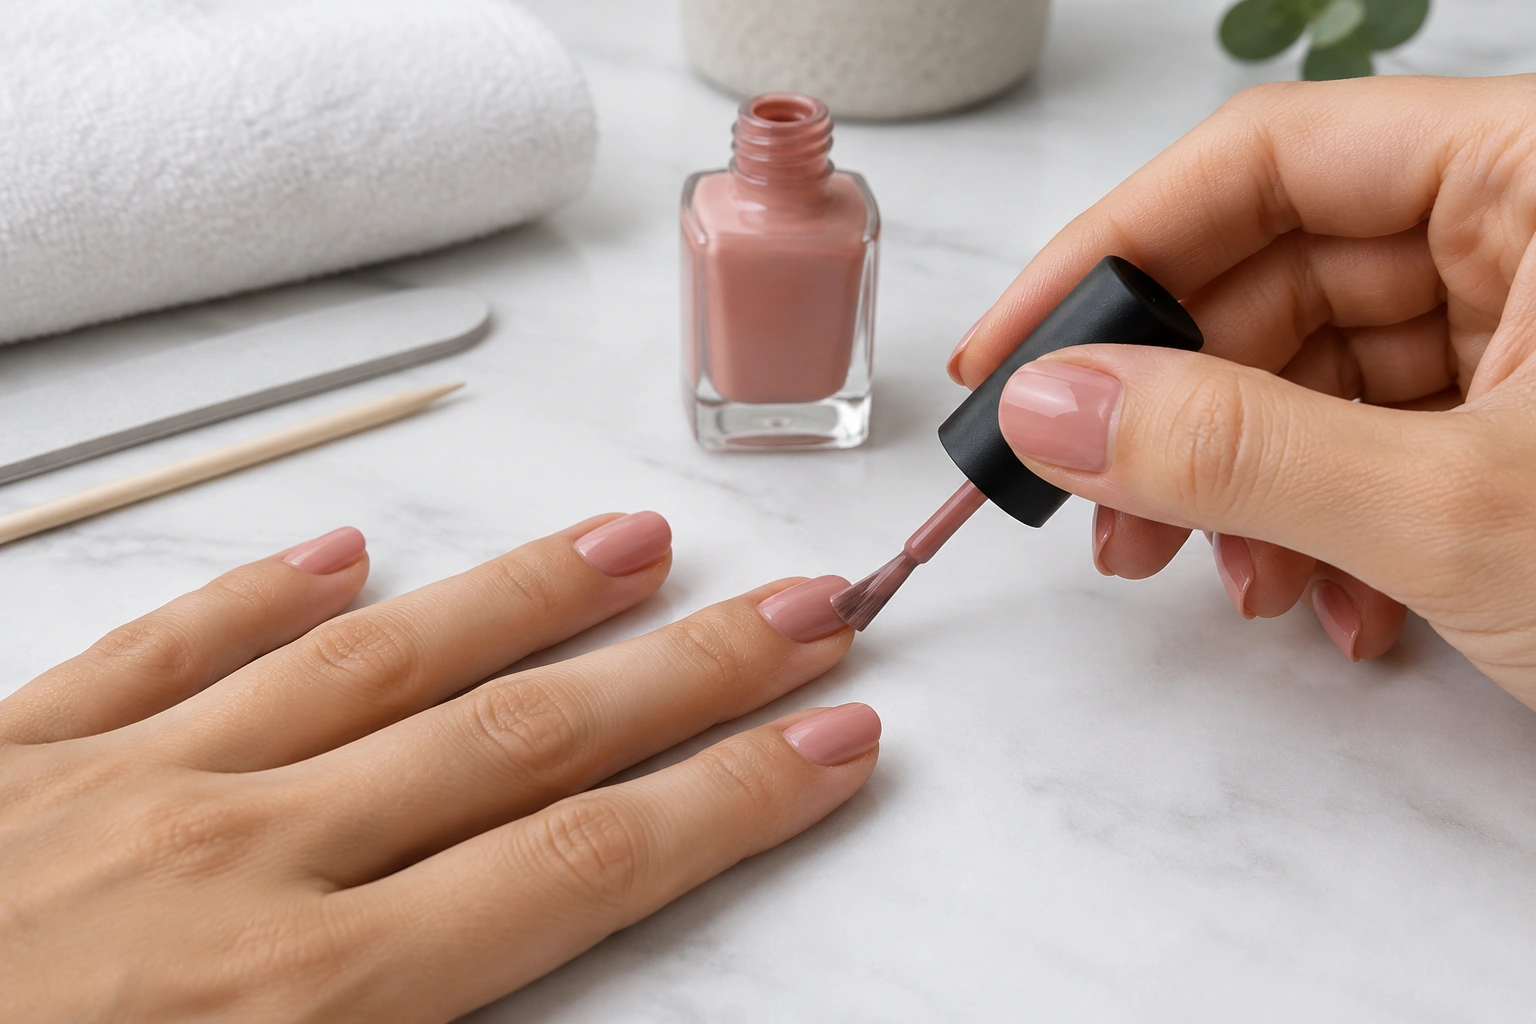
This is the single most repeatable fix. Thin coats may take an extra minute, but they usually save time in the end because you are less likely to redo the manicure.
Avoid common application mistakes
A few small habits can make polish look uneven fast:
– shaking the bottle hard instead of rolling it gently
– over-brushing the same area until the polish starts to set
– applying polish too close to the cuticle and flooding the edge
– wiping the brush too dry before application
– loading too much polish on the brush for one nail and too little on the next
Give each layer enough time
If you rush the next coat, you can drag the one underneath. That is how a smooth-looking manicure turns streaky after the second pass. Quick-dry formulas can help with waiting time, but they can also reduce your working time, so use lighter, more deliberate strokes.
For readers comparing drying methods, our article on cold air and nail polish drying covers what helps and what does not.
When to See a Nail Technician or Dermatologist
See a nail technician if:
– the same uneven result keeps happening even after you improve prep and coat thickness
– a polish formula repeatedly fails on your nails
– you want help identifying whether the brush, formula, or technique is the real issue
See a dermatologist if:
– the nail itself is damaged, painful, inflamed, or changing in a way that is not just cosmetic
– you suspect a skin reaction to a product
– the nail surface is compromised enough that polish keeps failing for reasons beyond application
If the nail plate is not healthy, polish troubleshooting will only go so far.
Quick FAQ
How many coats should I use for even coverage?
Most regular polishes look best with two thin coats, though sheer shades may need more. The real test is opacity and smoothness, not a fixed number.
Why is my polish uneven on some nails but not others?
That usually points to prep differences, like oil, dust, or leftover product on certain nails. It can also happen if you loaded the brush unevenly from nail to nail, or if those nails have different surface texture or shape.
Can I fix uneven polish without removing it all?
Yes, if the problem is mild streaking or patchiness. A careful extra coat often helps. If the surface is lumpy, bubbly, or gummy, a full redo is usually the better choice.
Is old polish still usable?
Sometimes. If it is only thickened, polish thinner may help. If it is stringy, separated badly, or contaminated, it is usually better to replace it.
Does a top coat fix uneven polish?
A top coat can smooth minor texture and improve shine, but it will not fully hide ridges, bubbles, or patchy color. Think of it as a finisher, not a repair tool.
Why does my polish dry unevenly after looking fine at first?
That often means the coat was too thick or the layers were applied before the previous one had settled. The surface may look okay while wet and then show flaws as it dries.
Does quick-dry polish cause more unevenness?
It can, because it leaves less time to adjust the coat before it starts setting. That does not make it bad polish, just less forgiving.
Why does my manicure look worse after the second coat?
Usually the second coat is too heavy, or the first coat had not dried enough. The second layer can pull the first one around instead of smoothing it.

