
How to Apply Nail Polish Neatly at Home: A Beginner-Friendly Guide

If you want a clean manicure that looks polished instead of rushed, the secret is less about talent and more about sequence. Good prep, thin coats, and a steady brush hand do most of the work. In this guide, I’ll walk you through exactly how to apply nail polish at home so you can get smoother coverage, cleaner edges, and better wear without salon-level tools.
What You Need Before You Start
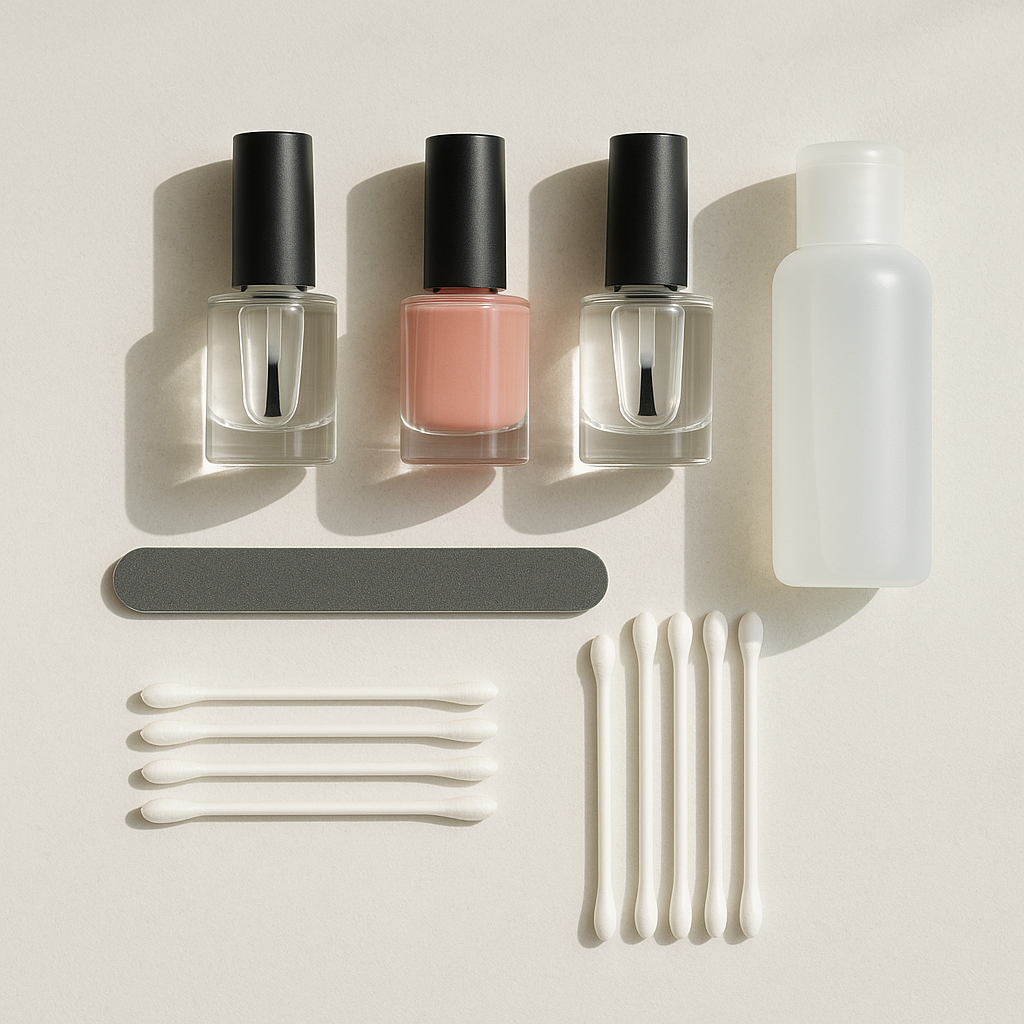
Gather everything first so you are not hunting for tools with wet nails. A basic at-home kit looks like this:
- Nail polish remover
- Cotton pads or lint-free wipes
- Nail file
- Buffer, if you want to lightly smooth ridges
- Base coat
- Nail polish color
- Top coat
- Cotton swab or cleanup brush
- A small cleanup tool like a flat brush, if you have one
If your polish is old and thick, you may also need nail polish thinner. That is different from remover; thinner is made to restore the polish’s texture, while remover will break it down.
One practical decision at this stage: if you only have time for a short routine, choose a quick-dry top coat rather than skipping top coat entirely. A top coat usually gives you better shine and helps protect the color, while quick-dry formulas mainly reduce wait time.
Prep Your Nails for Better Adhesion
Clean nails make the biggest difference in how polish looks and lasts. If there is leftover oil, dust, or old polish, the new layers can slide around instead of gripping well.
Follow this prep order:
- Remove any old polish completely.
- Wash your hands and dry them well.
- Shape the nails with a file.
- Lightly smooth the surface only if needed.
- Wipe nails again so they are clean and dry.
Keep the shaping simple. A soft square or rounded shape is easier for beginners because the corners are less likely to catch and chip. If you buff, do it lightly. Over-buffing can leave the nail surface too thin and rough.
For a deeper step-by-step prep routine, see our guide on how to apply nail polish correctly.
Choose Your Base Coat, Color, and Top Coat
Each layer has a different job, and that matters more than people think.
| Product | What it does | When to use it | Trade-off |
|---|---|---|---|
| Base coat | Helps color grip and can reduce staining from darker shades | Use most of the time, especially with bold or dark polish | Adds one more step |
| Color polish | Provides the actual shade | Always, unless you are doing a clear manicure | Needs careful application |
| Top coat | Adds shine and helps seal the manicure | Use if you want a smoother finish and better wear | Can add a little extra drying time |
A base coat is especially useful if your nails stain easily from deep reds, blues, or black polish. A top coat is worth using whenever you want the finish to look more even and less dull.
If you are deciding how many coats of color to use, our guide on how many coats of nail polish you should apply can help you choose based on coverage.
Apply the Base Coat
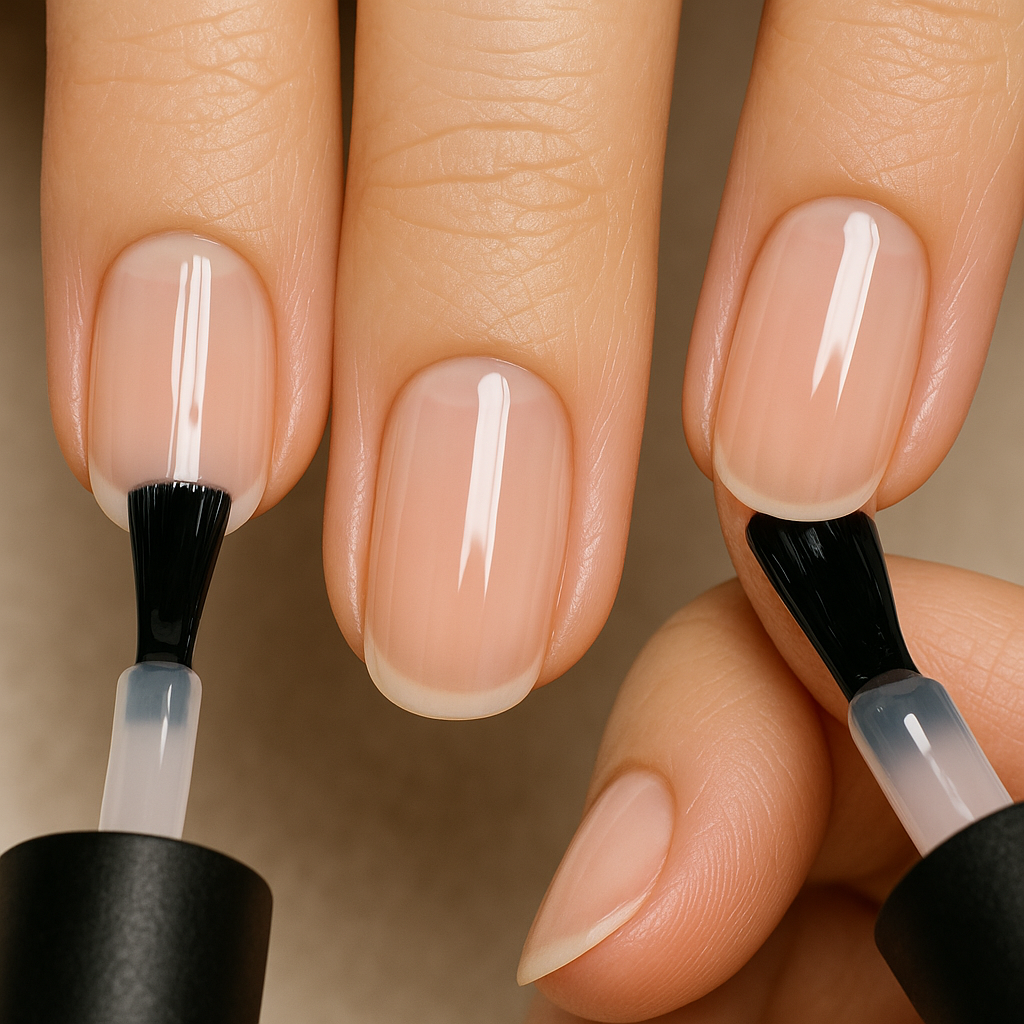
Apply the base coat in a thin, even layer so it just covers the nail plate without pooling at the cuticle or sidewalls. You want enough polish to create a smooth base, but not so much that it looks wet or floods the skin.
Apply base coat like this:
- Wipe a small amount off the brush.
- Place the brush near the center of the nail.
- Glide it toward the tip.
- Cover the whole nail in a thin layer.
- Let it dry before moving to color.
A good beginner check is this: the base coat should look smooth and glossy, but not thick or streaky. If it still feels slippery or leaves a dent when touched lightly, give it a little more time.
Do not flood the skin around the nail. The cleaner your base layer, the easier the color coats will be.
Use the Right Brush Technique for the First Color Coat
This is the part that usually separates a neat manicure from a messy one. The goal is to control the brush, not press harder.
Before painting, roll the bottle between your hands for about 15 to 20 seconds if the polish needs mixing. Rolling rather than shaking can help reduce bubbles.
Then load the brush carefully:
- Wipe one side of the brush clean.
- Let the other side keep a small bead of polish.
- The brush should not drip or look overloaded.
- If you turn it sideways, there should be just enough polish to paint the nail without flooding the cuticle.
That small amount of polish gives you more control. Too much polish is what usually causes flooding around the cuticle.
For application, use the three-stroke method:
- Place the brush near the base of the nail, just above the cuticle.
- Pull one stroke down the center.
- Add one stroke down each side.
- Finish by lightly capping the free edge.
The brush should move from base to tip in smooth, controlled passes. Think glide, not scrubbing. If you touch the surrounding skin, the polish is probably too wet or the brush is too full.
Apply Thin, Even Coats of Color
Thin coats are the easiest way to get a smoother finish. Thick coats look tempting because they cover faster, but they usually dry slower and are more likely to streak or dent.
First color coat
Apply a thin first coat using the three-stroke method. It is normal for the first layer to look slightly sheer. You are building the base of the color, not trying to finish it all at once.
Second color coat
Once the first coat has dried enough not to drag, apply the second coat the same way. For most regular polish, that usually means waiting until the surface looks dry and does not feel sticky or soft when you very lightly test the edge. If you can leave a faint mark with the brush, wait a bit longer. Two thin layers usually give better coverage than one thick one.
Seal the free edge
Capping the free edge means brushing a tiny bit of polish across the nail tip. That can help reduce tip wear. If your nails are very short, pull the skin away from the edge first, then cap carefully.
If you want more detail on why thin layers matter, our article on how to apply nail polish without streaks breaks down the most common brush mistakes.
How Long to Wait Between Coats and After the Final Coat
Drying time is where many beginners get frustrated. The trick is to give each coat enough time to set before the next one goes on. If the polish still feels soft or grabs at the brush, wait a little longer.
A practical rule:
– Wait until the base coat is no longer tacky before color.
– After each color coat, wait until it looks dry on the surface and does not drag when you lightly touch the edge.
– After the top coat, give the manicure a longer uninterrupted dry period before using your hands normally.
For beginners, that often means a few minutes between coats and longer after the final coat, depending on how thick the layers are and how fast the formula dries. If you are unsure, use this simple check: if the polish still feels cool, soft, or sticky, it is not ready yet.
Air drying is simple and works fine if you are patient. Quick-dry products are helpful when time matters, but they do not replace careful application. A thick coat can still stay soft underneath even if the surface feels dry.
If you need to do something right after painting, keep it light. Avoid zippers, jeans, keys, or anything that presses on the nails.
Finish With a Top Coat
A top coat is the final seal. It gives shine, smooths the surface, and helps protect the color underneath from everyday wear.
Apply it in one thin layer:
- Start near the cuticle.
- Pull the brush toward the tip.
- Cover the whole color layer.
- Cap the free edge again.
Do not overwork the brush. If you keep brushing back and forth, you can disturb the color layer underneath and create ridges.
If you are using a quick-dry top coat, apply it the same way. The product dries faster, but the same thin-layer rule still applies.
Clean Up Mistakes Without Ruining the Manicure
Mistakes are normal, especially when you are learning. The best time to fix them is right away if you are removing polish from the skin, before it starts setting and dragging.
Two simple cleanup methods work well:
Cotton swab cleanup
Dip a cotton swab lightly in nail polish remover, then trace around the edge where the polish touched skin. This is the easiest option if you only need to remove a small amount.
Cleanup brush
A cleanup brush gives more precision. It is better if you want crisp sidewalls or if you have several nails to tidy up. A brush can also reach tighter areas without leaving cotton fibers behind.
Use the cotton swab for quick fixes. Use the brush if you want cleaner edges and more control. Either way, keep the tool only slightly damp. Too much remover can run into the polish and cause a bald patch.
If the polish has already started to set slightly, wait a few seconds before cleaning so you do not drag the wet layer across the nail. If you catch a mistake immediately and it is still very wet, use a very light touch and stop as soon as the excess is gone.
If you want a more detailed cleanup routine, our guide on how to get salon nail polish off covers remover use and cleanup basics.
Common Mistakes to Avoid
These are the beginner errors that cause most streaks, bubbles, and smudges:
- Skipping prep and painting over oily nails
- Loading too much polish on the brush
- Using thick coats instead of thin ones
- Painting right onto the skin around the nail
- Not waiting between coats
- Forgetting to cap the free edge
- Touching the nails too soon after finishing
If your polish bubbles, the layer was likely too thick or the bottle was shaken hard. If it streaks, the brush probably had too little polish or you kept passing over the same area too many times.
Troubleshooting: If Your Polish Smears, Chips, or Streaks
If it smears
You probably touched the nail before it was ready. Stop, let it dry longer, and avoid trying to “fix” it while the surface is still soft.
If it chips quickly at the tips
Check whether you capped the free edge. That small step can make a noticeable difference in tip wear.
If it streaks
Use thinner coats and fewer brush passes. A second coat usually evens out the color better than trying to make the first coat perfect.
If the polish seems too thick in the bottle
A small amount of nail polish thinner can help restore older polish. Use thinner, not remover, because remover changes the formula in a different way.
How to Make Your Manicure Last Longer
The easiest longevity habits are simple:
- Use base coat and top coat
- Keep coats thin
- Seal the free edge
- Let each layer dry before the next
- Avoid heavy hand use right after painting
A manicure usually wears better when the first 24 hours are treated gently. That does not mean you need to baby your hands forever. It just means avoiding rough contact while the polish is still fully settling.
If you are removing an old manicure before reapplying, our guide on how to remove salon nail polish can help you do that cleanly before your next round.
Simple Beginner Example: A Basic At-Home Manicure
Here is the full routine in the order I would teach a beginner:
- Remove old polish and wash hands.
- Shape nails with a file.
- Apply a thin base coat and let it dry until not tacky.
- Apply the first thin color coat using the three-stroke method.
- Let it dry.
- Apply the second thin color coat.
- Cap the free edge.
- Let it dry again.
- Apply top coat and cap the edge once more.
- Clean up the skin around the nails with a cotton swab or cleanup brush.
That is the whole system. Once you can do this calmly and consistently, your results will look far more even than trying to rush through extra coats or heavy layers.
When to See a Nail Technician
If your nails are peeling, severely damaged, or the polish keeps lifting in ways that do not improve with better prep, a nail technician can help you troubleshoot the issue in person. A pro can also help if you want a more detailed manicure shape or a longer-lasting salon-style finish.
For most beginners, though, the biggest improvement comes from the basics: clean nails, thin coats, and patience between layers. Master those, and your at-home polish will start looking much more refined.

