
How to Dry Nail Polish Without Smudging: A Beginner’s Guide That Actually Works

If you want the shortest practical answer, here it is: apply thin coats, wait long enough between each layer, and finish with a quick-dry top coat if you have one. Then treat your nails like they are still delicate for a while, because polish can feel dry on top before it is fully set underneath.
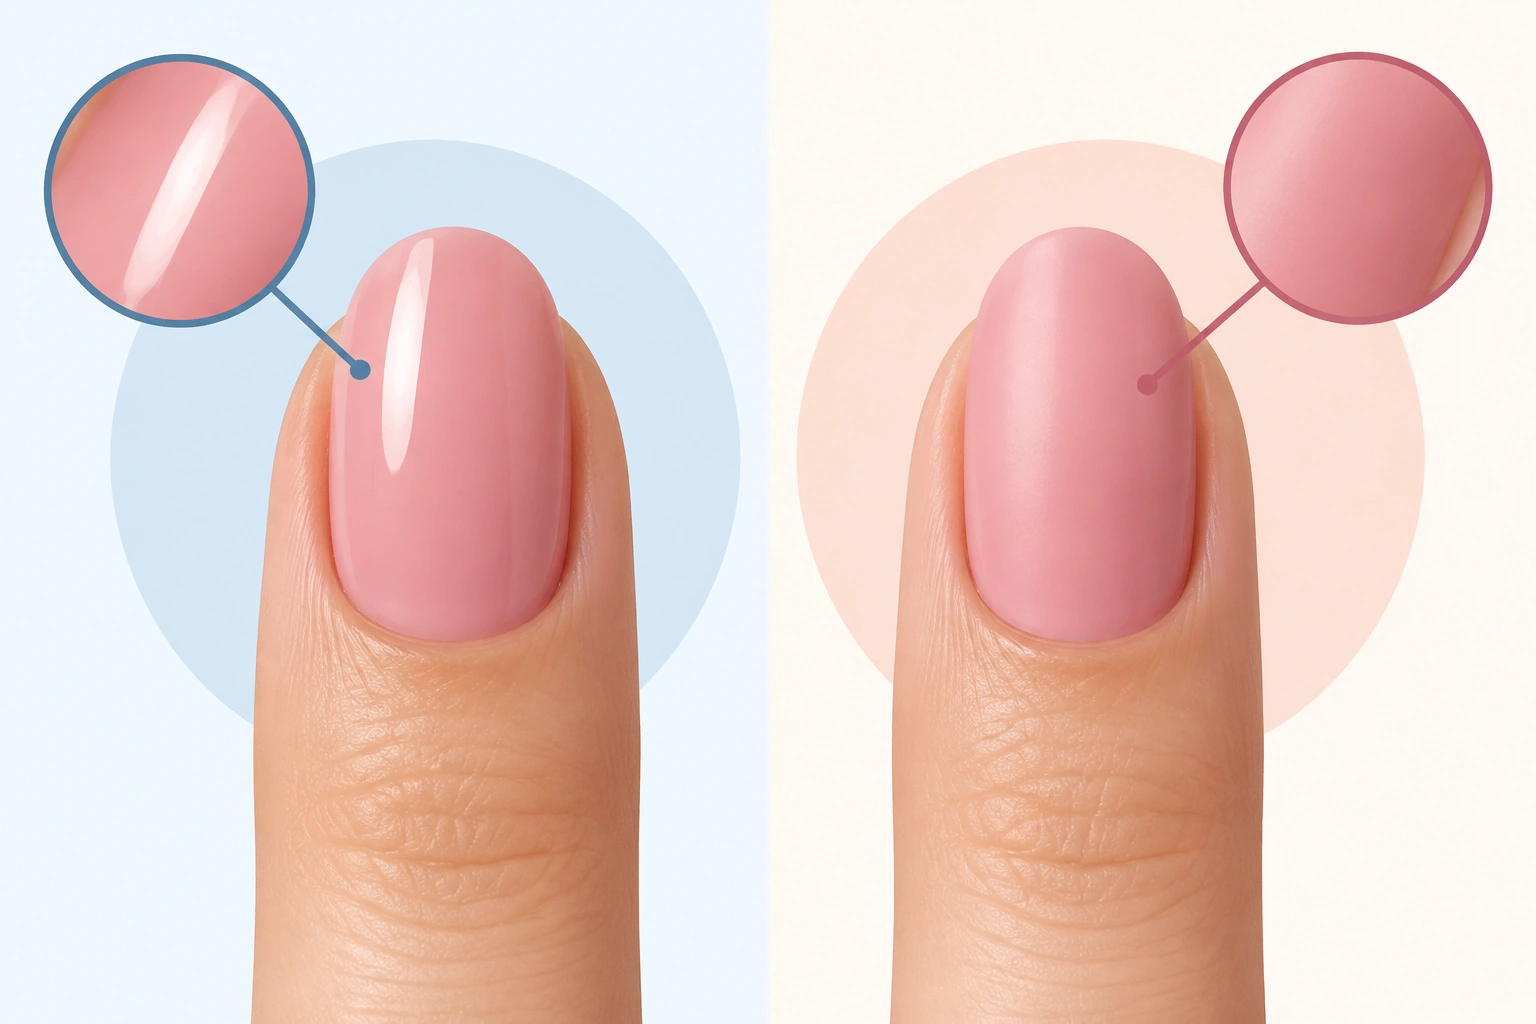
That simple routine prevents most smudges. The biggest beginner mistake is not “bad drying technique” so much as too much polish at once. Thick coats look glossy and smooth at first, but they stay soft longer and dent more easily.
Quick Answer: How to Dry Nail Polish Without Smudging
The safest beginner method is:
- Prep nails with a base coat.
- Apply color in thin layers.
- Wait between coats so each one settles.
- Seal with a quick-dry top coat after the final color layer.
- Avoid heavy use of your hands until the manicure feels fully set.
If you only remember one rule, make it this: thin polish dries more reliably than thick polish. That one change does more than any trick with cold air or water.
If you want more drying help later, you can also compare methods in our related guides on how to dry nail polish faster and the quickest way to dry nail polish.
Why Nail Polish Smudges Even When It Looks Dry
Fresh polish often fools people. The surface may look smooth and shiny, but the layers underneath can still be soft. That means a nail can seem ready and still pick up a fingerprint, dent, or edge mark when you touch something.
This is why a manicure can look finished and still fail the moment you open a drawer, grab a phone, or rest a nail against fabric. The top layer may have set first, while the lower layers are still adjusting.
Thicker coats make this worse. They trap more solvent and take longer to settle, so the nail may stay vulnerable even after the shine looks “dry enough.”
How Long Nail Polish Takes to Dry: Touch-Dry vs Fully Cured
It helps to think about drying in stages, not as one single moment.
Touch-dry
Touch-dry means the top surface no longer feels wet or tacky. For regular polish, this is often around 5 to 15 minutes per thin coat, though thicker coats can take longer. That does not mean the manicure is ready for normal use.
Safe for light use
Safe for light use usually means the polish can handle very gentle activity without obvious marks. For regular polish, this is often around 20 to 40 minutes after the final coat, but it can still dent if you press on it or use your nails as tools.
Fully set
For regular polish, fully set usually takes 1 to 2 hours, and sometimes longer if the coats were thick or there are several layers. This is the stage when the manicure is much less likely to smudge during normal activity.
Why this matters
A lot of smudges happen because people test the polish too early. They tap one nail, see no wet streak, and assume the whole manicure is safe. But nails can still be soft for a while after the surface feels dry.
A simple rule: if you can’t avoid using your hands soon after painting them, use thinner coats and a quick-dry top coat. If you do have time, give the manicure extra room to set before normal tasks.
For comparison, gel polish works differently because it is meant to cure under a lamp. The Essie nail care basics pages are useful if you want to compare regular polish routines with simpler at-home polish care.

The Fastest Beginner Method: Thin Coats, Enough Wait Time, and a Quick-Dry Top Coat
Here is the easiest routine to follow at home.
1) Prep the nail
Clean nails dry better than oily ones. Remove old polish, wash hands, and make sure the nail surface is free of lotion or residue. If you use a base coat, apply it in a thin layer.
2) Paint thin color coats
Use less polish than you think you need. Thin coats level better and dry more evenly. If the first coat looks streaky, that is normal. The second coat usually fills it in.
3) Wait between coats
Give each layer time to settle before adding the next one. If you rush, the lower layer stays soft and the next coat can drag it around.
4) Finish with a quick-dry top coat
A quick-dry top coat can help seal the manicure and reduce surface smudging. A regular top coat can still be useful for shine and protection, but a quick-dry formula is usually the better choice when speed matters.
5) Protect the manicure after painting
Even when polish looks dry, avoid putting pressure on the nails right away. Try not to zip, type heavily, dig in a bag, or pick up small items with your nails for a bit.
If you want a deeper breakdown of fast-drying methods, see our guide on the best way to dry nail polish quickly.
What Helps Nail Polish Dry Faster at Home
Not every “drying trick” works the same way. Some methods help a little, some mainly make the surface feel dry sooner, and some can create problems if used too early.
For beginners, the most reliable setup is thin coats plus a quick-dry top coat. That combination is usually more dependable than trying to speed things up with air alone. Fans or cool air can help as secondary helpers, but they work best after you have already kept the layers thin.
Quick-dry top coats
These are usually the most practical at-home option. They are made to help the surface set faster and reduce the chance of smudging. If you paint your nails often, this is the first product worth trying.
Quick-dry drops or sprays
These may help the top layer set more quickly, especially if used exactly as directed. Follow the label carefully, because formulas vary.
Fan drying
A fan can help move air across the nails, which may make the surface feel ready sooner. It is simple and low-risk, but it is not magic. A fan helps more with airflow than with instantly hardening the polish.
Cold air
Cool air may be more helpful than warm air for setting polish faster. If you use a dryer or fan, keep it cool rather than hot.
Water
Water is often mentioned online, but it does not truly dry polish. If you use it too soon, you can still dent or disturb the manicure. So if you are trying to avoid smudges, water is not the first method I would choose.
UV/LED lamps
These are for gel polish, not regular polish. Do not assume a lamp will help standard nail polish dry faster. It usually will not.
For safety guidance on solvents and ventilation, it is smart to check general public health advice from the CDC and follow product instructions from the manufacturer. If you use acetone or remover, keep the area well ventilated.
What Slows Drying Down and Causes Smudges
Most smudges come from a few predictable habits.
Thick coats
This is the biggest one. Thick polish takes longer to settle and dents more easily. If you want faster drying, use two thin coats instead of one heavy coat.
Too many layers too quickly
Even if each coat is thin, stacking them before the lower layer is ready can trap softness underneath. That can lead to dragging, wrinkling, or later dents.
Skipping the top coat
A top coat helps seal the color and can reduce the chance of tiny marks on the surface. A quick-dry version is even better when speed matters.
Doing normal tasks too soon
A manicure can be touch-dry and still not ready for everyday use. Opening a can, pulling on tight clothing, or pressing on a keyboard too hard can leave marks.
Warm air or heat
Hot air is not a shortcut here. Keep the drying environment gentle and cool rather than warm.
If you want a more detailed breakdown of common mistakes and faster methods, our article on how to dry nail polish quickly covers the basics in another format.
How to Tell If Your Nails Are Actually Dry
You do not need a complicated test. Use a very light check.
The safe test
Gently hover or lightly touch one nail with the opposite fingertip. Do not press. If the surface feels tacky, it is not ready. If it feels dry but you still see a slight dent when you press, it is still soft underneath.
The practical rule
If you are unsure, assume the manicure needs more time. That is the safest choice, especially for beginners.
What not to do
Do not test dry polish by rubbing nails together. That can cause streaks or tiny pressure marks, even if the polish seemed set.
A manicure is ready for normal use only when it can handle ordinary movement without leaving marks. Until then, treat it gently.
Regular Polish vs Gel Polish: Which Dries Faster?
These two products behave differently, so it helps to choose the right one for your routine.
Regular polish
Regular polish air-dries. That means it gets harder over time as the solvent evaporates. It is easy to use at home, but it needs patience.
Gel polish
Gel polish is designed to cure under a UV or LED lamp. It can feel faster once you have the right lamp and the correct product, but it is a different system entirely. If you are using gel, do not rely on air drying alone.
Which is better for beginners?
If you want the simplest at-home routine, regular polish is usually easier to manage. If you want a more set-and-go finish and are prepared to use the proper lamp and product, gel may suit you better.
The key is not to mix the methods. Regular polish does not become gel just because you put it under a lamp.
What to Do If You Smudge a Fresh Manicure
A small smudge does not always mean you need to start over.
If the smudge is tiny
If the mark is very light and only on the surface, let the nail sit for a moment and then smooth it gently with a tiny amount of polish on the brush. Use just enough to even out the mark, then stop.
If the smudge is on the edge
If the tip or side of the nail is nicked, add a very small amount of polish to that edge and feather it in. Then leave it alone so it can settle again.
If the smudge is deep
If the polish is dragged, wrinkled, or visibly dented, repainting that nail is often faster than trying to rescue it. A clean redo usually looks better than a patchy fix.
When to stop fixing and restart
If several nails smudge, the polish is probably too thick or too fresh overall. Starting over with thinner coats may save time in the end.
For removal or full redo, use nail polish remover in a well-ventilated space and follow the product directions. If you need a fresh start, our fastest way to dry nail polish guide can help you plan a better repaint.
Common Questions About Drying Nail Polish
Does cold air help nail polish dry?
It may help more than warm air because it keeps the polish from staying soft. A cool fan is a simple beginner-friendly option.
Does water help polish dry faster?
Not really. Water can make people feel like they are speeding things up, but it does not truly dry the polish. If used too soon, it can still lead to dents or smudges.
Is a quick-dry top coat better than a regular top coat?
For speed, yes. A quick-dry top coat is usually the better choice when your main goal is to reduce smudging risk. A regular top coat still has value, but it is not always the fastest option.
Why does my polish look dry but still smudge?
Because the surface and the layers underneath do not dry at the same speed. The outside can seem ready while the inside is still soft.
Should I use gel if I want faster drying?
Only if you are prepared to use a gel system correctly. Gel polish needs the right lamp and product. Regular polish is simpler, but it usually needs more patience.
What if I always smudge my nails at home?
Use thinner coats, wait longer between layers, and finish with a quick-dry top coat. Those three changes solve most beginner smudging problems.
Final Takeaway
If you want to dry nail polish without smudging, keep the polish layers thin, give each coat time to settle, and use a quick-dry top coat when you can. Most ruined manicures come from rushing the process, not from a lack of skill.
Once you learn the difference between touch-dry and fully set, painting your nails at home gets much easier. You will know when to wait, when to protect the manicure, and when a small fix is enough.

