How to Make Nail Polish Dry Quickly Without Smudging Your Manicure

Fresh nail polish can feel dry on top while still being soft underneath. That is why a manicure can look finished and still dent the moment you reach for your phone or zip a bag. The good news is that a few simple habits can help polish set faster and reduce smudges.
If you want the fastest safe result, use thin coats, add a quick-dry top coat if you have one, and give your nails steady airflow. For beginners, the best default is thin coats plus a fan; if you already have a quick-dry top coat, that is often the easiest add-on. If you already painted your nails, avoid heat and avoid touching them “just to check.”
For a beginner-friendly overview of polish basics, you may also want to read how to dry nail polish quickly and the best way to dry nail polish quickly.
Quick Answer: The Fastest Safe Ways to Dry Nail Polish
If you need a simple plan right now, do this:
- Paint in thin coats.
- Wait a few minutes between coats if the formula needs it.
- Finish with a quick-dry top coat or drying drops.
- Sit in front of a fan.
- Leave your nails alone longer than the surface looks dry.
That combination is usually more reliable than any single trick. Thin coats reduce how much polish has to dry. A quick-dry product can help seal the manicure and make it less likely to smudge. Steady airflow is one of the most dependable home options because it supports drying without adding another wet layer.
If you only have regular polish and no special products, airflow and patience are still your best tools. A thick coat may look opaque faster, but it usually takes longer to become truly safe to use.
Why Nail Polish Takes Time to Dry
Nail polish dries as the liquid parts in the formula evaporate. The top layer can feel dry first, but the layers underneath may still be soft. That is why a nail can look fine and still get a dent from a blanket, a zipper, or even a light tap.
This also explains why thick coats cause trouble. More polish means more liquid trapped under the surface, so the manicure needs more time to set. Thin coats dry more evenly and are less likely to wrinkle or smudge.
A base coat, color coat, and top coat can all affect drying time a little differently. A base coat is usually thin and quick to set. Color coats matter most, because thicker color layers take longer to dry. A top coat can help protect the manicure, but it also adds another layer that needs time to settle.
Regular polish and gel polish work differently. Regular polish dries as its solvents evaporate. Gel polish needs a curing step under a UV or LED lamp, so home drying tricks are not a replacement for that process. If you use gel, follow the product instructions rather than trying to “air dry” it.
For more on product types and polish behavior, the brand guidance from essie can be a helpful starting point when you are learning how different formulas behave.
What Actually Helps Nail Polish Dry Faster at Home
1. Use a Fan for Gentle Airflow
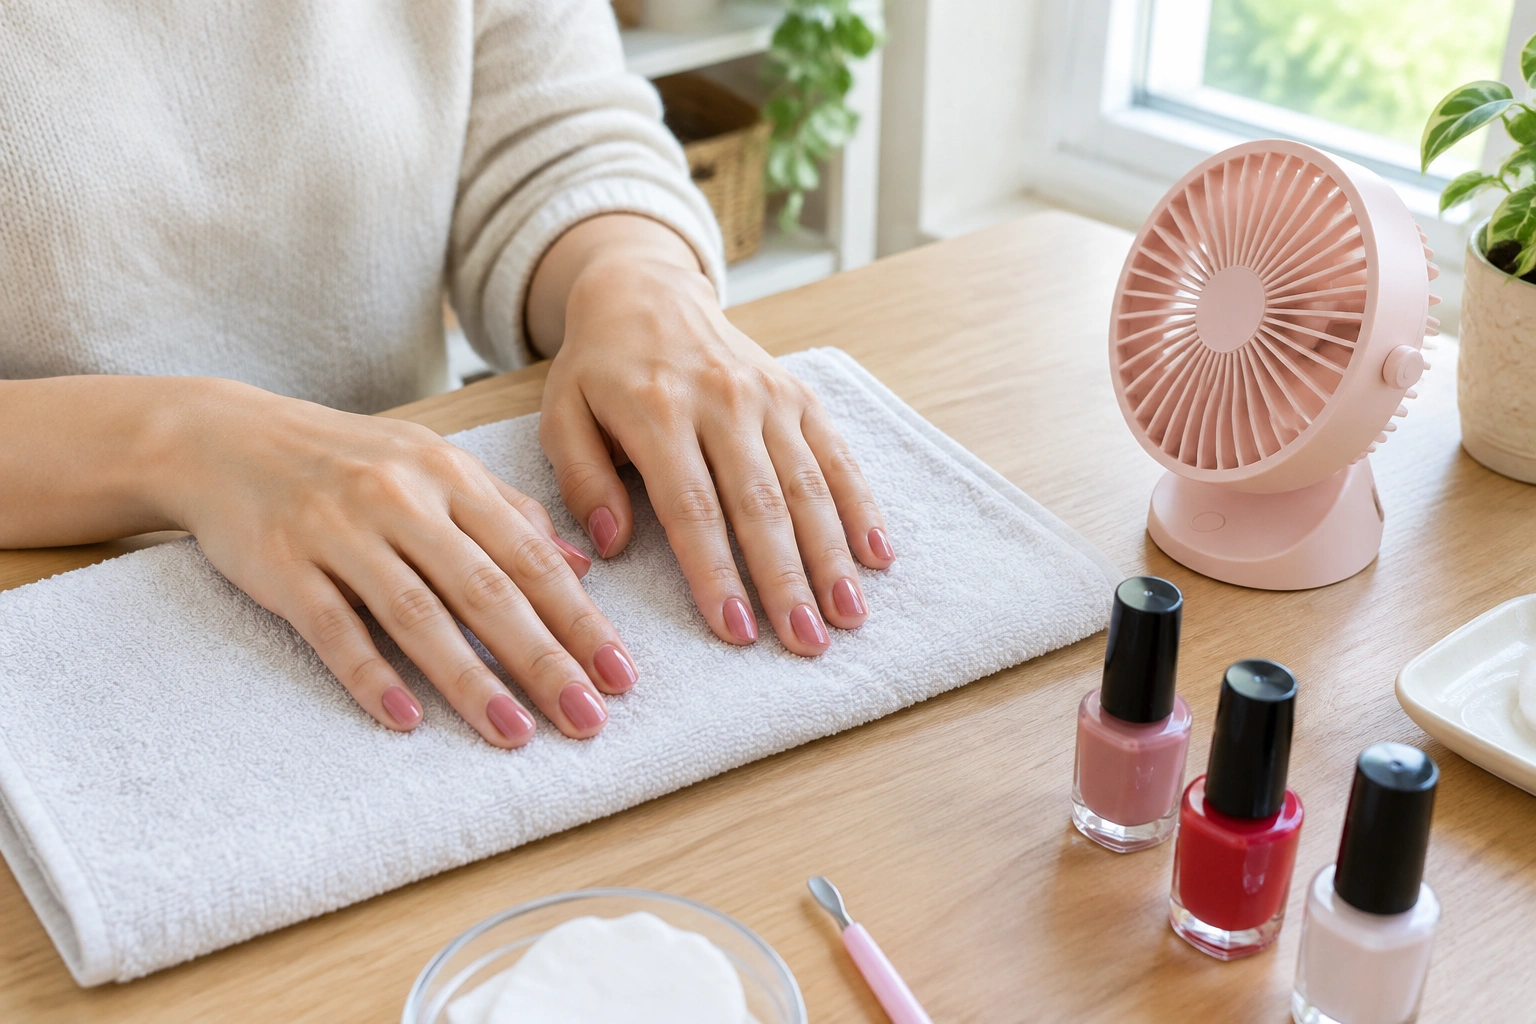
A fan is one of the simplest ways to help polish dry faster at home. Moving air helps the solvents leave the polish surface more quickly than still air does.
Keep the fan on low to medium and hold your hands still. The goal is steady airflow, not a blast of wind. Strong air can make a fresh manicure feel uncomfortable to manage, and it may tempt you to move your hands too soon.
A fan is a good choice when you want a low-effort method that does not change the polish formula. It is especially useful after the final coat, when you just need the surface to set.
2. Try the Cold Water Method Carefully
Some people use cold water to help polish set. This can make the surface feel firmer for a short time, but it is optional and less reliable than airflow plus thin coats. It works best only after the polish has had a short moment to settle first.
If you try this method, be gentle. Use a bowl of cool or cold water and avoid bumping the nails. Even if the surface seems firmer after water, the manicure can still dent if you start doing normal tasks too soon.
Cold water is best thought of as a backup, not your main plan. If you need the manicure to be truly ready, pair it with thin coats, airflow, and a top coat rather than relying on water alone.
3. Keep the Room Cool and Dry if You Can
Humidity can slow drying because the polish’s solvents do not leave as quickly in damp air. A warm, humid bathroom after a shower is not the best place to dry fresh nails.
If possible, paint your nails in a room with decent airflow and moderate temperature. A drier room is usually more comfortable for drying than a steamy one. You do not need special equipment; just avoid the most humid spot in the house.
4. Let Each Coat Stay Thin
This is one of the biggest drying-time fixes, and it starts before the final coat is even on. Thin coats dry more evenly and are less likely to trap wet polish underneath. If your brush is overloaded, wipe off the excess before painting.
Two or three thin coats usually work better than one thick coat. You may need a little more patience between coats, but the payoff is a smoother manicure that is less likely to dent later.
Here is a simple rule: if the polish looks heavy, streaky, or pooled at the edges, it is probably too thick. A thinner layer is easier to dry and easier to keep neat.
Quick-Dry Top Coats and Drying Drops: Which Is Better?
Both products are made to help speed up the finishing stage, but they do slightly different jobs.
A quick-dry top coat adds a protective layer over the polish. It can give the manicure extra shine and help seal the color. Drying drops are usually used to help the polish set without adding as much extra layer on top.
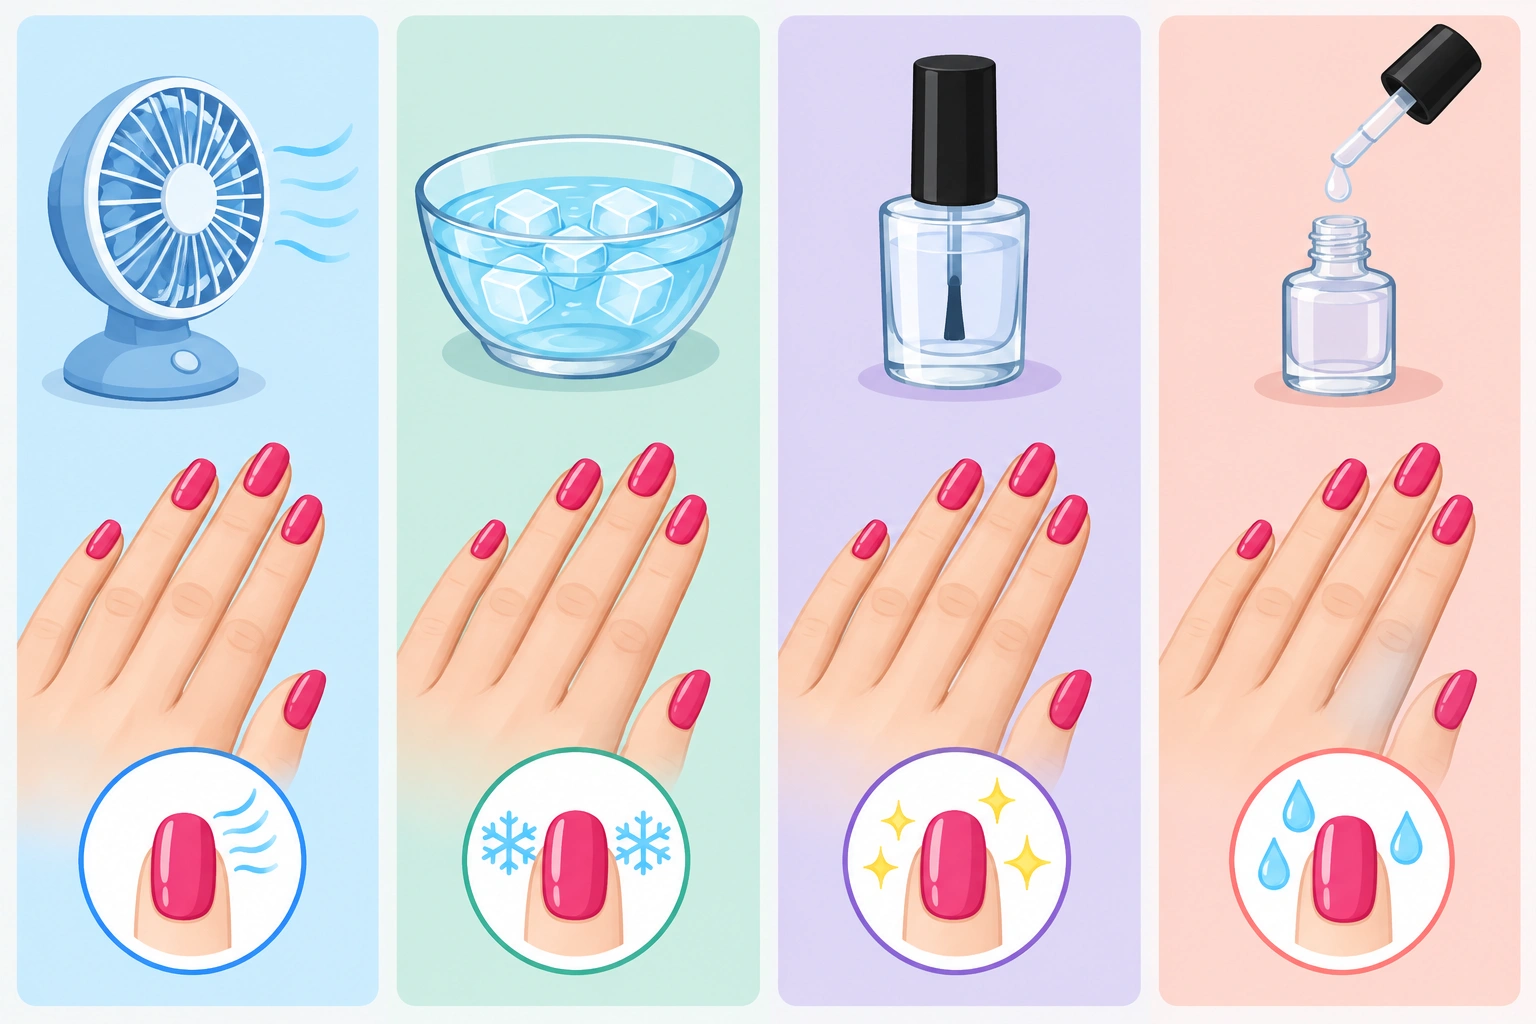
Here is a simple comparison to help you choose:
| Method | Speed | Reliability | Best for | Trade-off |
|---|---|---|---|---|
| Fan | Moderate help | Simple and low-risk | Everyday at-home drying | Does not protect the manicure |
| Cold water | May help surface set | Less predictable | Quick surface-setting after painting | Can give a false sense that nails are fully dry |
| Quick-dry top coat | Often helpful | Good for sealing polish | People who want shine and protection | Adds one more product step |
| Drying drops | Often helpful | Good for finishing | People who want a lighter finish | Must be used as directed |
For most beginners, a quick-dry top coat is usually the easiest default if you want both speed and protection. It is straightforward to use, and it gives the manicure a finished layer that can help reduce smudges. Drying drops can still be a good choice if you prefer a lighter feel or already own them.
Follow the product directions, because applying too much or using it the wrong way can affect the finish.
For a deeper look at whether fast-dry formulas actually help, see does quick dry nail polish really dry faster.
How to Apply Polish So It Dries Faster From the Start
Prep Your Nails Before Painting
A smooth nail surface helps polish go on more evenly. Clean, dry nails give the base coat and color a better chance to sit flat.
A base coat is useful here too. It gives the color polish a smoother foundation and can help the manicure wear more evenly. It does not magically make everything dry instantly, but it supports a cleaner application.
Use Less Polish on the Brush
A common beginner mistake is loading the brush with too much polish. That creates thick edges, puddles near the cuticle, and longer drying time. Wipe one side of the brush lightly before applying.
A lighter brush load makes it easier to paint in controlled strokes. You are aiming for even coverage, not maximum polish in one pass.
Build Color in Thin Layers
If the first coat looks streaky, that is normal for many regular polishes. Resist the urge to correct it with a thick second coat. Instead, let the first coat settle and then add another thin layer.
This approach is slower in the moment, but it usually leads to a better result. The manicure dries more evenly, and you are less likely to get that soft, dent-prone surface that happens with heavy coats.
What to Avoid While Nail Polish Is Drying
Don’t Blow on Your Nails
Blowing on polish seems helpful, but your breath adds moisture and can create bubbles or a dull finish. It also encourages you to hover too close and accidentally touch the surface.
Don’t Use Hot Air
A hair dryer on hot can soften polish, cause ripples, or make the surface look uneven. If you use a dryer at all, keep it on a cool setting and maintain distance. Even then, a fan is usually the safer, simpler choice.
Don’t Test the Polish Too Soon
Touching the nail “just to see” is one of the fastest ways to leave a mark. The top may feel dry while the lower layers are still soft. If you need proof, use a very light check on the side edge rather than pressing the center.
Don’t Rush Back Into Normal Tasks
Phone cases, keys, zippers, and blankets are all manicure enemies in the first stretch after painting. If you know you need to get dressed or pack a bag, give your nails extra time before you start normal tasks.
How to Tell When Your Nails Are Dry Enough to Use
There are two levels to think about: surface dry and truly ready for normal use.
Surface dry means the top layer no longer feels tacky. That is not the same as being safe from dents. Fully dry means the polish has set enough that light contact is less likely to leave a mark.
A simple beginner rule of thumb is this: if the polish can handle a very light tap on the side edge without feeling sticky, it is closer to surface dry. For regular activity like grabbing a phone, getting dressed, or opening bags, give the manicure extra time even after it feels dry on top.
A manicure is usually ready for more normal activity when you can move your hands without worrying about soft spots. If you are still hesitating, give it more time.
Regular Polish vs Gel Polish: Drying Is Not the Same Thing
Regular polish dries by air exposure. Gel polish cures under a lamp. That difference matters because home drying tricks only help regular polish in a meaningful way.
A fan, drying drops, or a quick-dry top coat may help a regular manicure feel ready sooner. They do not replace curing for gel. If you use gel, follow the lamp instructions and cure each layer as directed.
It also helps to remember that “dry” and “cured” are not interchangeable words. Beginners often assume a shiny surface means the manicure is finished. With regular polish, that can be misleading. With gel, the lamp step is what makes the product set properly.
When to See a Nail Technician or Dermatologist
If your polish keeps wrinkling, never seems to dry, or behaves oddly every time, a nail technician can help you troubleshoot the application. The issue may be the formula, the coat thickness, or the way the product is being layered.
If you notice irritation, burning, or a rash after using polish or drying products, stop using them and speak with a dermatologist. Product reactions are not something to push through.
Simple Takeaway for Faster Drying
If you want the shortest path to a cleaner manicure, remember this order: thin coats, steady airflow, and a quick-dry product if you have one. Cold water can be a backup, but it should not be your only plan. And no matter how dry the surface looks, give the polish more time before you handle anything rough.
For more beginner-friendly polish advice, you can also explore how to make nail polish dry faster and how to make nail polish dry faster 2.