
Why Does Nail Polish Bubble? A Beginner’s Guide to Smooth, Even Nails

Bubbles in nail polish are frustrating, but they usually have a simple cause. Most of the time, bubbling happens because the polish was applied too thickly, the bottle was shaken too hard, or the layers did not get enough time to dry between coats. Sometimes the polish itself is part of the problem, especially if it has thickened with age.
The good news is that bubbling is usually preventable once you know what to look for. In this guide, I’ll walk you through the most common causes, how to tell them apart, and what to do if your manicure already has bubbles.
If you want a broader foundation on drying and finish, you may also find our guides on how long regular nail polish takes to dry and why nail polish can stay wet for so long helpful.
Why Nail Polish Bubbles Happen
A bubble is usually a tiny pocket of air or trapped solvent that shows up as the polish dries. Sometimes you notice it right away while painting. Other times, the bubbles appear after the polish has already started setting.
The important thing is that bubbling is not one single problem. It can come from:
– how you applied the polish
– the condition of the polish itself
– the drying environment
That matters because the fix is different for each one. If the issue is technique, you can usually adjust your method next time. If the bottle is old and thick, the polish may need thinning or replacing. If the room is hot or humid, the answer may be to give each layer more time.
The Most Common Causes: Application, Product, and Drying Conditions
A simple way to troubleshoot bubbling is to ask where it likely came from.
1. Application issues
These are the most common beginner mistakes. Examples include:
– shaking the bottle hard
– loading too much polish onto the brush
– brushing over the same area repeatedly
– applying the next coat before the last one is ready
2. Product issues
Sometimes the polish itself is too thick, old, or inconsistent. A bottle that has sat for a long time may not glide on smoothly, which can make bubbles more likely.
3. Drying conditions
Warm rooms, humidity, and low airflow can all change how polish sets. Even if your application is decent, the finish may still bubble if the layers are not drying evenly.
A useful rule: if bubbles show up right after application, think technique or bottle condition first. If they appear while the polish is drying, think layers and environment.
Shaking the Bottle vs Rolling It
Many beginners shake nail polish because it feels like the fastest way to mix it. But shaking can introduce air into the polish, and that air may show up as bubbles on the nail.
Gently rolling the bottle between your palms is usually the safer approach. It mixes the polish more slowly, but it is less likely to whip air into the formula.
Easy decision rule
- If the polish looks separated: roll it gently for a short time.
- If you already shook it hard: let it sit for a minute or two before using it.
- If the polish is still streaky or thick: it may need more than mixing; it may need thinner or replacement.
Think of shaking as fast but risky, and rolling as slower but kinder to the formula.
Thick Coats vs Thin Coats
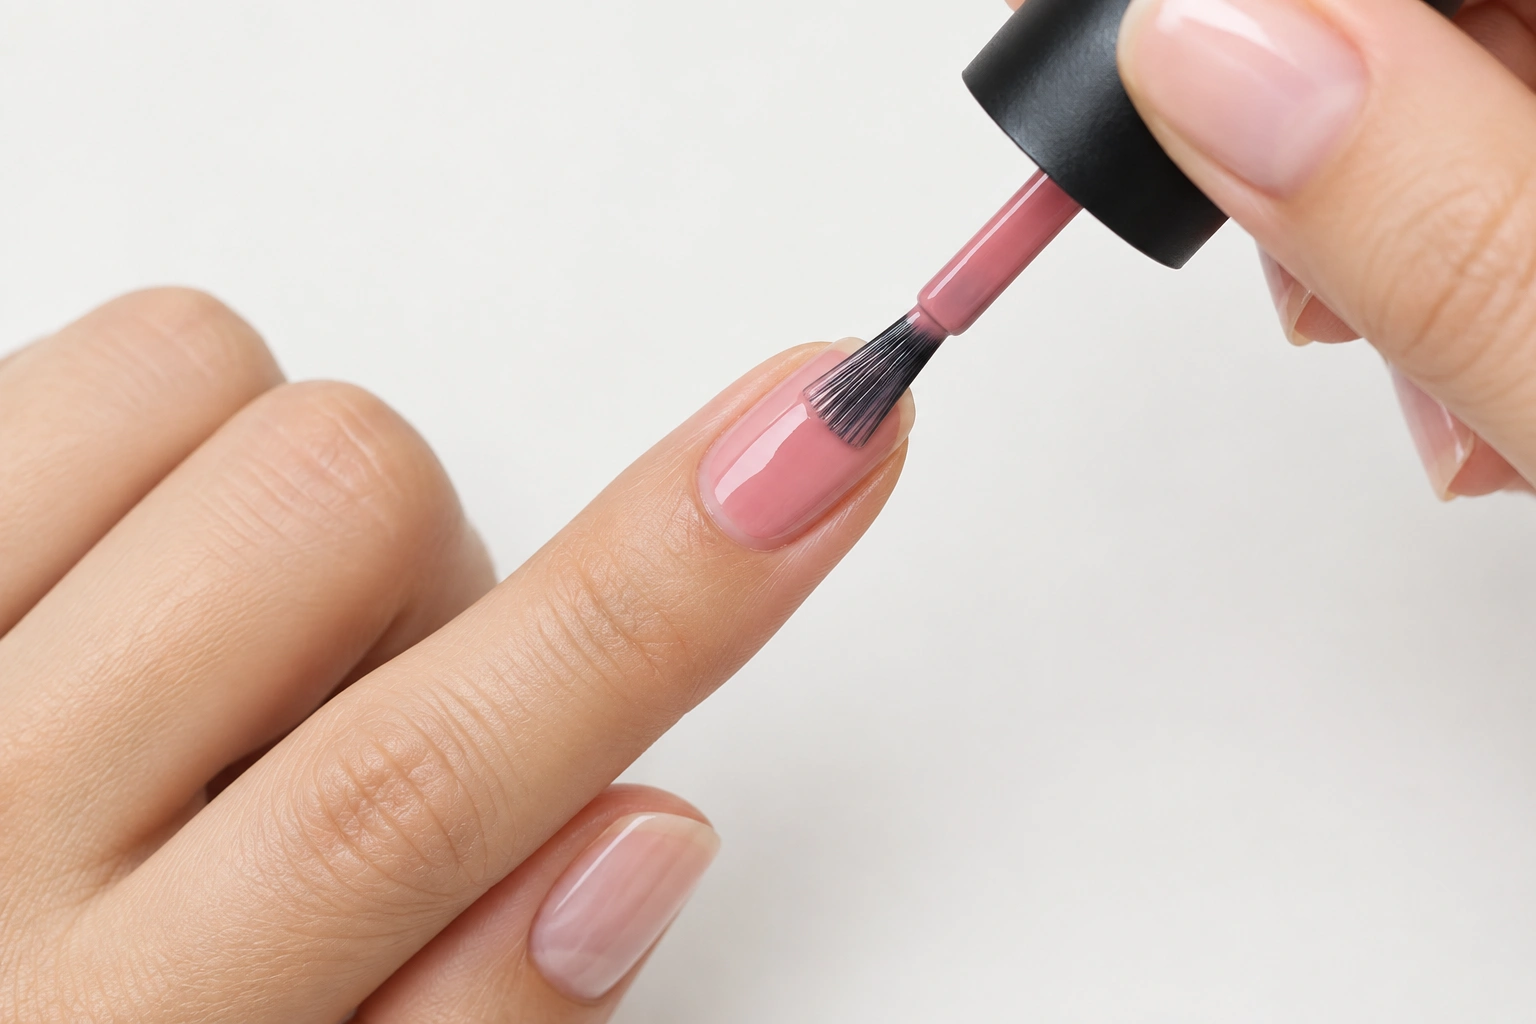
A thick coat may seem easier because it covers the nail in one pass. In practice, it often dries unevenly. The top layer can start to set while the polish underneath is still soft, and that can trap air or solvent.
Thin coats dry more evenly. They also let you build color in a controlled way instead of trying to cover everything at once.
What to do instead
- Wipe excess polish off the brush before painting.
- Use two or three thin coats rather than one heavy one.
- Let each layer look mostly smooth before adding the next.
A thin coat takes a little more patience, but it usually gives a cleaner finish and fewer bubbles.
Drying Time Between Coats Matters
One of the easiest ways to avoid bubbling is to wait long enough between coats. If the first layer is still soft, the next layer can disturb it and trap moisture or air underneath.
You do not need to overcomplicate this. A practical beginner approach is to wait until the surface looks set and no longer feels tacky before adding the next coat. If you rush, the finish may wrinkle, dent, or bubble.
This is especially important with color coats and top coat. A glossy top layer can seal in a still-wet layer underneath, which may leave bubbles trapped below the surface.
How Heat, Humidity, and Airflow Affect Bubbling
Weather and room conditions can change how polish behaves. On hot or humid days, nail polish may dry less predictably. In a stuffy room, the surface may set while the lower layers are still soft, which can contribute to bubbling.
Simple adjustments that help
- Paint in a cool, comfortable room if possible.
- Avoid doing your nails right after a hot shower or bath.
- Let your hands rest in open air instead of covering them up too soon.
- Give each coat a little more time if the room feels humid.
You do not need professional equipment. Just changing the setting a little can make a noticeable difference.
Can Old, Thickened, or Expired Polish Cause Bubbles?
Yes, it can. As polish ages, some of the liquid can evaporate, and the formula may become thicker or harder to spread. When that happens, the brush can drag more, and the polish may trap air as you apply it.
Signs the bottle may be the problem
- the polish feels stringy or gummy
- it applies unevenly
- it takes more effort to spread
- bubbles appear even when you use thin coats
If the polish is simply thickened, nail polish thinner may help restore the texture. Use a product made for polish, not remover. Remover can alter the formula in a way that makes the polish behave even worse.
If the bottle smells off, separates badly, or has changed texture a lot, replacement is usually the safer choice.
Can Base Coat, Color, or Top Coat Be the Problem?
Sometimes the issue is not one product alone, but how the layers work together.
For beginners, the color coat is the most common layer to cause bubbles because it is easy to apply too thickly or before the base coat has set. A top coat is the next most likely problem if it is brushed on too fast or dragged over a soft layer underneath. A base coat is less often the main cause, but it can create trouble if it is still wet when the color goes on.
What to change first
- If bubbles show up in the color layer: use thinner coats and slow down between coats.
- If bubbles appear after the top coat: make sure the color coat is dry enough before sealing it.
- If the whole manicure seems slippery or shifts: the base coat may not have set yet.
A base coat that is too wet, a color coat that is too thick, or a top coat that is brushed on too aggressively can all disturb the layer underneath. That can leave bubbles behind or pull air through the finish.
Fast-drying top coats can be useful, but they are less forgiving if the polish underneath is still wet.
For more on how long layers need to set, our guide to how long regular nail polish takes to fully dry may help.
How to Fix Bubbled Nail Polish
If the bubbles are already there, start with a quick check:
- Are the bubbles tiny and only on the surface?
- If yes, the manicure may still be salvageable.
- Are the bubbles raised, widespread, or wrinkled?
- If yes, a top coat will usually not hide them well.
- Is the polish still wet or shifting when touched?
- If yes, stop trying to smooth it and let it set fully before deciding what to do next.
If the bubbles are tiny and only on the surface
You may be able to save the manicure if the finish is mostly smooth:
1. Let the polish dry completely.
2. If one or two spots are slightly rough, gently buff only the very top surface with a fine buffer if you already know how to do that without cutting into the color.
3. Apply a thin top coat only if the surface is already flat enough that the bubbles are not visibly raised.
A top coat can help with minor texture, but it will not make visible bubbles disappear. If you can still see the bubbles clearly before the top coat goes on, they will usually still be noticeable afterward.
If the bubbles are raised or widespread
The best fix is usually to remove the polish and start over. Raised bubbles, large bubbles, or bubbling across most of the nail are not something a top coat can reliably hide.
If the polish is still wet
Do not keep brushing over it. Extra strokes can trap more air and make the finish worse. Let it dry, then reassess whether the problem is small enough to salvage or whether it needs to be redone.
A small amount of bubbling can sometimes be repaired. A heavily bubbled manicure usually cannot be disguised well.
How to Prevent Bubbles Next Time
Here is a simple routine that works well for beginners:
- Prep the nail surface so it is clean and dry.
- Roll the bottle gently instead of shaking it hard.
- Apply thin coats and avoid flooding the nail.
- Wait between coats until the layer looks set.
- Keep the room comfortable rather than hot and humid.
- Use fresh or properly thinned polish if the bottle has thickened.
- Finish with a careful top coat instead of a heavy one.
That routine solves most bubbling problems without needing special tools.
When You Should Start Over Instead of Trying to Fix It
Use a simple rule: small surface bubbles may be salvageable; raised, widespread, or wrinkled bubbles usually need removal and a fresh start.
Start over if:
– bubbles are large or raised
– the polish is wrinkled under the surface
– the finish looks uneven across most of the nail
– the manicure is still soft and keeps shifting when you touch it
– the polish seems too thick or old to apply smoothly
If only one or two nails are affected, you may be able to redo just those nails. If the whole manicure is bubbled, removing and reapplying is usually less frustrating than trying to patch it.
When to See a Nail Technician or Dermatologist
If bubbling happens every time, even when you change your technique and use fresh polish, a nail technician can help you troubleshoot the application step by step. If your nails or skin are also irritated, a dermatologist is the better choice.
FAQ: Common Questions About Nail Polish Bubbling
Why does nail polish bubble right after I paint it?
That often points to shaking, thick application, or brushing too much over the same spot. The polish may also be too old or thick.
Is shaking the bottle really a problem?
It can be. Shaking may mix the polish quickly, but it can also trap air. Gentle rolling is usually the better choice.
Can a top coat cause bubbles?
Yes, especially if it is applied over a layer that is not dry enough. A heavy top coat can also disturb the polish underneath.
Does humidity make bubbling worse?
It can. Humid air may slow drying and make the finish less predictable.
Can old polish still be used?
Sometimes, if it only needs a little thinning. If it is badly thickened or has changed a lot, replacing it is usually better.
Should I use nail polish thinner or remover?
Use a proper nail polish thinner. Remover can change the formula in ways that may make application worse.
The basic fix is simple: use thinner coats, wait between layers, and handle the bottle gently.

