
How to Remove Salon Gel Polish Safely at Home

If you’ve just left the salon with a fresh gel manicure and now want it off, the goal is simple: soften the product until it releases, then lift it gently. The mistake to avoid is treating gel like regular polish. Gel is built to stay put, so it usually needs acetone, time, and patience rather than scraping or peeling.
If the manicure is not clearly soak-off gel, stop and check with the salon before proceeding. Some salon gels are hard gel, builder gel, or BIAB, and those may need a different removal method.
I’m Ella Hart, and in the salon I see the same pattern over and over: the people who remove gel slowly and methodically keep their natural nails in much better shape than the people who try to rush it. If you want your nails to look healthy after removal, the safest approach is to work with the product, not against it.
For a quick read on related salon choices, you may also find how salon nail polish removal differs from gel removal and what gel manicures typically cost useful if you decide the salon is the better option this time.
What Gel Polish Removal Actually Involves
Gel polish does not usually “wash off” or dissolve instantly. The removal process is about softening the cured coating enough that it can be lifted away without tearing the nail surface underneath.
That matters because the natural nail plate is made of layers. If you peel gel off, you often take some of those layers with it. That’s why a manicure can look fine one day and leave the nails thin, rough, or bendy the next.
A careful removal has three parts:
- Lightly break the top seal so remover can penetrate.
- Soak the gel with acetone long enough to soften it.
- Lift the loosened product with minimal pressure.
That’s the whole game. If the gel is still stubborn, the answer is usually more soaking, not more force.
Before You Start: Tools and Products You’ll Need
Gather everything first so you aren’t hunting for supplies with acetone on your fingertips.
You’ll need:
– 100% acetone
– Cotton balls or cotton pads
– Aluminum foil, or removal foils/clips
– A nail file
– A buffer
– An orange stick or cuticle pusher
– Cuticle oil or nail moisturizer
– A washcloth and warm water
A small note on remover choice: acetone is the standard effective option for salon gel removal. Non-acetone removers are usually fine for regular polish, but they are typically too weak for cured gel. Essie also notes that salons use 100% acetone and foil wraps for gel removal, usually for 10 to 15 minutes. You can see that guidance on Essie’s gel removal instructions.
If you are dealing with builder gel, BIAB, or a very thick overlay, the removal may take longer or require more filing before soaking. Hard gel is different again and is often best handled by a professional.
Check Whether Your Manicure Is Soak-Off Gel
Before you start, look closely at the nails.
Soak-off gel usually feels like a thin, glossy shell over the nail. It tends to soften with acetone.
Hard gel is thicker and more rigid. It does not usually soak off the same way and is often filed off by a professional.
If your manicure feels unusually thick, looks almost sculpted, or refuses to soften after repeated soaking, stop and reassess. Essie specifically advises that hard gel nails should be filed off by a professional, and that builder or BIAB gel may need filing before removal because the layer is thicker.
That distinction saves a lot of frustration. A product that is not meant to soak off will only make you think you’re doing something wrong when the real issue is that the removal method is wrong for the product.
How to Prepare the Nails Before Soaking
Preparation should be gentle. You are not trying to thin the natural nail; you are just helping the remover reach the gel.
1) File the top layer lightly
Use a file to remove the shine from the top coat. You only need to dull the surface, not dig into the color layer or the natural nail.
Think of this as opening a door, not sanding down the house. A few light passes are enough for most standard gel manicures.
2) Protect the skin around the nail
The American Academy of Dermatology recommends applying a thin layer of petroleum jelly to each cuticle and the surrounding skin before removal. That creates a simple barrier so acetone is less likely to dry out the skin.
You can read that guidance directly in the AAD’s gel polish removal advice.
3) Cut your foil pieces first
If you are using the foil-wrap method, cut the foil into manageable strips before you start soaking cotton. Once acetone is involved, you want the process to move smoothly.
Step-by-Step: Remove Gel Polish with the Foil-Wrap Method
This is the most practical at-home method for fingernails because it keeps the acetone where it belongs: on the nail, not all over your hands.
Step 1: Saturate the cotton
Soak a cotton ball or cotton pad in acetone until it is wet but not dripping everywhere.
Step 2: Place it directly on the nail
Set the acetone-soaked cotton on top of the gel polish, covering the nail plate fully.
Step 3: Wrap with foil
Wrap a small strip of aluminum foil around the fingertip to hold the cotton in place. The wrap should be snug, but not tight enough to pinch.
The GelBottle’s professional guidance is similar: place a soaked lint-free wipe directly on the nail, wrap it in removal foil, and keep the foil snug but not too tight. They recommend leaving it on for up to 10 minutes for the gel to soften. You can find that on The GelBottle’s removal guide.
Step 4: Repeat on all nails
Work one hand at a time if that is easier. It helps you keep track of timing and prevents the first nails from drying out while you finish the rest.
Step 5: Wait
For many standard gel manicures, 10 to 15 minutes is a practical first soak. Some products soften faster; others need a second round.
How Long to Soak and What to Do If the Gel Does Not Lift
This is where patience matters most.
If the gel is ready, it should look softened, wrinkled, or lifted at the edges. Some of it may slide off with gentle pressure. If it still looks smooth and sealed, it needs more time.
The AAD says that after 10 minutes with plastic wrap, gel may be ready to lift, but results vary by product, thickness, and how well the top layer was prepped. If any remains, it recommends gently rubbing it off with a warm, wet washcloth while avoiding the surrounding skin.
In real life, not every nail behaves the same. One nail may release quickly while another needs another round. If that happens, rewrap the stubborn nail and soak again. If some nails lift while others stay stuck after a second soak, remove the ones that are ready and re-soak only the stubborn nails. That is safer than trying to pry everything off at once.
A useful rule: if the polish resists, do not increase pressure. Increase soak time instead.
Into The Gloss also notes that after a longer soak, some polish may flake away while other spots need another round of acetone and gentle rubbing. That is normal. Gel often lifts in patches, not as one perfect sheet.
How to Remove Softened Gel Without Damaging the Natural Nail
Once the gel softens, use an orange stick or cuticle pusher with a very light touch.
Work horizontally and gently, using short, light strokes at a low angle to nudge the softened product off the nail surface. Stop as soon as you feel resistance. If a section does not move easily, leave it alone and re-soak that nail.
What you want to feel is the product sliding or flaking away with minimal effort. What you do not want is resistance that makes you press harder.
A good test: if you have to dig, you are too early.
After the bulk of the gel is off, you can use a warm, damp washcloth to wipe away small remaining bits. Keep the cloth on the nail, not the skin, and avoid scrubbing the fingertip.
Comparison: Acetone vs Non-Acetone, Foil Wrap vs Bowl Soak, At-Home vs Salon
| Decision | Best for | Trade-off |
|---|---|---|
| Acetone | Standard gel polish | Faster and more effective, but drying to skin and nails |
| Non-acetone remover | Regular polish or very light cleanup | Gentler feel, but usually too weak for gel |
| Foil-wrap method | Fingernails, controlled removal | More steps, but targeted and less messy |
| Bowl soak method | Occasional use when all nails need soaking | Messier and harder to control; acetone exposure can be broader |
| At-home removal | Standard soak-off gel on healthy nails | Convenient and lower effort, but you must be patient |
| Salon removal | Hard gel, thick builder layers, damaged nails, or stubborn product | More reliable for difficult removals, especially if you’re unsure what was applied |
As a rule of thumb, acetone and foil wraps are a good at-home option for standard soak-off gel, while thick, unusually hard, or resistant product is better handled by the salon.
Common Mistakes That Can Weaken or Peel the Nail
The biggest mistakes are also the easiest to avoid.
Peeling the gel off by hand
This is the fastest way to take layers of your natural nail with it.
Over-filing
You only need to remove the shine from the top coat. Filing into the natural nail plate thins it unnecessarily.
Scraping too hard
A pusher should help lift softened gel, not carve it off.
Switching to the wrong remover
If a product needs acetone and you use a gentler remover, you’ll likely end up soaking longer and getting frustrated enough to force it.
Stopping halfway and picking at leftovers
Partial removal is where damage often happens. Re-soak instead of chasing tiny stubborn patches.
Aftercare: Restore Moisture After Acetone Exposure
Once the gel is off, your nails may look dry. That is common after acetone use.
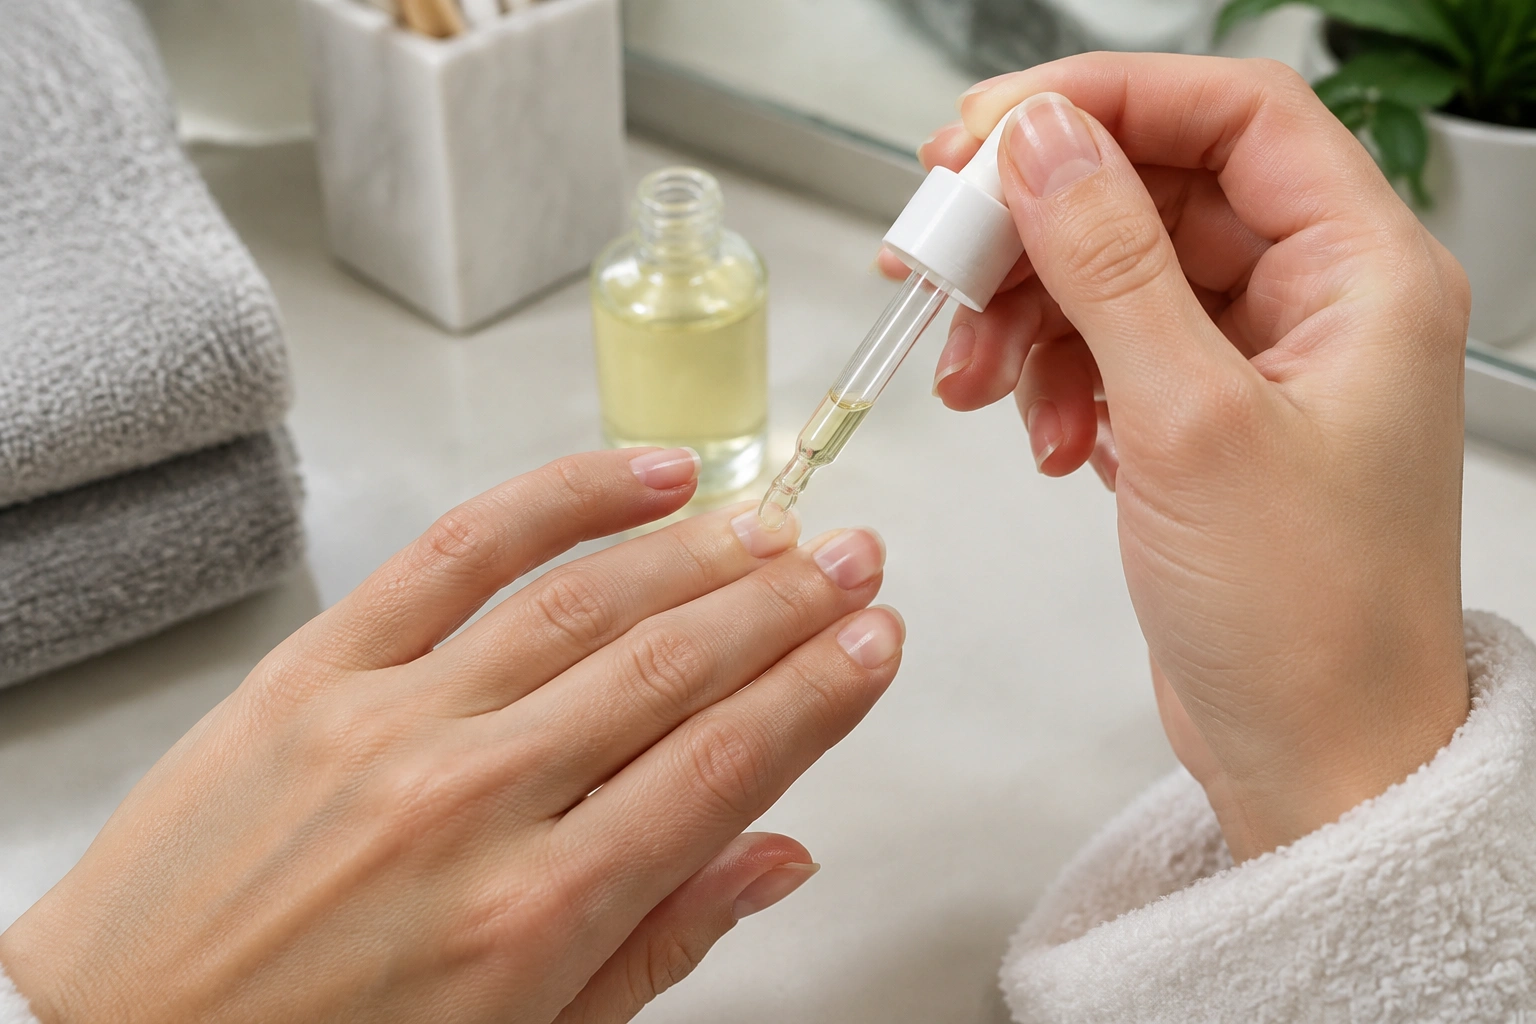
Into The Gloss points out that the dry look can sometimes be influenced by residual product and acetone, and recommends cuticle oil afterward. I agree with that approach. In the salon, I usually tell clients to treat the first 24 hours after removal as a recovery window.
Do this next:
– Wash your hands with mild soap and lukewarm water
– Pat dry
– Apply cuticle oil around each nail
– Follow with a hand cream or nail moisturizer
– Reapply oil later in the day if the nails feel tight or chalky
If your nails feel thin, brittle, or easily bendy, consider taking a short break before back-to-back gel manicures so they have time to recover. If they feel rough, keep them short for a while. Shorter nails are less likely to snag while they heal.
When to Stop and Go Back to the Salon
Some situations are better handled professionally.
Return to the salon if:
– The product seems like hard gel
– The manicure is very thick or rigid
– The gel is not softening after repeated soaking
– You feel pain while scraping or filing
– The nail plate looks thin, white, or irritated
– You’re not sure what was applied at the appointment
If the nail starts to feel tender or unusually sensitive, stop. That is your cue that the removal process is becoming too aggressive for the condition of the nail.
Gel Polish Removal vs Regular Polish Removal
Regular polish usually comes off with a standard remover and a cotton pad. Gel is different because it is cured under a lamp and built to resist everyday wear.
That means:
– Regular polish: quicker, simpler, less acetone exposure
– Gel polish: more time, more patience, and usually acetone
This difference is why it is so important not to treat gel like ordinary polish. The extra time is not a problem to solve; it is part of the process.
Frequently Asked Questions About Removing Gel Polish
Do I need acetone to remove salon gel polish?
For standard soak-off gel, acetone is usually the most effective remover. Non-acetone removers are generally not strong enough for cured gel.
Can I peel gel polish off safely?
No. Peeling can remove layers of the natural nail and leave it thin or rough.
How long should I soak gel polish?
A practical starting point is 10 to 15 minutes. Some nails need a second round, especially if the gel is thick or the top layer was not filed enough.
What if only part of the gel lifts?
Rewrap that nail and soak again. Do not force the stubborn section.
Is the foil-wrap method better than a bowl soak?
For most people, yes. Foil wraps are more controlled and keep acetone on the nail instead of all over the hand.
When should I go back to the salon?
If the product is hard gel, unusually thick, painful to remove, or not softening as expected, salon removal is the safer choice.
What should I put on my nails after removal?
Cuticle oil and a good hand moisturizer are the most useful first steps. They help counter the dryness that often follows acetone exposure.
If you want to keep learning about salon-friendly nail care, you can also explore whether you can bring your own polish to the salon or whether you can take your own nail polish to the salon for your next appointment.

