
Why Gel Polish Is Not Curing: A Beginner’s Troubleshooting Guide

Gel polish that stays soft, sticky, or dented after the lamp usually means something in the curing process is off. The good news is that the fix is often simple once you know what to check first.
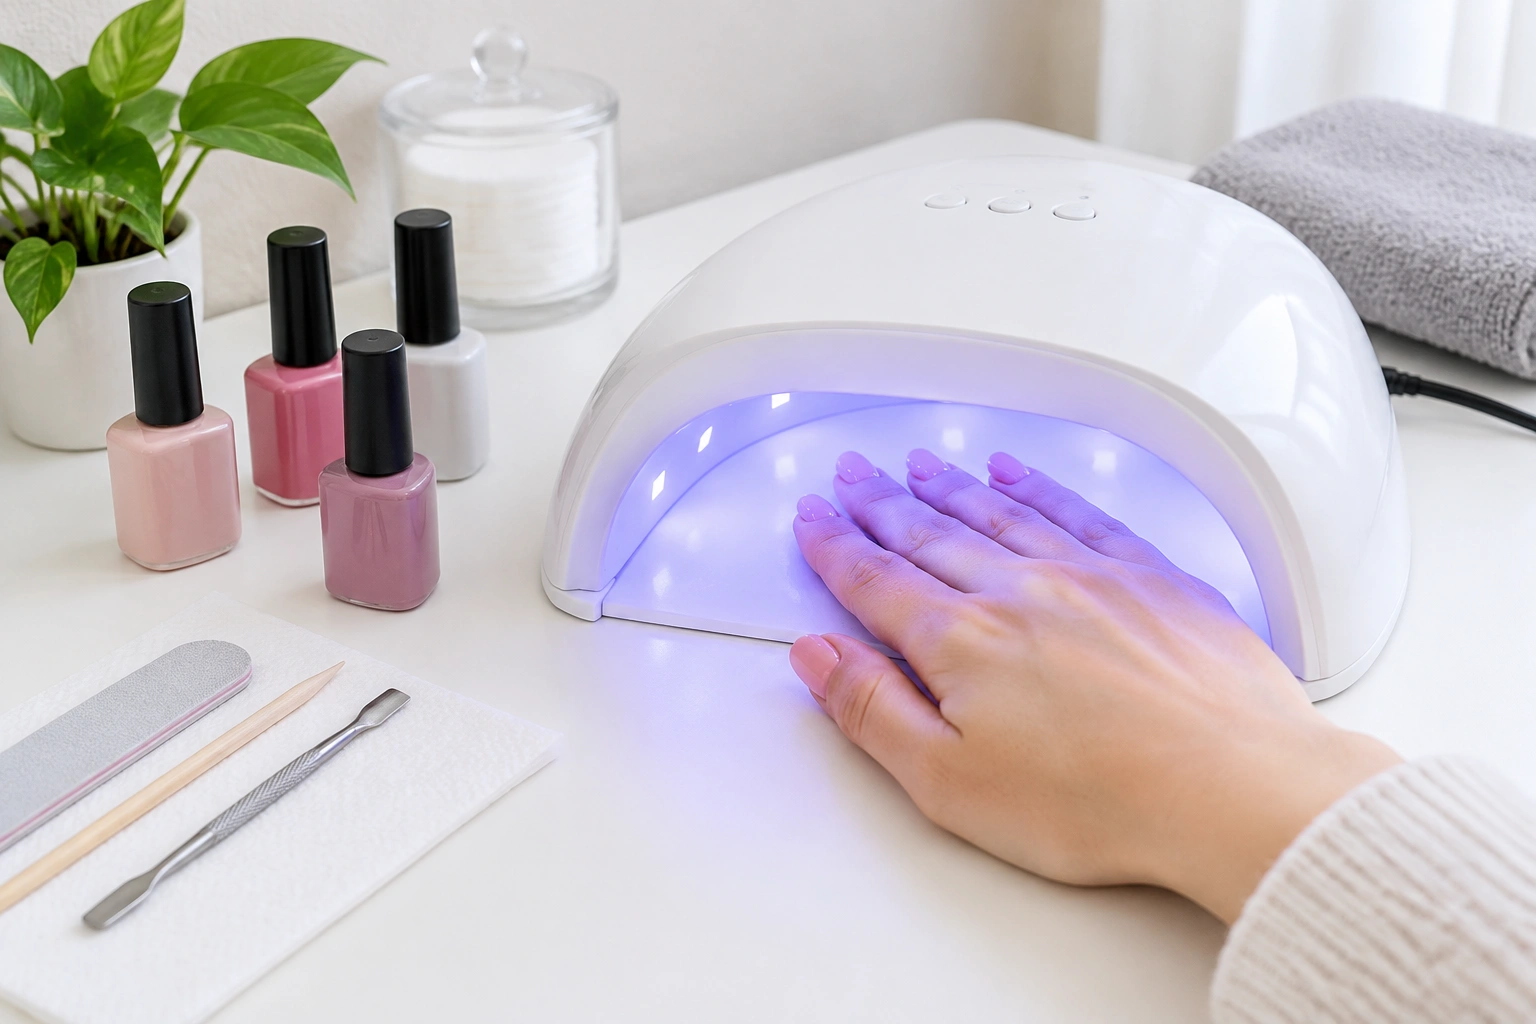
As a licensed nail technician, I like to separate this problem into two very different situations:
- A normal tacky layer that some gel systems leave behind after curing
- Truly uncured gel that is still soft underneath and should not be worn as-is
That difference matters. A sticky top can be normal. A soft, movable layer is not.
Beginner troubleshooting order:
1. Identify whether you’re feeling a tacky inhibition layer or true uncured gel
2. Confirm lamp compatibility with the product
3. Check coat thickness
4. Verify cure time
5. Inspect lamp placement
6. Consider product age or contamination
If you’re trying to figure out why your gel polish is not curing, don’t guess randomly at the lamp, the brand, or the cure time. Check the finish first, then work through the most likely causes in order.
Sticky vs. Soft: What You’re Actually Feeling
Some gel formulas leave a sticky inhibition layer after curing. That tacky finish is part of the system and usually helps the next layer bond. In other words, sticky does not always mean broken.
A normal inhibition layer may be wiped only if the product instructions say to do so. Some systems are meant to stay tacky between layers or before a final cleanse. If the brand says to wipe after curing, follow that instruction exactly.
Truly uncured gel behaves differently. It may feel soft, wrinkle when touched, dent easily, or stay wet-looking even after the full cure time. If you press lightly and the surface moves, that is a sign the gel did not fully cure. Soft or gummy gel should not be left on the nail.
A simple rule helps here:
- Tacky on top, firm underneath = often normal
- Soft, dentable, or gummy underneath = likely uncured
If you are unsure, compare the feel of the topcoat to the base or color layer. A normal tacky layer feels slightly grabby, but the nail should still seem solid. If the whole coating feels squishy, the problem is bigger than a sticky finish.
For a broader beginner overview of polish issues, you may also find this nail polish basics guide helpful.
First Check: Is the Gel Actually Uncured?
Before changing products or buying a new lamp, do this quick test:
- Let the nail cool for a moment after curing.
- Gently press the center of the nail with a fingertip.
- Check whether the surface is only tacky or actually soft.
- Look at the sidewalls and cuticle area for uneven curing.
If the nail feels hard but sticky on top, that may be normal for that product. If it dents, slides, or feels rubbery, it needs more attention.
One helpful clue: if only part of the nail is soft, the issue may be hand placement or shadowing rather than the gel itself. If all nails are soft, the lamp, product, or cure time is more likely to blame.
The Most Common Reasons Gel Won’t Cure
Most curing problems come from a few repeat causes. The order below is the fastest way to troubleshoot.
1) The cure time was too short
This is one of the simplest explanations. Young Nails says that thicker layers or incorrect timer settings can interfere with curing, and their general advice is to follow the manufacturer’s cure time for the specific product. Rushing can leave you with a sticky, uncured manicure that takes longer to fix. You can read their guidance here.
If your lamp has multiple timer buttons, make sure you are using the setting the brand recommends. A 30-second cycle is not automatically enough for every gel system.
2) The layer was too thick
Thin coats cure more reliably than heavy coats. A thick gel layer can block light from reaching the lower part of the polish, so the top may feel set while the inside stays soft.
This is common with:
- Highly pigmented colors
- Glitter gels
- Builder gel
- Overloaded top coats
A thicker coat may look opaque faster, but it often creates more curing trouble later. Two thin coats are usually safer than one heavy coat.
3) The lamp and gel do not match
Not every gel works the same way in every lamp. Some formulas are designed for UV, some for LED, and some brands are more particular than others. If your gel cures fine with one lamp but not another, compatibility is a likely issue.
A lamp’s wattage alone does not guarantee success. Wattage by itself is not a reliable indicator of curing performance; wavelength and product compatibility matter more. A powerful lamp still may not cure a formula well if the wavelength or product system is not a match.
4) The lamp is weak, old, or poorly positioned
Even a compatible lamp can underperform if it is old, damaged, or not used correctly. If the bulbs or LEDs are failing, the gel may cure unevenly. If your hand sits too far back or at an angle, the light may not reach all parts of the nail.
Signs a lamp may be weak or incompatible include:
- Uneven cure patterns across nails
- A center that seems set but soft edges
- Persistent softness even after the correct cure time
- A brand that requires a specific wavelength or system
Thumbs are especially easy to miss because they sit differently from the other fingers.
5) The gel product is old or contaminated
Old, thickened, or contaminated gel can cure unpredictably. If the bottle has been exposed to UV light, mixed with dust, or stored badly, the formula may not behave the way it should.
If a product suddenly starts acting differently and nothing else in your routine changed, the bottle itself may be the problem. For a related beginner topic, see can you use expired nail polish.
6) The nail was not prepped well
Poor prep does not usually stop curing completely, but it can make the manicure seem like it failed because the product lifts, shifts, or looks uneven. Oil, dust, or leftover moisture can interfere with adhesion.
If you want the polish to sit properly, prep matters before you even open the bottle. This is where a dehydrator can help in some routines, and this guide to using dehydrator before gel polish explains that step clearly.
UV Lamp vs. LED Lamp: Does Your Lamp Match the Gel?
This is one of the biggest beginner confusion points.
A UV lamp and an LED lamp are not automatically interchangeable. Some gel products are designed for one type, some work in both, and some need a very specific system. That is why the manufacturer’s instructions matter more than a general rule.
Here is the practical version:
- If the bottle or insert says UV-only, use a UV lamp
- If it says LED-only, use an LED lamp
- If it says UV/LED or UV and LED compatible, use the listed lamp type and cure time
- If the instructions give a cure time, follow that exact time for your lamp and product system
A lamp can be bright and still be the wrong fit. That’s why “it should work” is not a reliable test. The product label or technical instructions should be your first reference.
For safety and product handling guidance, the FDA has a useful overview of cosmetic product regulation and safety information on fda.gov.
Cure Time, Wattage, and Coat Thickness: Why One Setting Does Not Fit Every Gel
Beginners often assume that a longer cure time will fix everything. Sometimes it helps. Sometimes it does not.
Here is the trade-off:
- Curing longer may help if the manicure was only slightly under-cured
- Curing longer will not reliably fix a thick layer, a bad lamp match, or expired gel
Wattage can matter, but it is not the whole story. A stronger lamp may improve curing performance, but only if the gel is compatible with that lamp system. Likewise, a weak lamp may need more time, but extra time alone cannot rescue every formula.
Luxa Polish notes that over-curing can be a concern in some cases, but the main point for beginners is that under-curing is more common when gel polish is not drying correctly. You can see that explanation here.
So the goal is not “as long as possible.” The goal is the right lamp, the right layer thickness, and the right cure time for that product.
Application Mistakes That Prevent Full Curing
A lot of curing trouble starts before the lamp ever turns on.
Thick coats
This is the most common beginner mistake. Gel should be applied in thin, even layers. If you can see the polish pooling or sitting heavily at the center, it may not cure through.
Flooding the cuticle or sidewalls
When gel is pushed too close to the skin, it often collects in thicker spots around the edges. Those heavy areas cure more slowly and can stay soft longer than the rest of the nail.
Uneven coverage
If one side of the nail has more product than the other, the thin side may cure while the thick side stays gummy. That can make the manicure feel partly cured, which is confusing if you are checking only the center.
A simple habit helps: apply less product than you think you need, then cap the free edge lightly and check your side view before curing.
Lamp Position and Hand Placement Problems
Sometimes the gel is fine, but the light never reaches it evenly.
Shadowing happens when a finger blocks light from another finger, or when the hand is angled in a way that leaves one side underexposed. This often shows up as:
- Soft cuticle area
- A cured center with an uncured edge
- One thumb curing differently from the others
If only part of the nail cured, reposition your hand and cure again before assuming the product failed. Keep fingers flat and relaxed. Make sure the thumb is centered in the lamp, not tucked off to the side.

This is especially important with wider hands or smaller lamps, where the edges of the nail bed may sit outside the strongest light zone.
When the Product Itself Is the Problem
If you have checked the lamp, the cure time, the hand position, and the coat thickness, the bottle may be the issue.
Gel can become unreliable if it is:
- Old
- Thickened
- Separated
- Contaminated with dust or other products
- Stored in heat or direct light
At that point, repeated curing attempts usually waste time. If the product is clearly behaving differently from normal and you cannot correct it with thinner coats and proper lamp use, replacing the bottle is often the better choice.
This is one reason it helps to keep your gel stored closed tightly and away from sunlight.
Can You Save the Manicure or Should You Start Over?
Here is the clearest decision guide.
You may be able to save it if:
- The nail is hard but only tacky on top
- One small area seems under-cured because of hand placement
- The coat was only slightly thick and the lamp is otherwise compatible
In those cases, try curing again with the hand repositioned and the full manufacturer-recommended time.
You should probably remove and redo it if:
- The nail stays soft after the proper cure time
- The polish dents easily
- The same problem happens on multiple nails
- The product was applied very thickly
- The gel seems incompatible with the lamp
- The bottle is old or contaminated
Direct rule: if the gel is still soft after the correct cure time and proper lamp use, do not try to wear it or seal it with a top coat. Remove it and redo the manicure.
If the gel is still soft or wet after proper curing, it is safer to remove and redo than to keep wearing it. Uncured gel can increase the chance of skin irritation or sensitivity, especially if it keeps touching the skin.
How to Prevent Gel Polish From Not Curing Again
Quick prevention checklist:
- Use thin, even coats
- Match the lamp type to the gel system
- Follow the manufacturer’s cure time
- Keep fingers flat and centered in the lamp
- Store gel closed tightly and away from heat or sunlight
- Replace products that have thickened or seem contaminated
If you are still learning the basics, it also helps to read about common mistakes before your next manicure. This guide on common nail polish mistakes is a good place to build better habits.
A final note: if a product smells unusual, burns, or keeps causing skin contact during application, stop and reassess. Leaving uncured gel on the nail or skin is not something to ignore.
When to See a Nail Technician or Dermatologist
See a nail technician if you keep having curing problems even after checking the lamp, cure time, and application method. A trained tech can spot compatibility issues quickly and help you decide whether the lamp or product should be replaced.
See a dermatologist if you notice persistent redness, itching, swelling, or another reaction around the nails after using gel products. That may point to irritation or sensitivity that needs professional attention.
Quick Recap
If your gel polish is not curing, the most likely causes are usually simple: the coat is too thick, the lamp does not match the product, the cure time is too short, or the hand position is blocking the light. First, decide whether you are dealing with a normal tacky layer or truly uncured gel. Then troubleshoot in order, and don’t be afraid to start over if the manicure is still soft after the correct cure.

